2BizBox® Manual |
Go back to 22.0 Main |
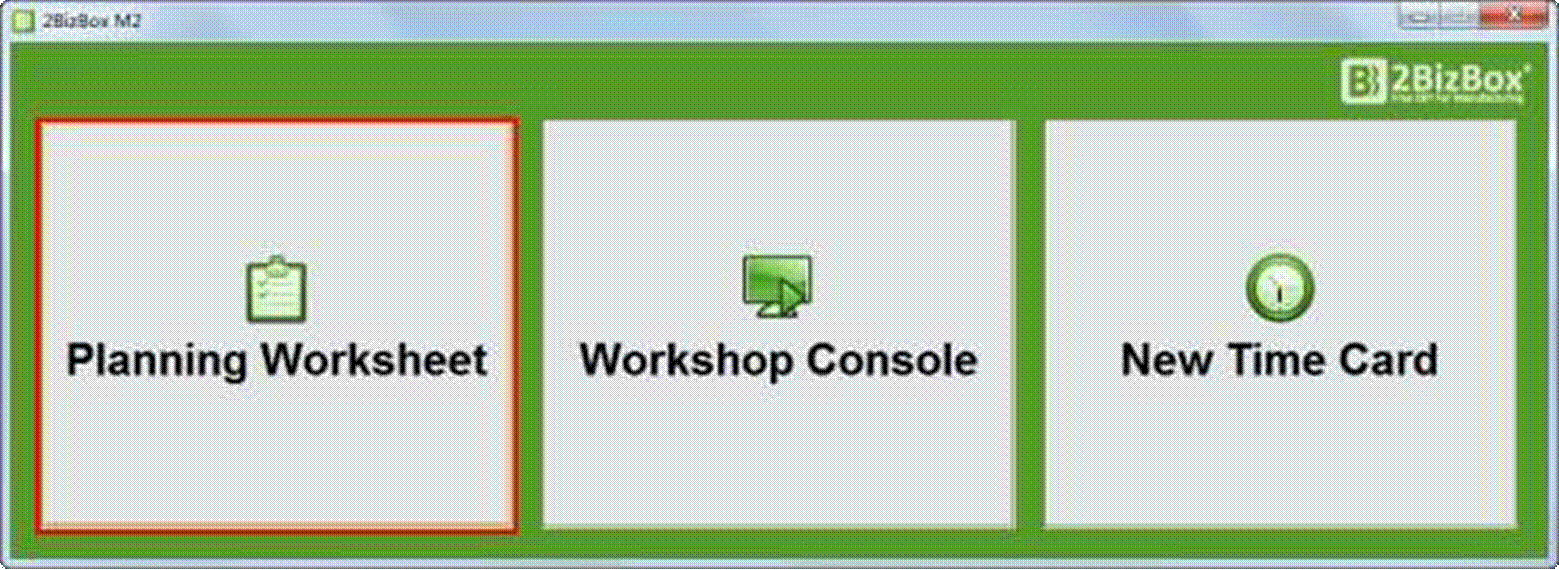
Click the first button “Planning Worksheet” will open the Job Scheduling Client.
|
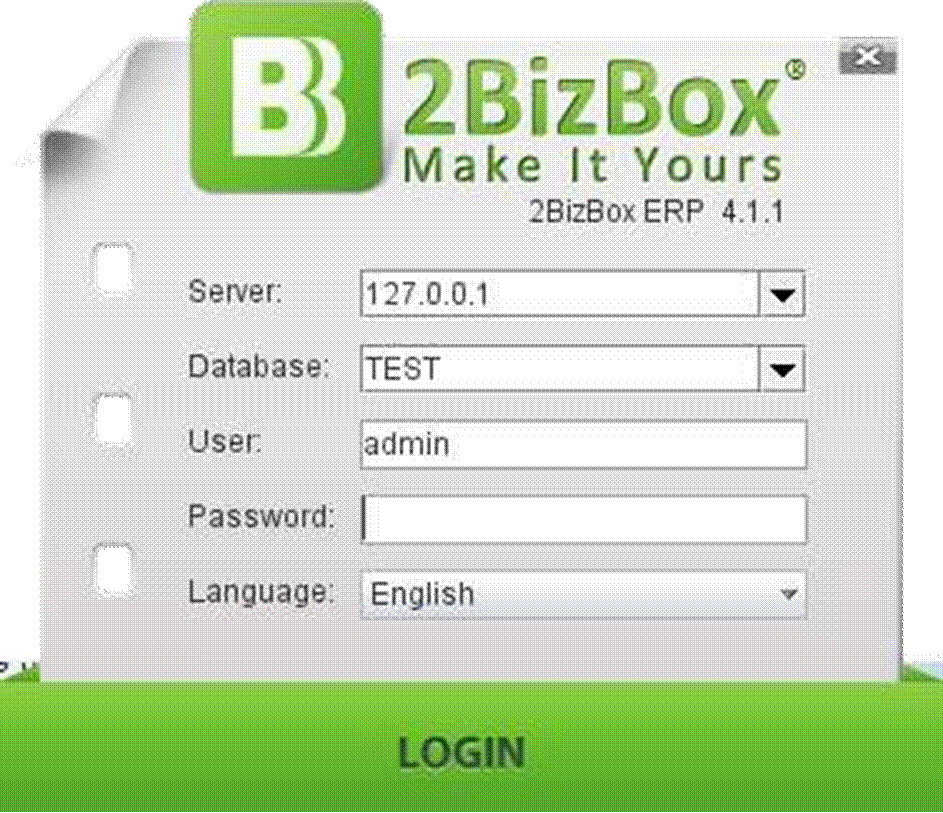
Use the same User Name and Password to login the client.
 |
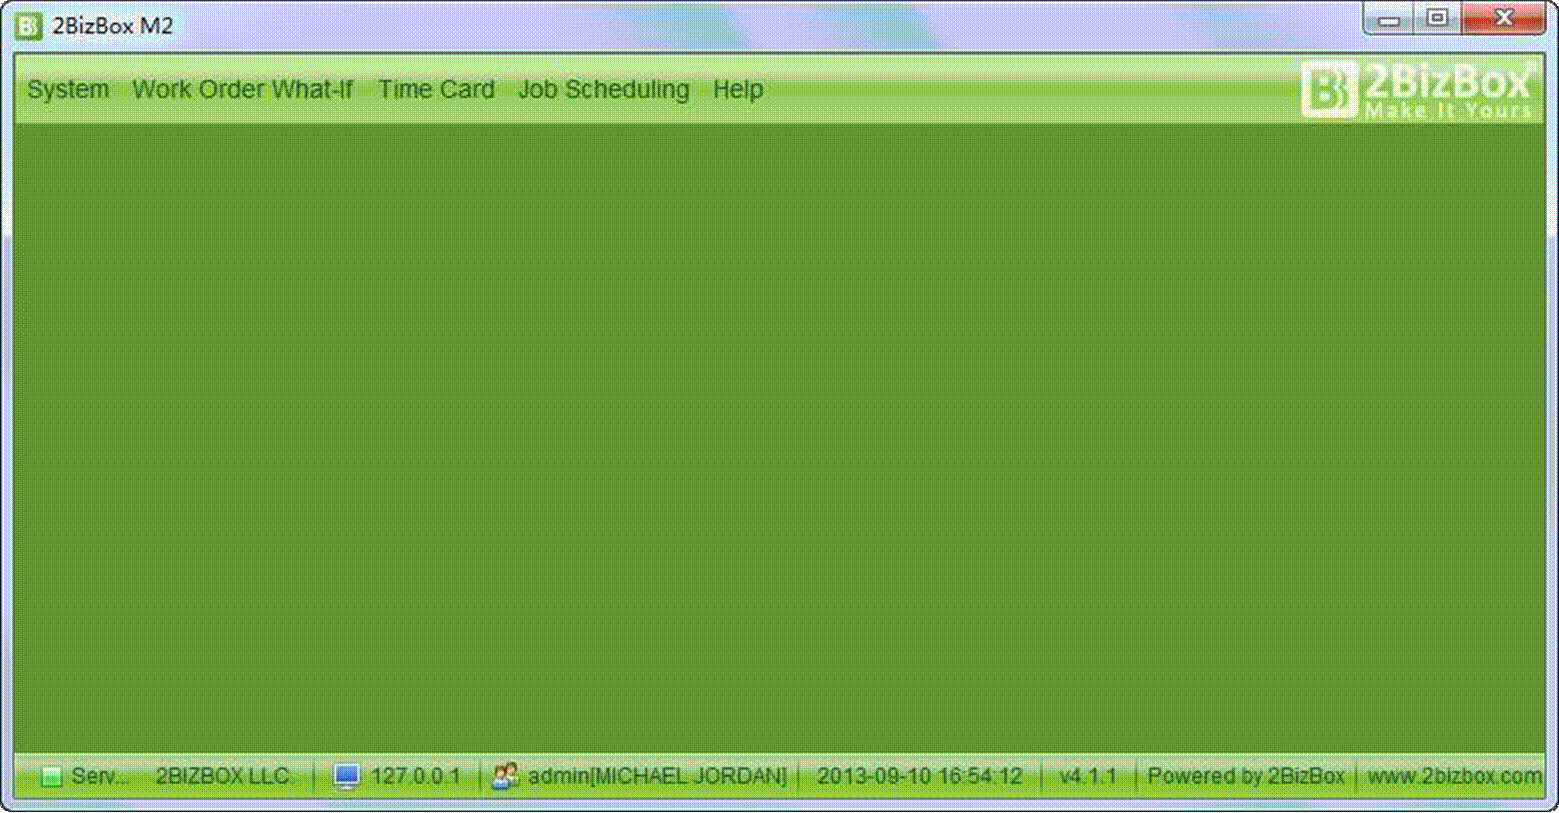
Job Scheduling gives you the full permission to plan Work Orders, assign jobs and manage time card details. We will introduce the functions separately later.
 |
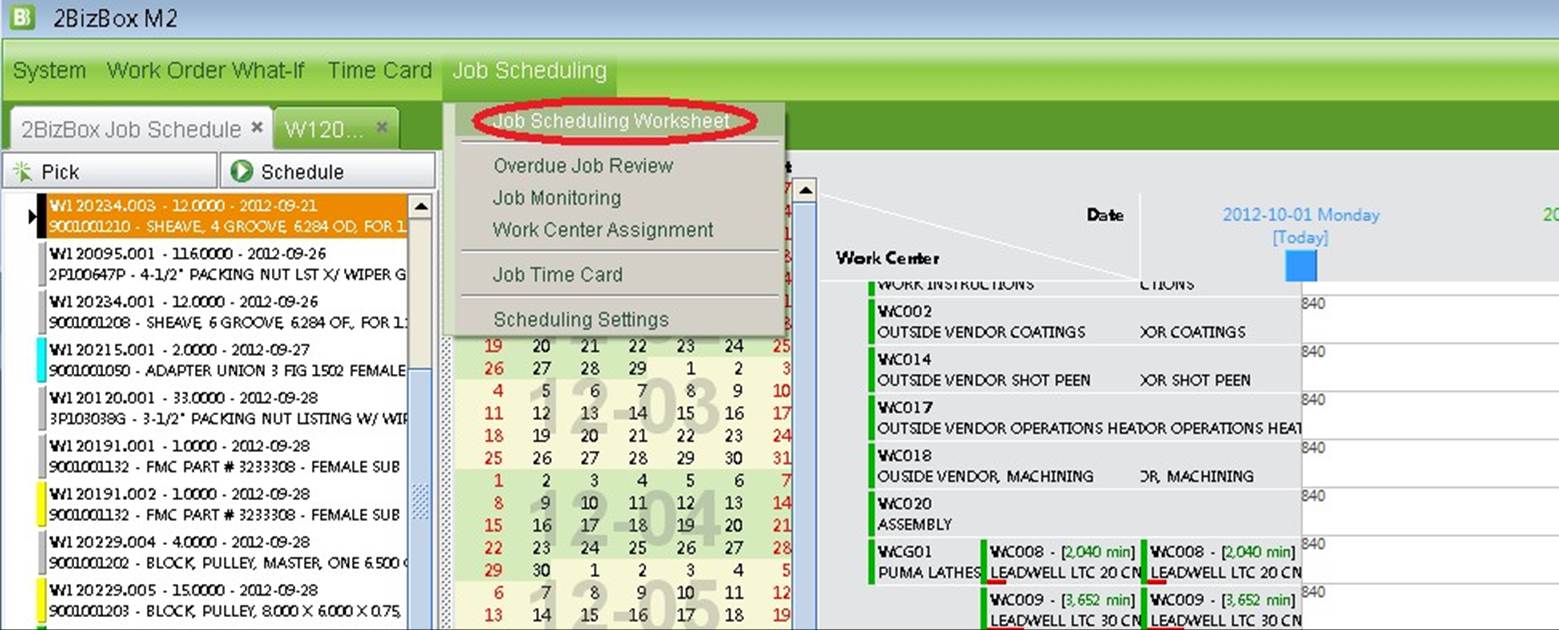
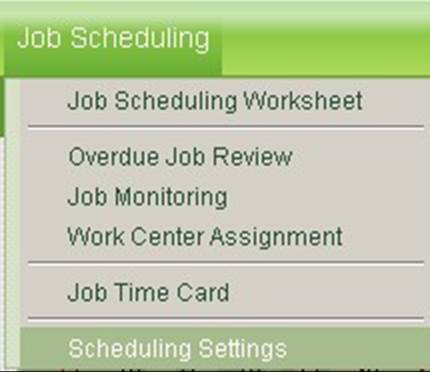
Scheduling through 2Bizbox utilizes the Job Scheduling Worksheet link as seen below.
It is where most of the scheduling work will be done. To open the worksheet, click on the tab named “Job Scheduling” and click on the “Job Scheduling Worksheet” link just bellow it.
 |
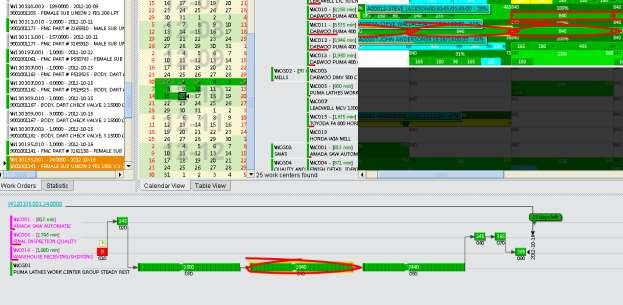
The figure below shows the Calendar View of the schedule. The red box at the left has a list of all the available work orders to be scheduled. This list is made by using the pick button on the upper left of the red box. So, if there is a recent order that has been made then the work order may have to be picked and loaded onto the list to be placed in the schedule.
The black box to the right is the calendar. This is where the sequence times for each work order are placed. The blue box below shows the time line for the selected work order. If you click on a work order from the list highlighted in the red box, the time line will show up below
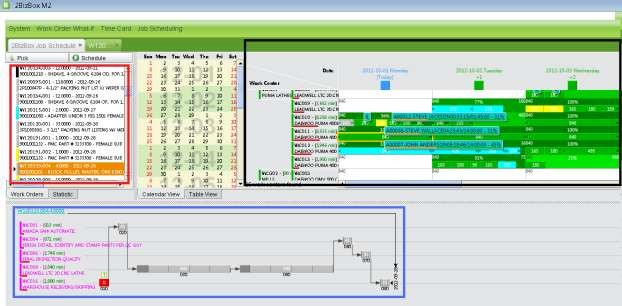 |
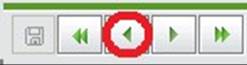
When the Calendar View is first opened, the only dates that will show are the current day and all of the future days that have work scheduled on them. To look at days past, press the backward arrow that is in the top right.
 |
The calendar can be taken as a table with rows and columns to display the scheduled information. The rows starting from the left show the work center while the column represent the days of the week.
Below is a picture of the rows of work centers. Work centers can be arranged in Work Center Groups in order to put similar machines together.
In the picture, the red circled work center signifies the Work Center Group and is labeled as WCG01. The work centers inside the blue rectangle are the work centers in the work group. Work centers that have no group stand alone like WC018 and WC020 below.
The Job Scheduling application uses the information from the work instructions to create a time line for the work order from when the raw material is received to when the finished part is going back out the door. The snapshot below is of a work order that has been fully scheduled. When a sequence is scheduled, the time slots on the bottom of the page will turn a certain color depending on the status of the work order i.e. the work order is on time or delayed. Green is the color you want- On Time. If there are no times scheduled on the calendar, the sequences will remain grey like the timeline in the blue box above.
 |
As you can see from above, the time sequences are all split up and assigned to the correct work area for the sequence. For the above picture, the parts will go through 4 different work stations, starting at Warehouse and Receiving/Shipping, Saw, Lathe Work Center/Group, Final Inspection, and then back to Warehouse and Receiving/Shipping.
When scheduling new workers, there are two ways to go about putting the times in the calendar either manually or automatically.
Doing an automatic schedule works best when the due date on the work order is well ahead of the total run time of the part’s sequences. If the due date on the work order has already passed or is too close then the entire time will try to be crammed into all of the available work centers and produce an unrealistic schedule. A manual schedule will be more controlled and may take more time to put in the calendar.
To schedule one work order at a time, right click on the work order at the left of the screen you want to schedule and then click the “Schedule this…” button.
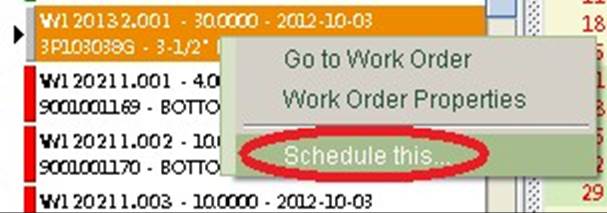 |
The pop up below will give you options on how you want to schedule the work order. The only option that is usually changed is the “Schedule From” option. The chosen default is “Forward, from Today”, but the “Backward, from Due Date” option usually needs to be chosen instead. When filled out, click the schedule button to automatically fill the calendar with time.
 |
Below is a snapshot of how to schedule a sequence by using the timeline manually. This can be done by right clicking on the block of time itself in the timeline.
From here, you can scroll over the work center you want to schedule the time on. A list of days starting with today at the top will appear for you to choose from and when you highlight that day, the day on the calendar will show pop up with an orange dotted line box around it.
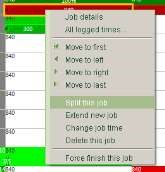 |
Move- Use this command when arranging sequence times on a single day. This will help with prioritizing the work for the day. The sequence can be moved to the first, end, left, or right. Split- If a sequence time needs to be split over a few days, use this command and input the number of minutes that you want to split the sequence into
Extend- Sometimes, there may be a need for more time added to a work order due to any mistakes having to do with under estimated cycle times, this option can be used to provide for more time to log into on the machines.
Delete- This option can be used to get rid of any extra time from a sequence
Change job time- Use this command to edit the individual time of a sequence making it longer or shorter if needed. Instead of creating another separate time slot, the sequence is not split up and remains as one available time slot to log into.
Time can be moved from day to day by clicking and holding the left mouse button on a time sequence on the calendar and dragging it to the appropriate day.
Changes must be saved in order for the time to show up on the machinist computers on the shop floor. Save by clicking the save symbol on the upper right hand corner of the calendar.
Note: In a work day, the machinist can only log into work orders that are scheduled for that day. So, be sure to include enough work on one day and save the changes.
Once saved, the schedule from the calendar will be split up on the Job Time Card and will be available for the machinists to log in to.
The Scheduling Settings link is in the Job Scheduling tab on the main screen.
 |
The scheduling settings that can be set include Days Off, Hours per Work Day, and how the Work Instructions
pull the information for each sequence. Click the edit button  and fill in the information and then save with the 2Save button.
Tip: You can left click on the scheduled time slot on the timeline below to reveal a red circle over ALL the times put on the calendar. This is a good way to find all of your sequences time so that you can keep the same sequences together and totaled up.
 |