2BizBox® Manual |
Go back to 16.0 Main |
Management of the vendor address book is very similar to management of the customer address book. Under the “Vendor” tab, you may add, look up and search vendor address books. Settings in the Vendor Address Book will also influence the Purchase Order.
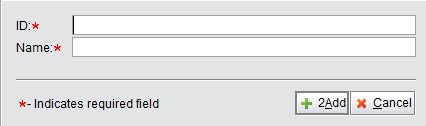
Click “Add Vendor” under the tab “Vendor” of “Address Book Box - Customers and Vendors,” to open the adding interface as below.
|
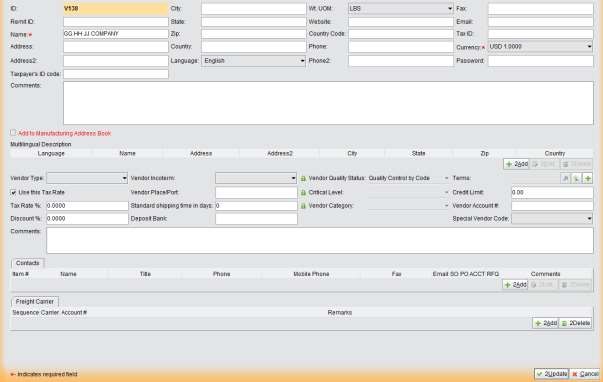
Fill in the self-defined Vendor ID and Vendor’s company name, then click “2Add” to establish a vendor. At the same time, you will enter the Update Vendor Interface as shown below:
 |
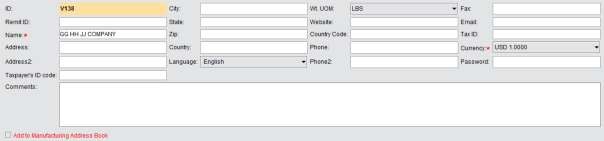 |
The basic information of the vendor address book is almost the same as that of a customer address, so you can refer to the parameter descriptions in the last chapter. Vendors have a special parameter “Password” here, which is used to control the material issuing of Work Orders. It is an optional parameter. You need to check “Need password for issuing” in the “Control Panel - General Setting - Company Settings – Work Order” and then set the password in the vendor address book if you care to use a password here.
A Vendor’s information can be shown and printed in multiple languages after you add multiple descriptions to it. Below the general information, add, edit and delete these language descriptions. Currently English, Simplified Chinese and Traditional Chinese language descriptions are provided.
Click the “2Add” button to enter the adding language descriptions interface as shown below. Select a language from the dropdown menu, and then add the vendor’s “Name,” “Address,” “City,” “State,” “Zip,” and “Country” information in the target language. Click “2Add” to submit the new language description and return to the Update Vendor Interface.
 |
Below the multi-language description, you may update the vendor’s advanced information as shown below:
 |
Remark on the parameters in the vendor-information interface:
Parameter |
Description |
Vendor Type |
Customized vendor type which can be added and edited under the “Control” tab. |
Vendor Incoterm |
Select the incoterm for the vendor from the dropdown menu. |
Vendor Place/Port |
Fill in the vendor’s transportation Place/Port. |
Standard Shipping Time In Days |
Fill in the standard shipping days of the vendor, to be used in Purchase Orders. |
Tax Rate |
Fill in the tax rate for the vendor in the purchase business, to be used as the default tax rate in a Purchase Order if “Use this tax rate” is checked above. If not, POs will use the appropriate zip code purchase tax, or leave the tax rate blank. |
Vendor Discount |
Fill in the Discount Rate offered by the Vendor, to be used as the default discount rate in Purchase Orders, with the prerequisite that the address discount gets the priority. |
Vendor Quality Status |
The user need to go to “Quality Box – Vendor QA” to update the Vendor Quality Status. |
Critical Level |
The user can add critical levels under the “Control” tab and update them in “Quality Box – Vendor QA.” |
Vendor Category |
Users can add a category under the “Control” tab and update it in “Quality Box – Vendor QA.” |
Terms |
The payment term required by the vendor. This will be used as the default payment term in Purchase Orders. |
Credit Limit |
The maximum payment due to the vendor. If this amount is surpassed, the user will be notified when creating a PO. |
Vendor Account # |
Fill in the account number of the vendor. |
Deposit Bank |
Fill in the deposit bank of the vendor. |
Special Vendor Code |
Choose a special vendor code from the drop-down menu. |
Comments |
Fill in any other comments pertaining to the vendor. |
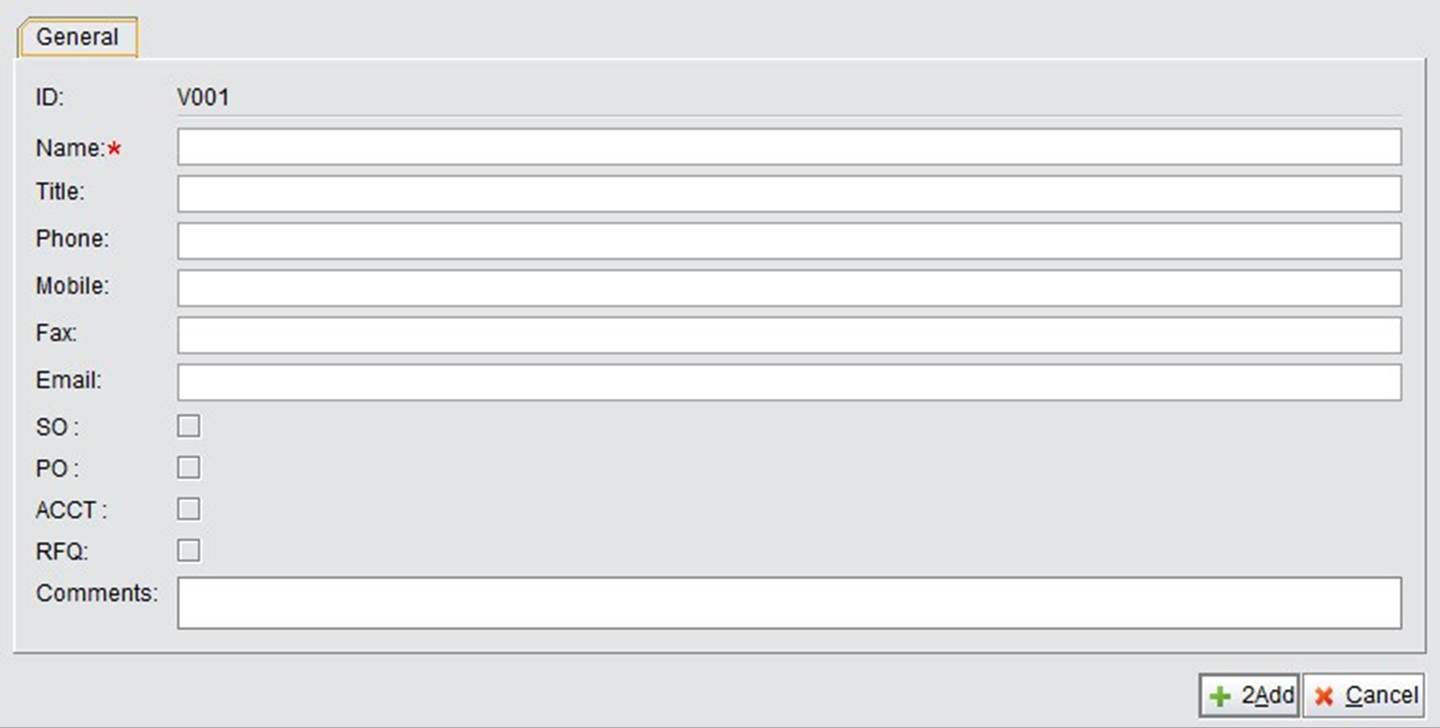
If there is an additional contact person at the vendor company, you may add their information here, including the contactor’s name, title, phone number and email.
 |
Click the “Add” button to enter the adding interface. The information you need to add is explained below.
 |
The Freight Carrier added here will show up in the Vendor’s PO Update interface. You can directly fill in the freight carrier’s Sequence #, Carrier Name, Account# and remarks in the red textbox. Click “2Add” to add a new line.
 |
After filling out all the required information, click the “Update” button in the bottom right corner. You will be directed to the Vendor Address Properties Page, shown below. Click the tabs to view the different vendor information pages.
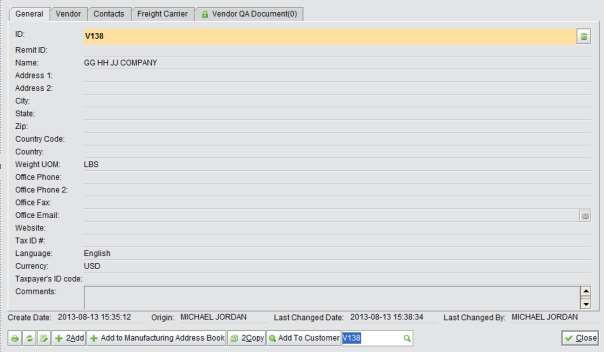 |
At the bottom of the Vendor Properties, you may:
Now we will introduce the other five tabs of Vendor Properties.
By clicking the tab “Vendor,” you will see the vendor’s advanced information. Except those added while updating, statistics of “Past Due,” “Total Balance” and “Paid/Due” are also shown here.
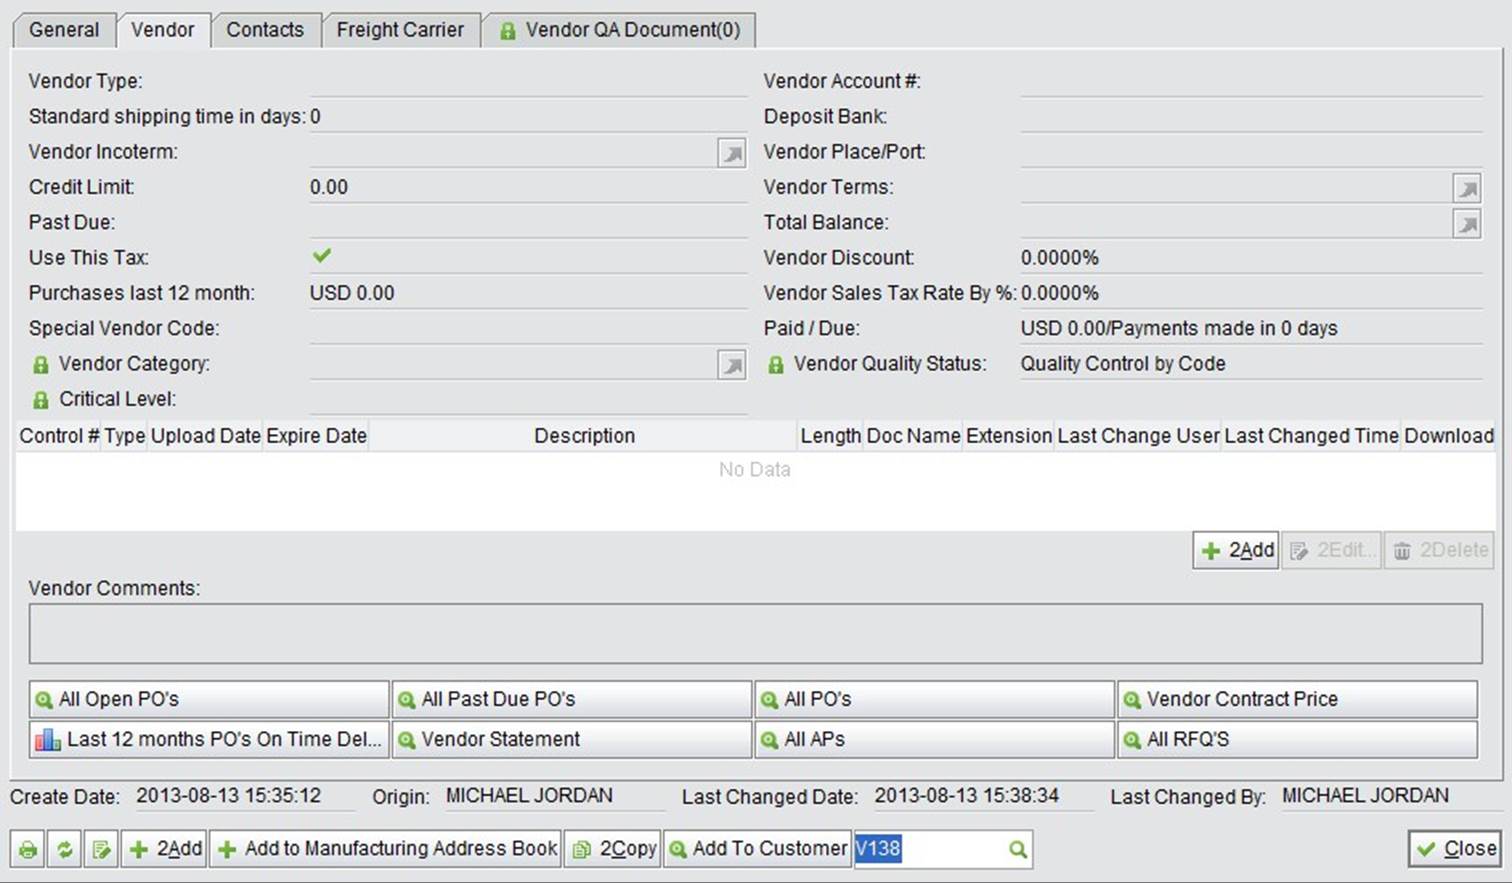 |
In the middle of the “Vendor” information page, you can upload relevant documents, such as the vendor’s company file and agreement. Click the “2Add” button to open the adding window, shown below. If you have yet to set the uploading path for the vendor document, you will be required to do so after selecting the file.
There is a row of buttons at the bottom of the interface that link to the various invoices and sheets:
Under “Vendor QA Document,” you can view the vendor’s QA Documents uploaded through the quality box. All information concerned with the Vendor’s quality issues has to be updated in the “Quality Box – Vendor QA,” including the “Vendor Quality Status,” “Critical Level” and “Vendor Category.”
Fill in the complete Vendor ID to view the vendor’s detailed information.
Fill in the keywords of a Vendor ID to search for related vendor addresses.
Search for a vendor address by the keywords of a vendor’s name and language.
Use Address ID, Name, Vendor Type, Vendor Category, Critical Level and Quality Status to search for vendor addresses.
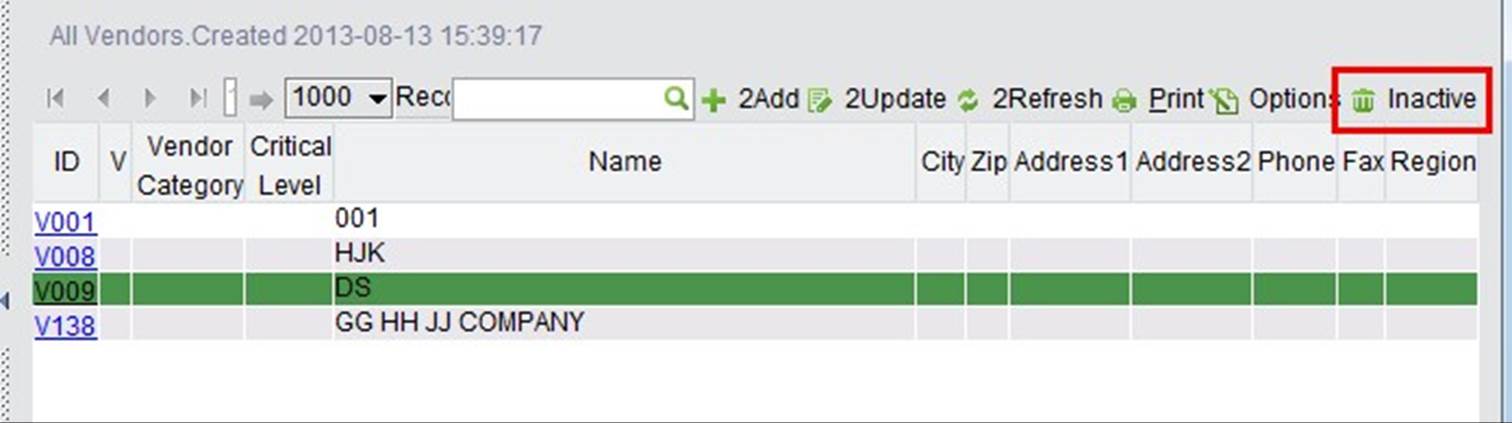
Click this button to view all vendors in the system.
Similar to customers, you can also inactivate vendors when purchase activities are paused at the current stage. In the vendor search result interface, the “Inactive” button lies at the top right side of the screen and will be available after a vendor is selected.
 |
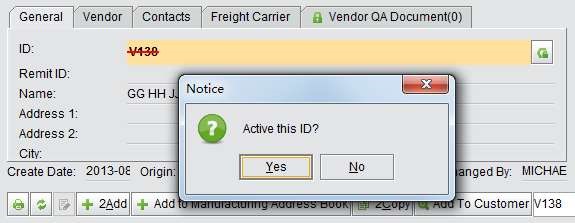
If you want to reactivate the vendor, first find the inactivated vendor through “Inactive Vendor,” then click the “Activate” button in the top right corner.
 |
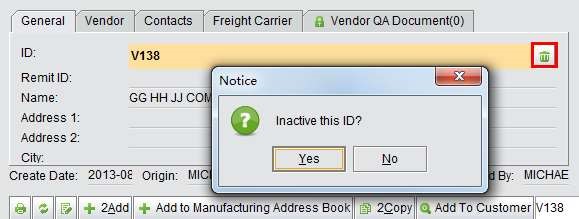
In addition, you can also click the “Inactivate” button beside the Vendor ID in the vendor-property interface to inactivate the vendor.
 |
 |