2BizBox® Manual |
Go back to 14.0 Main |
An employee card is used to record the information of employees from Serva Software LLC, including their basic information, home information and training & work experience. Every user of 2BizBox (except partners) must have a personal employee card number.
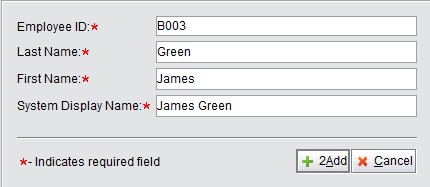
In the “Employee Card-General” interface, click “Add” to enter the adding interface. When the basic information has been entered, click the “2Add” button to create an Employee Card and open the interface in which an employee’s information can be updated.
|
In this interface, fill in employee information and photos.
 |
Please note that if “Yes” is selected for “Show In Company Address Book,” this employee’s information will be shown in the address book. For further details about the Company Address Book, please read the corresponding chapter. There is no particular regulation for “Security Level,” so it can be specified according to company standards.
Please click the “Update” button after filling in the information to return to the Employee General Information page.
 |
There are three buttons: “Home Information,” ”Record,” and “Change to Temporary Worker” at the bottom of the interface. These items will be explained below.
At the bottom of the employee general information interface, click “Home Information” to view the employee’s home information, and click the “Edit” button to open the screen below:
 |
Click “Update” to return to the Home Information interface after all fields have been filled in.
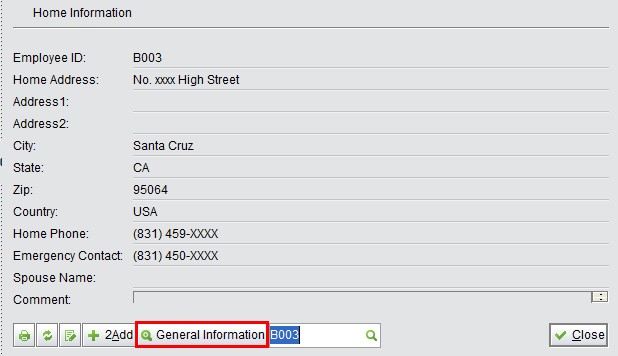 |
Click “General Information” to return to the Employee General Information interface.
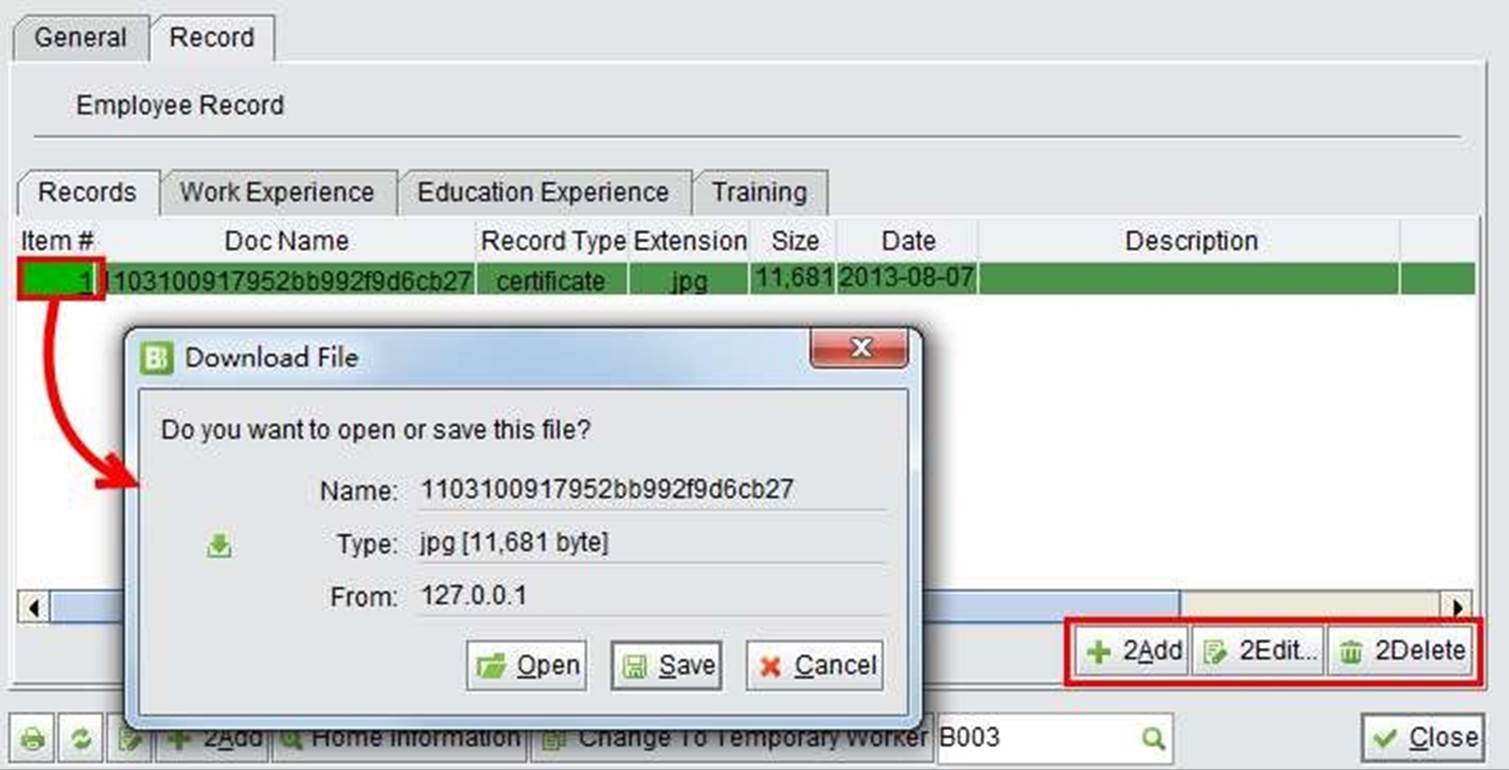
Back at the Employee General Information interface, click the “Record” button to see employees’ recorded information, including their general records. In every tab, there is an “Add” button provided to add related records.
Related documents can be uploaded and saved to the server. Under the “Records” tab, you can add, edit and delete the recorded documents. For documents that have already been uploaded, click the “Item#” to open or save the documents. After selecting an item, you can edit or delete it.
 |
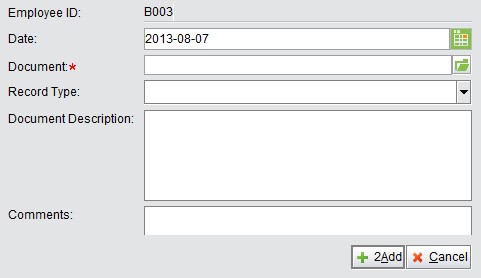
To upload a document, click the “Add” button to open the adding interface. Like other document types, the upload path must be set in the “Document Box” before the document can be uploaded. Click “![]() ” to select documents from the local path. The document type will be saved as an option in a drop-down list.
” to select documents from the local path. The document type will be saved as an option in a drop-down list.
 |
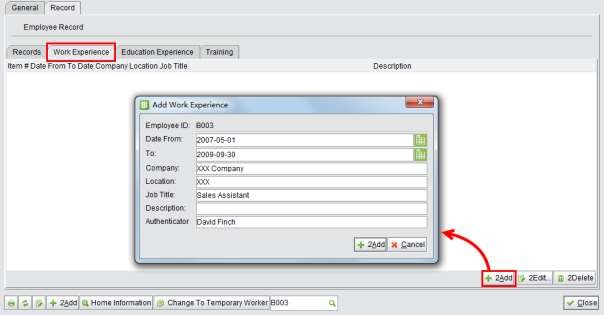
Click the “Work Experience” tab to add Employees’ previous work, including information like start and end dates, company name, address, and position. Select an added item to edit or delete it.
 |
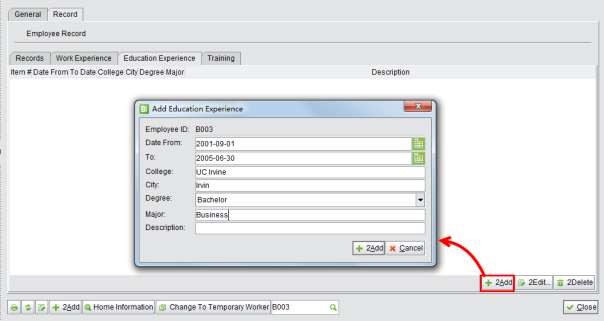
Education background such as start and end dates, school, city, degree, and major can be added under the “Education Experience” tab. The degree inserted will be auto saved as an option in a drop-down list. Select an added item to edit or delete it.
 |
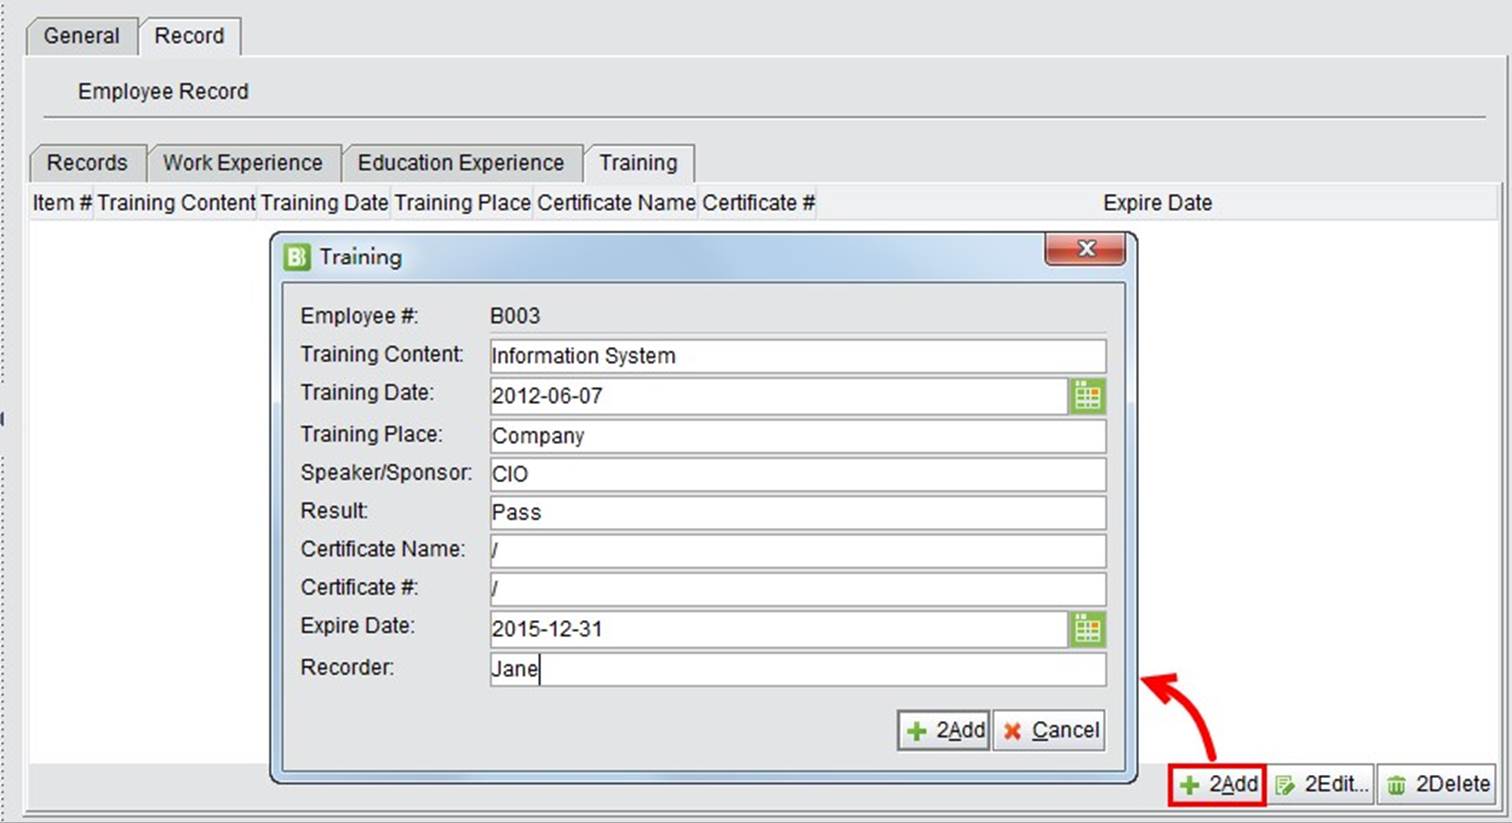
Under the “Training” tab of the Employee record, you can view and add employee training experience and certificates gained. Training programs and certificates can be awarded by the company, or from external organizations. Select an added item to edit or delete it.
 |
Click the button “Change Into Temporary Worker” to change an employee’s status to a temporary worker. You will then be taken to the interface to add temporary workers.
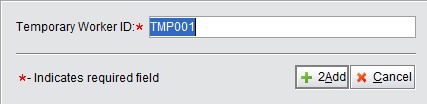 |
Click “Add” to enter the interface to update the temporary worker information. At the same time, the employee information will be deleted. Finally, click “Update” to save the most current information.
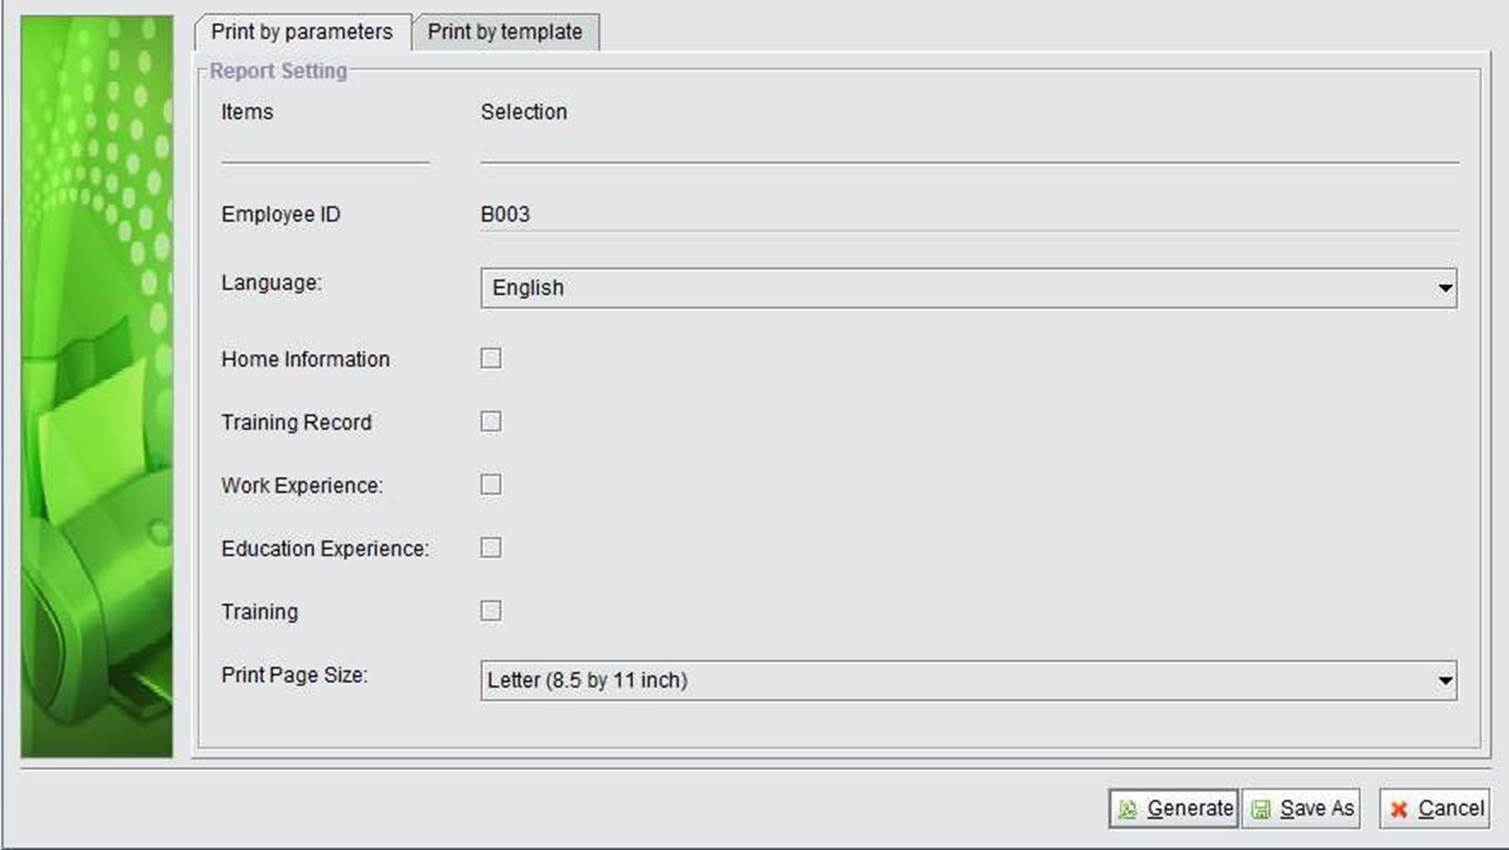
After you have completed filling in the information, click the “Print“ button at the bottom of the interface to print an employee’s information. You have the option to select whether to print family information, record, work experience, education, and training.
 |
At the Employee General Information interface, there are several ways to search for employees.
Insert the complete ID of an employee and click the button to lookup their information.
Insert the keywords of an employee ID to search for related Employees.
Insert the last name of an employee to search for that employee.
Search for the records according to Employee ID and Record Type. (The type of document will be shown in the drop-down list after being added to “Record.”)
Search for the information of all employees that belong to a specific department. (The department will be shown in the drop-down list after being added to “Employee general information.”)
Search for employees according to a specified degree. (The degree will be shown in the drop-down list after being added to “Education Experience.”)
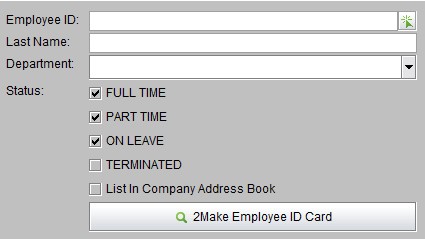
Search for employees with specific parameters like Employee ID, Last Name, Department ID and status. (The status will be shown in the drop-down list after being added to “Education Experience.”)
Use this function to make simple ID Cards for employees. Certain conditions can be filled in to filter out unwanted Employees, and clicking “2Make Employee ID Card” will print an ID Card for all searched employees.
 |
The printed ID Card will display the Employee’s name, ID, photo, position and a bar code for scanning.
 |