2BizBox® Manual |
Go back to 13.0 Main |
Down payments are usually required from customers as a guarantee for the sales contract. In 2BizBox, you can make an AR Prepay and send it to your customer as a request for down payment. After you receive payment from your customer, you can apply the customer’s prepayment amount from the final invoice issued to the customer.
When a Sales Order is created and a down payment is required according to the contract, an AR Prepay can be created for this Sales Order by the methods provided below.
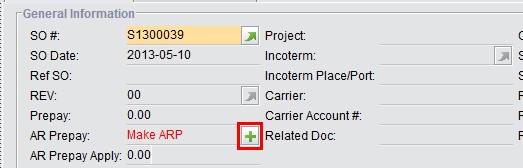
On the Sales Order Property interface, you can click the “+” button beside “AR Prepay” to create an AR Prepay. You can also do this in the Accounting Box.
|
Under the “General” tab in “Accounting Box – AR Prepay,” there are two methods of making an AR Prepay.
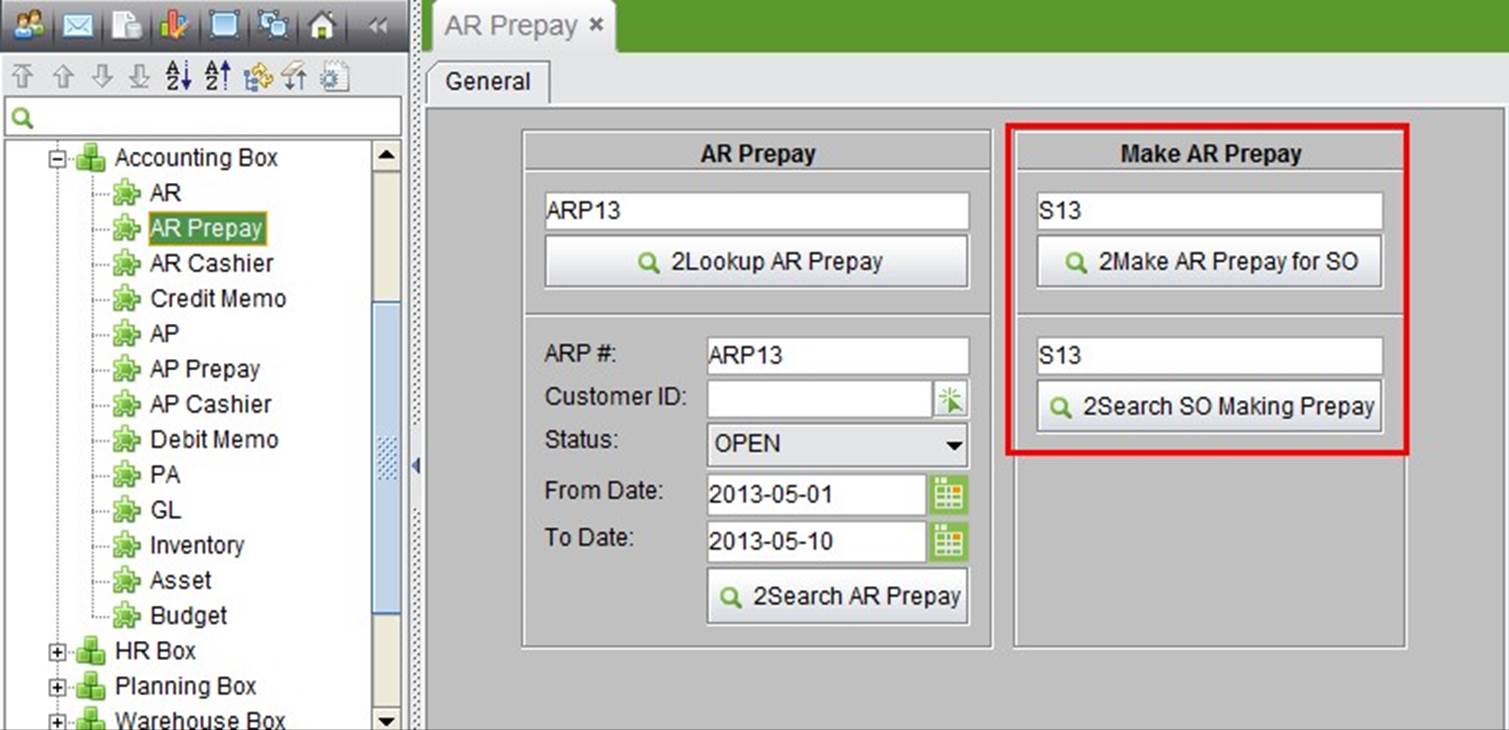 |
Fill in the accurate SO# and click the “2Make AR Prepay for SO” button. A notice will appear, asking if you want to create an AR Prepay for the SO.
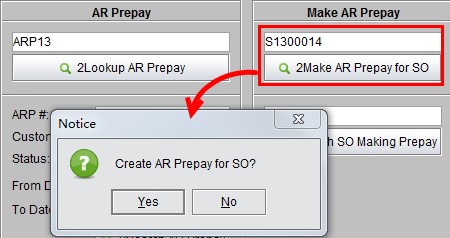 |
Click “Yes” to make the AP Prepay and open the “Update AR Prepay” interface.
You can fill in the keywords of the SO, then click the “2Search SO Making Prepay” button to search for Sales Orders. At the search results, click on the SO # to make an AR Prepay. The following “Update AR Prepay” interface will open. Click “2Add” to add an AR Prepay Item:
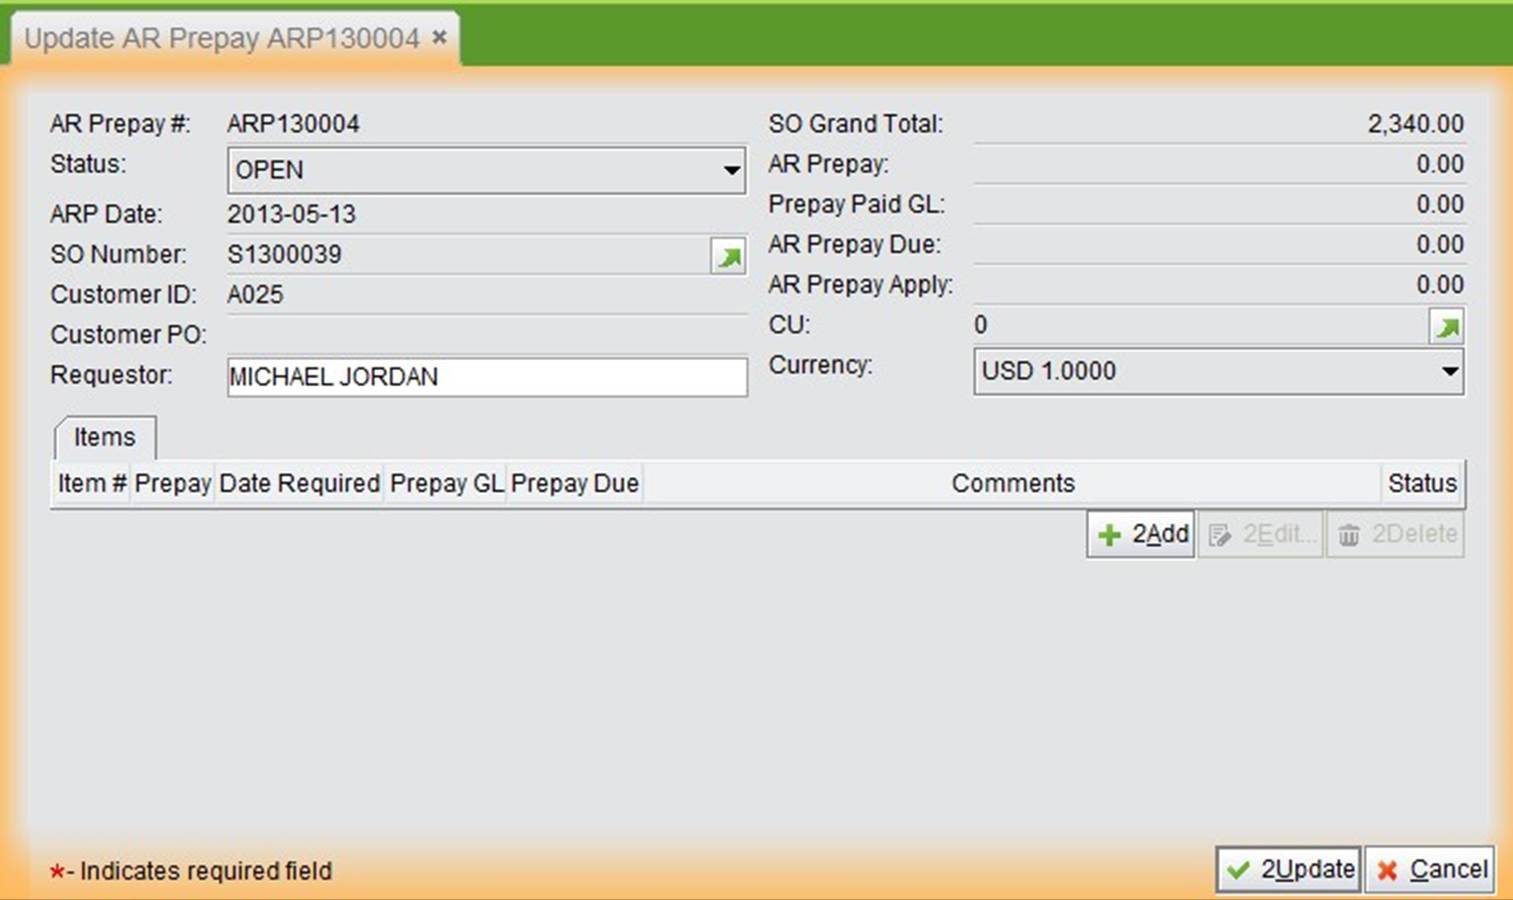 |
The upper part of this screen shows the basic information of the AR Prepay. SO # and grand total is copied from the Sales Order. Click the “2Add” button to add an AR Prepay item. You can fill in a “Prepay Amount” in the textbox, or fill in a proportion of the prepay amount above beside “SO Total” to receive the “Prepay Amount” automatically.
|
Next, click “OK” to add an Item to the AR Prepay. If the Sales Contract requires down payments in batches, you can continue to add items with different due dates, then click “2Update” to submit the AR Prepay.
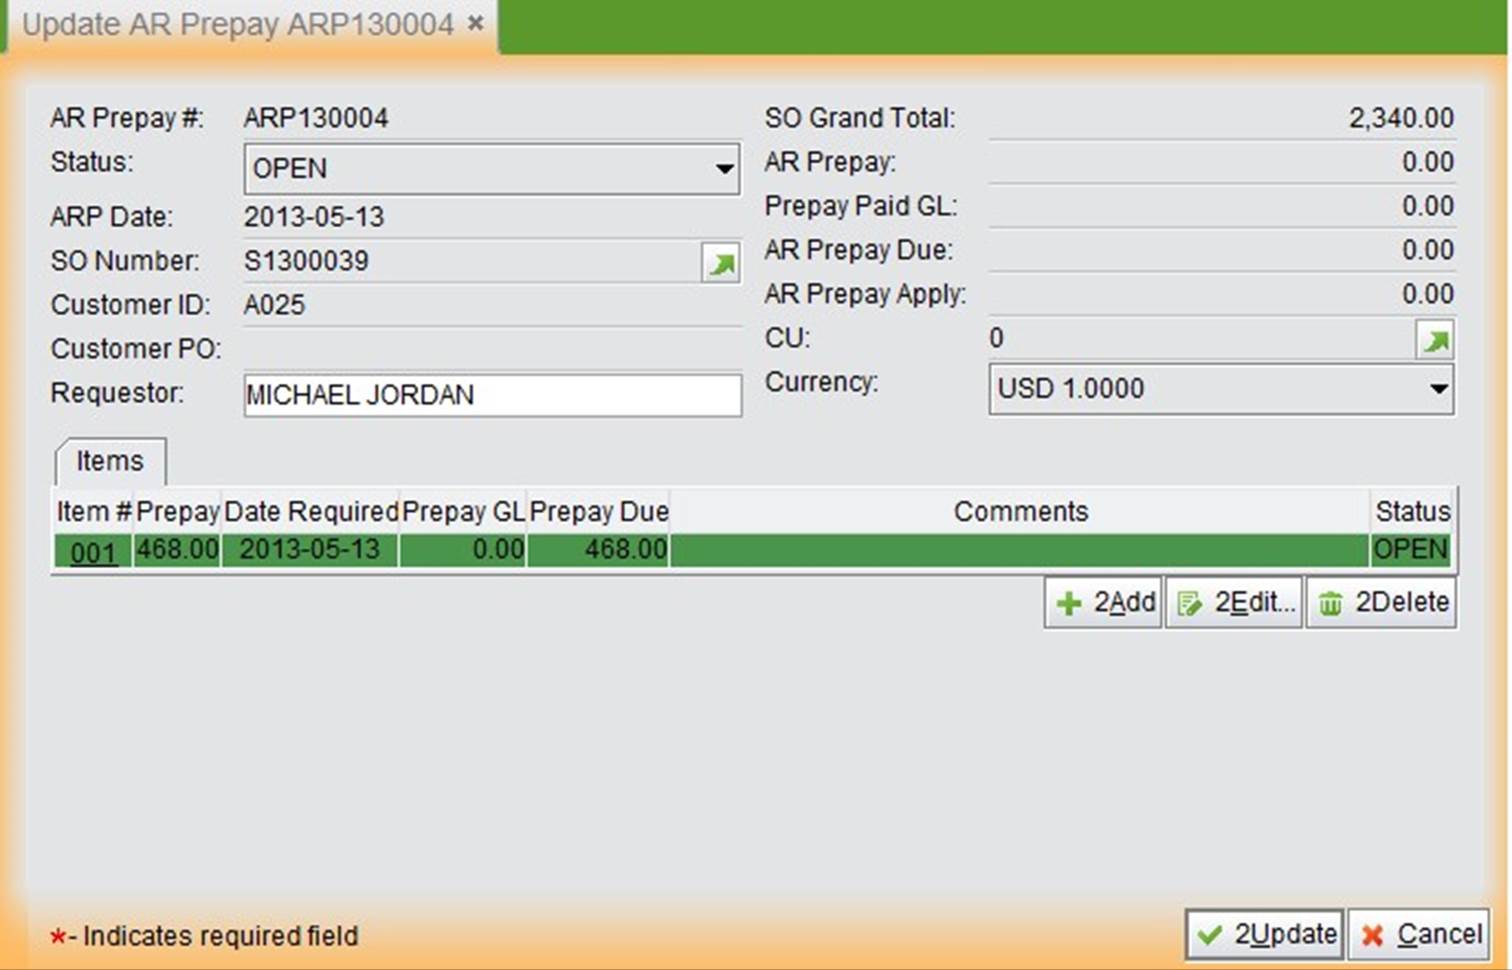 |
The status of an AR Payment remains “OPEN” as long as there are outstanding payments due. When the down payments arrive, you can add the payment to the AR Prepay Properties, or in “Accounting Box – AR Cashier.”
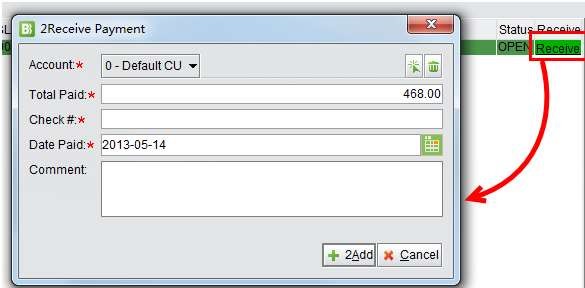
Click “Receive” to add payment for an item. In the prompt window, the Account#, amount of received payment, Check# and payment date are required fields. If the payment arrives in foreign currency, you will need to fill in the exchange rate on the arriving date. Then, click “2Add” to add the payment.
 |
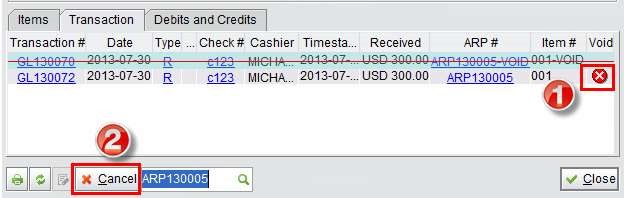
GL Transactions are created after the payment is added. Click the “Transaction” tab to view the GL Transactions. The status of an AR Prepay will be “Closed” when the Total Paid equals the Total Due.
If the wrong payment is added and you want to cancel the AR Prepay, you need to first void the payment, then click “Cancel” at the bottom of AR Prepay to cancel the payment and reopen AR Prepay.
 |
In the “AR Cashier” sub module of the Accounting Box, you can add AR Prepayment in batch in two ways: Add AR Prepayment Run or Add Wire Transfer Prepayment.
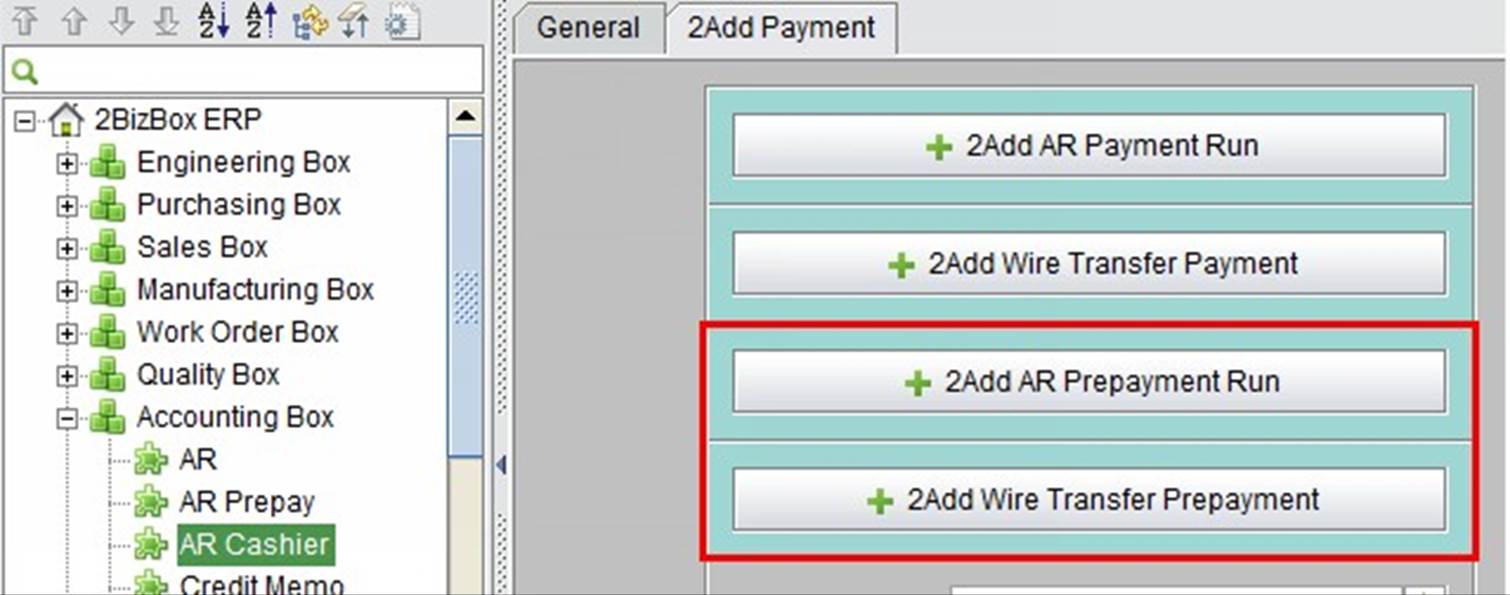 |
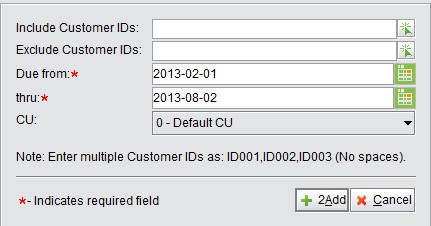
Click “2Add AR Prepayment Run” to open the adding interface, where you can search for AR Prepay by
Customer ID, Due date and Company Unit. You may enter multiple Customer IDs in the search conditions.
 |
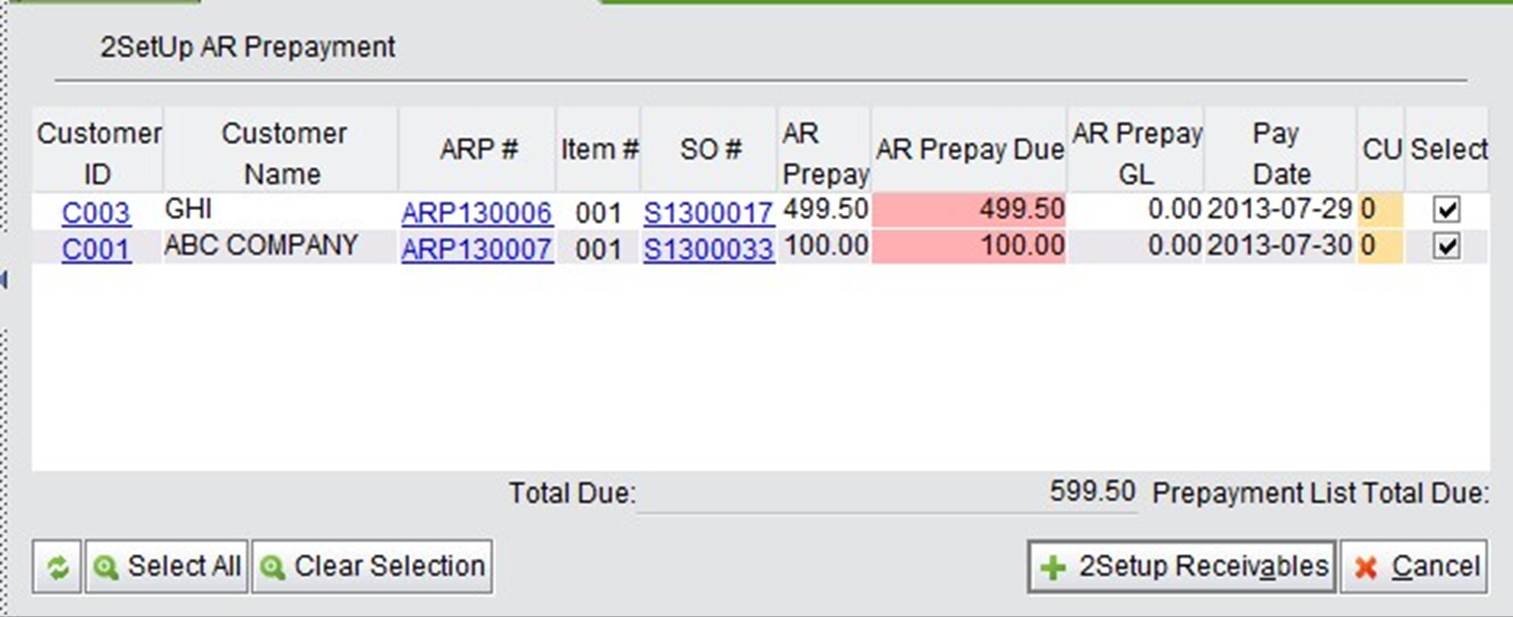
Click “2Add” to view all AR Prepay without prepayments within the search criteria. Then, select the ARP and click “2Setup Receivables” to start setting up the Prepayment Run.
 |
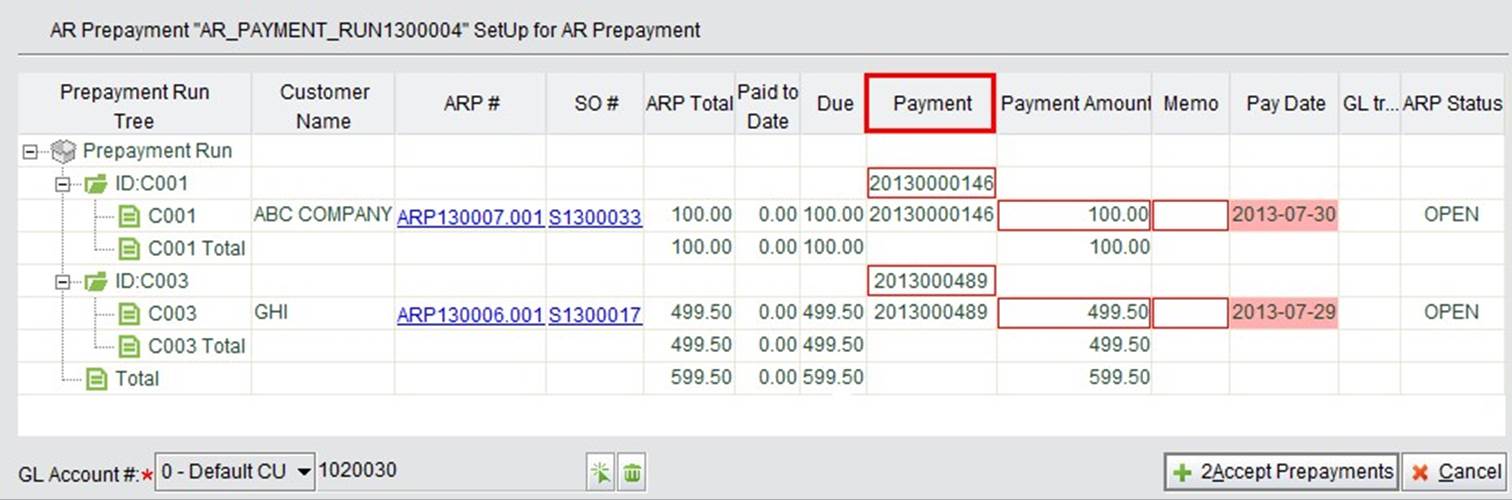
In the following interface, fill in the Payment # for each payment. If the pay date is due, the date will be highlighted in the form. “Payment Amount” is filled out by “Total Due” by default, but you can fill in the actual payment received from the customer. When you are finished, confirm all the information and click “2Accept Prepayments” to accept these payments.
 |
The next screen will display the information that you filled in, and requires your final confirmation of these payments. If you click “Cancel,” the payments can stilled be cancelled, leaving the Prepayment Run with a “Not Approved” status. Click “Accept Customer Prepayment” to confirm the payment, and accordingly, GL
Transactions will be generated for these payments. You can print the Prepayment Run on the pop up window by clicking “Print,” or using the search function to print them later.
 |
If a customer’s prepayment is made by a wire transfer, you can use “2Ad Wire Transfer Prepayment” to add the prepayments in batch.
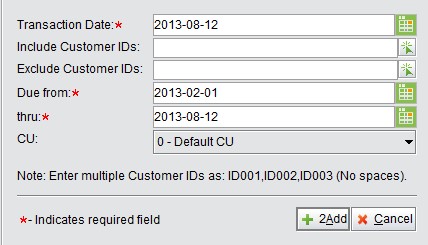
Click “Add Wire Transfer Prepayment” to open the adding interface. Set the transaction date of the wire transfer payments and the conditions to search for the AR Prepays. Then, click “2Add” to view the AR Prepays within the search criteria.
 |
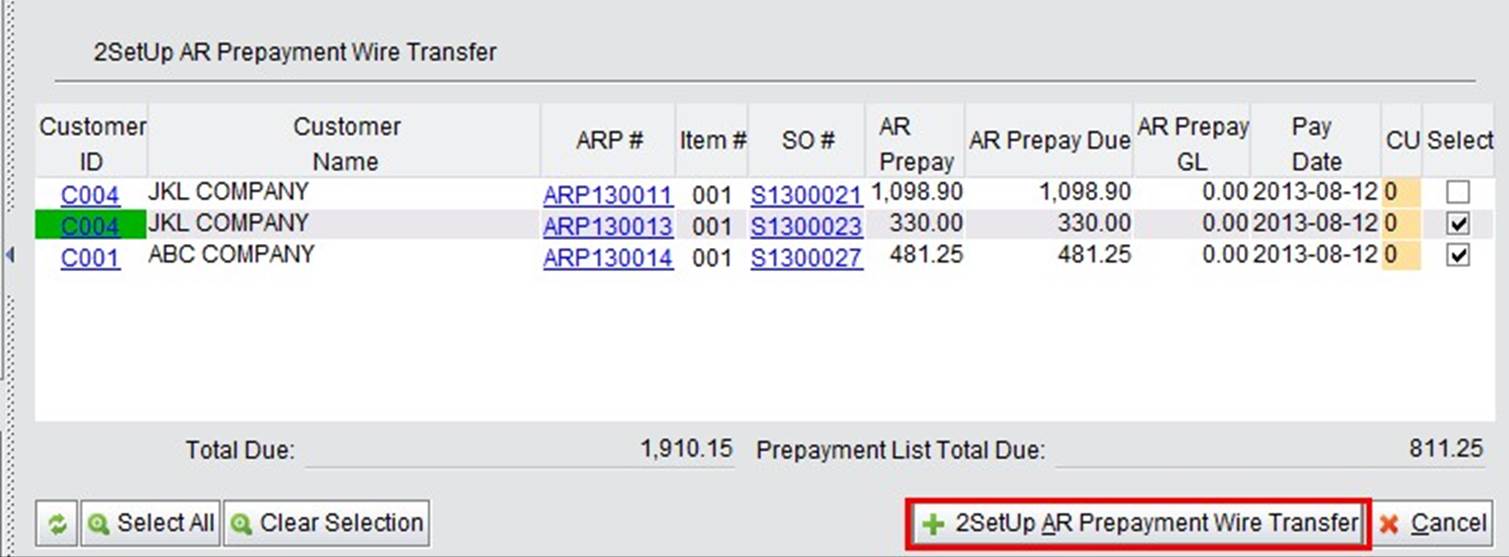
Check the AR Prepays that the prepayment has arrived by wire transfer, then click “2SetUp AR Prepayment Wire Transfer” to start setting up the prepayments.
 |
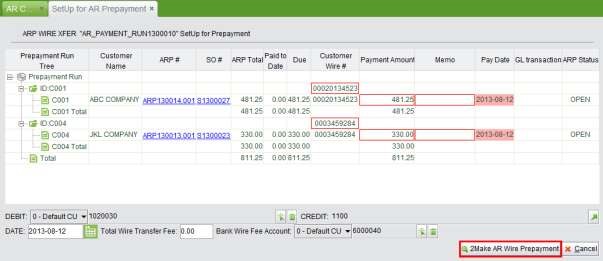
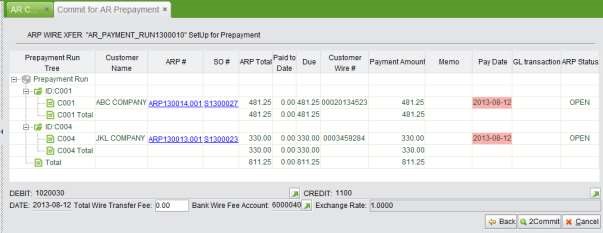
In the “SetUp for AR Prepayment” interface, fill in the customer’s wire # and payment amount. At the bottom, indicate whether the correct debit and credit accounts are selected. If there is a wire transfer fee, fill in the fee amount and select the related Bank Wire Fee Account. Then, click “2Make AR Wire Prepayment” to make the prepayment.
 |
In the last step, ARP Wire Transfer Payment Run is set up, but not committed. The payment still needs to be committed in the next screen. In the “Commit for AR Prepayment” interface, click “Back” to return to the previous screen; click “Cancel” to cancel the operation; or click “2Commit” to confirm and commit the payments.
 |
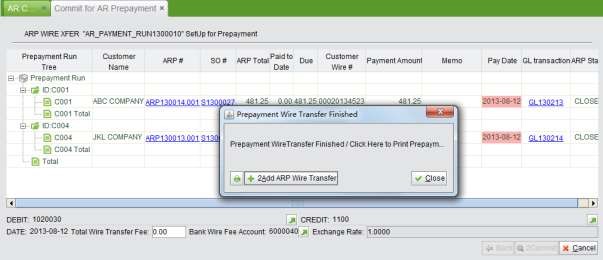
A print notice will pop up when the prepayments are committed.
 |
Under the “General” tab of “Accounting Box – AR Prepay,” you can look up and search for AR Prepay as below:
This is a basic lookup function. Fill in the complete ARP# and click this button to view AR Prepay.
This is a comprehensive search function. Use search conditions such as ARP#, Customer ID, ARP Status, or ARP Date range to search for ARP within the criteria. The search results will also show statistics such as SO Total, ARP Total, and ARP Due for better management of your Sales Order progress.