2BizBox® Manual |
Go back to 9.0 Main |
Physical inventory is a process where a business physically counts its entire inventory. Using 2BIzBox, users can create a worksheet while physically counting, and update the latest inventory quantity and value.
|
Click the button to go to the adding new physical inventory worksheet interface.
 |
At the adding interface, input a new work sheet# and description.
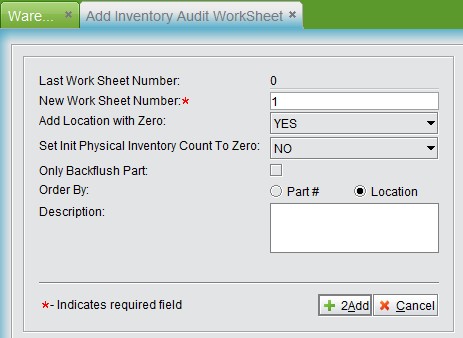 |
Add a Location with Zero if you would like to show a location where part quantity is zero.
Set Unit Physical Inventory Count To Zero: this is a special function for adding a physical inventory work sheet. If you choose “NO,” information in the newly created physical inventory worksheet will by default cover all current parts onhand qty and locations in system; if you choose “YES,” the work sheet will just record all location information of current parts in system, their quantity will reset to zero, then you can fill in the actual quantity one by one on the work sheet.
Order By: choose an order sequence by part # or location for newly created physical inventory worksheet information.
Click the “Add” button to finish the adding. Go back to its list interface and click work sheet# to see related information in detail.
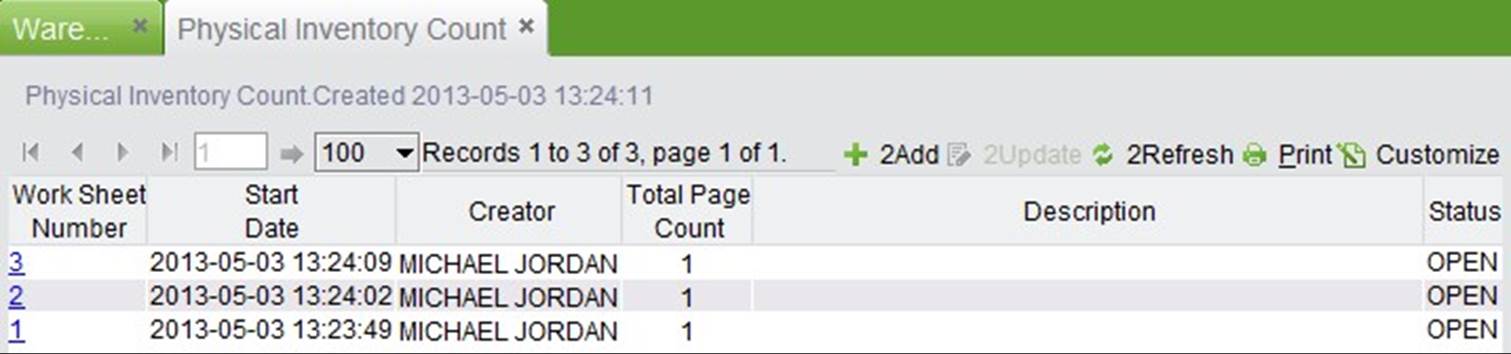 |
Input worksheet# and page#; click the button to see detailed information.
 |
The detailed physical work sheet information will appear as below. Click “Print” to print the work sheet.
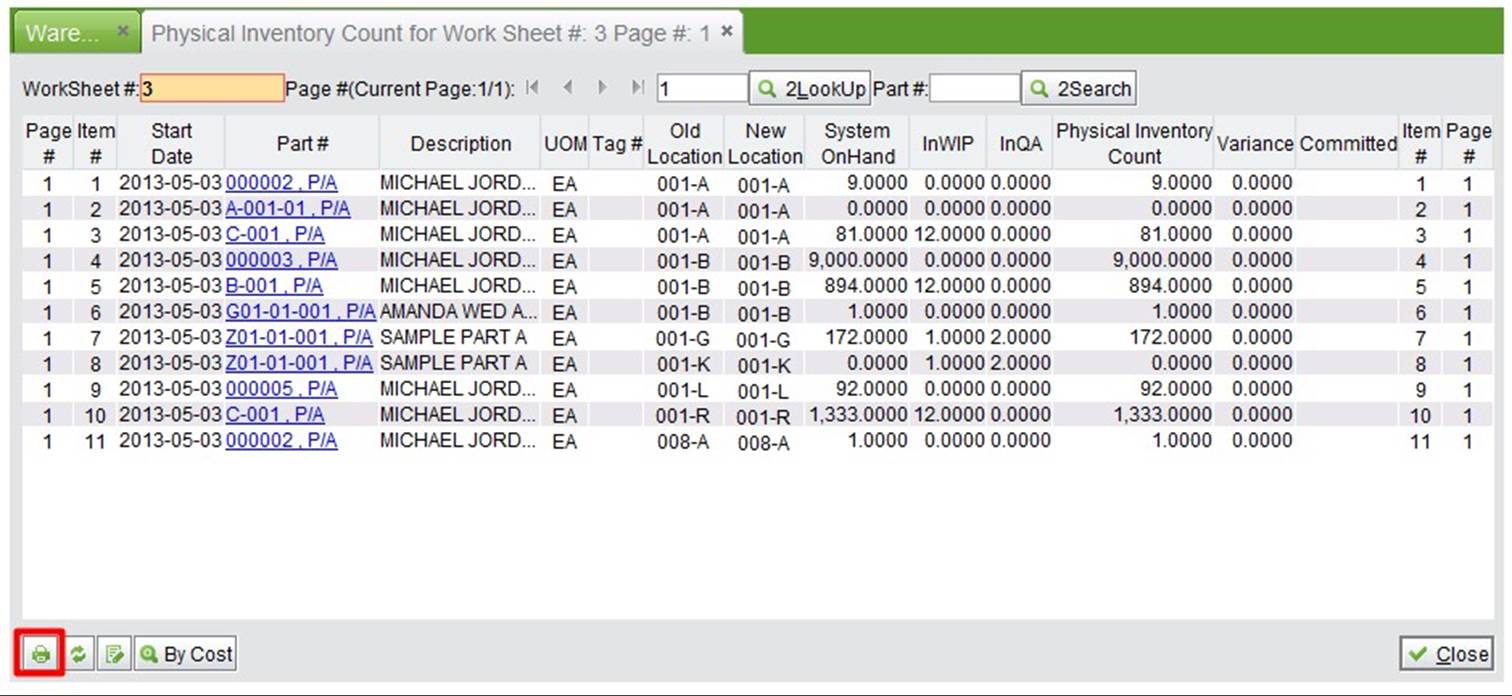 |
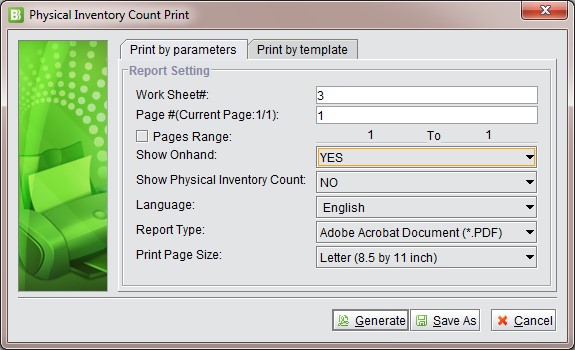
Print the work sheet based on counting requirements to generate a PDF or XLS file.
 |
The printed physical inventory work sheet will look like the image below:
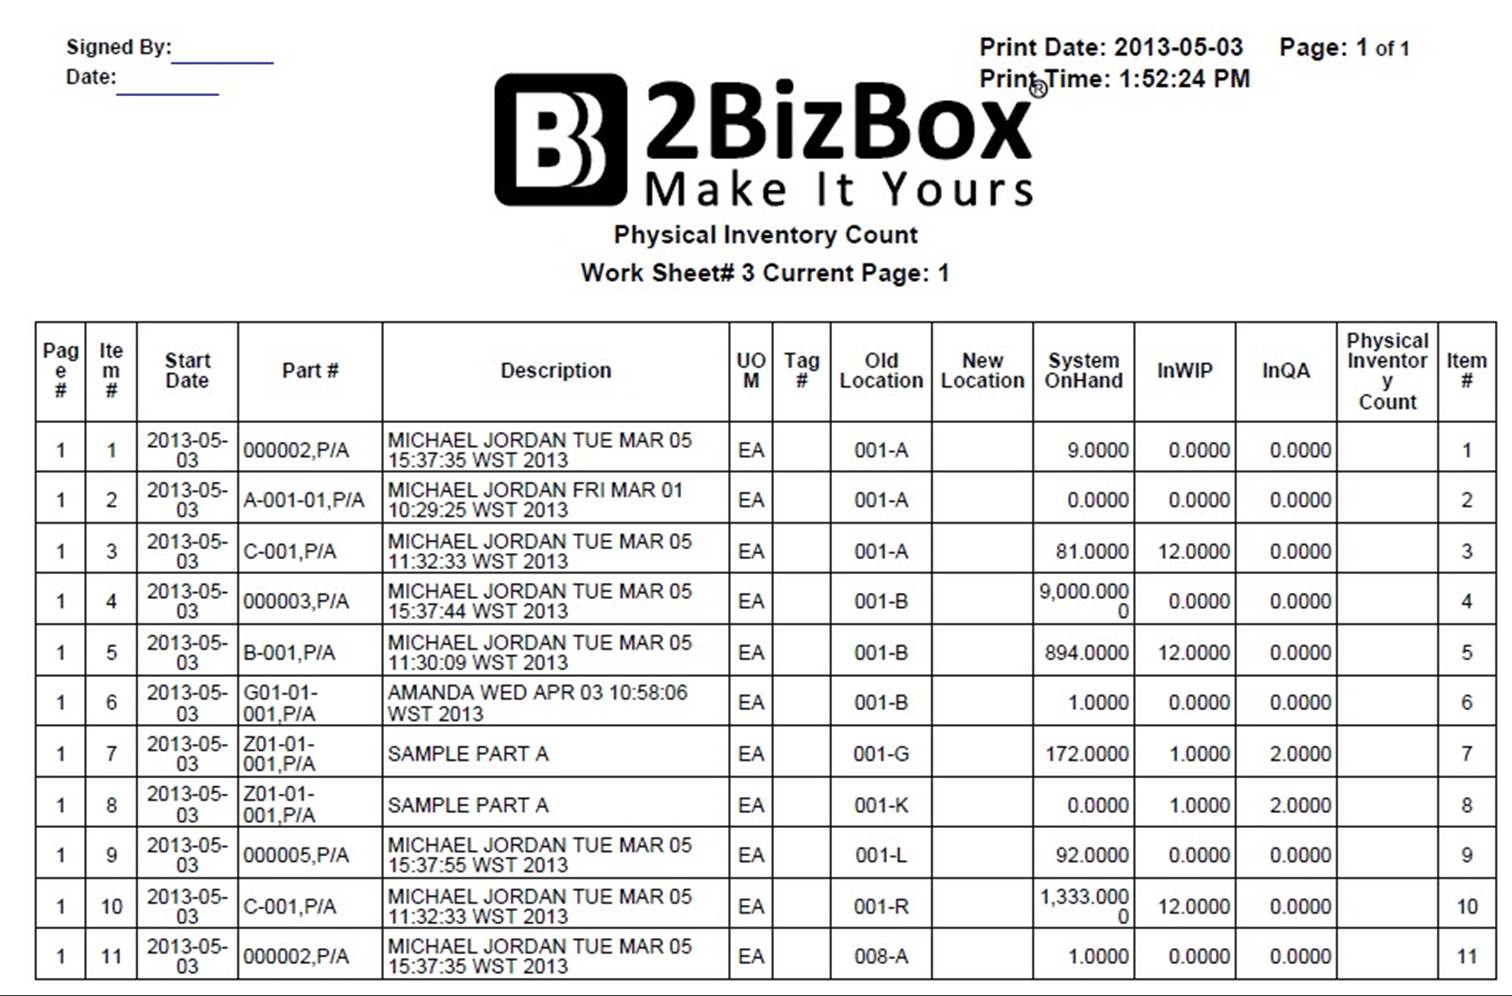 |
Now you can begin warehouse counting with the printed work sheet. Mark the descrepancies and fill in actual part quantity in the “Physical Inventory Count” column.
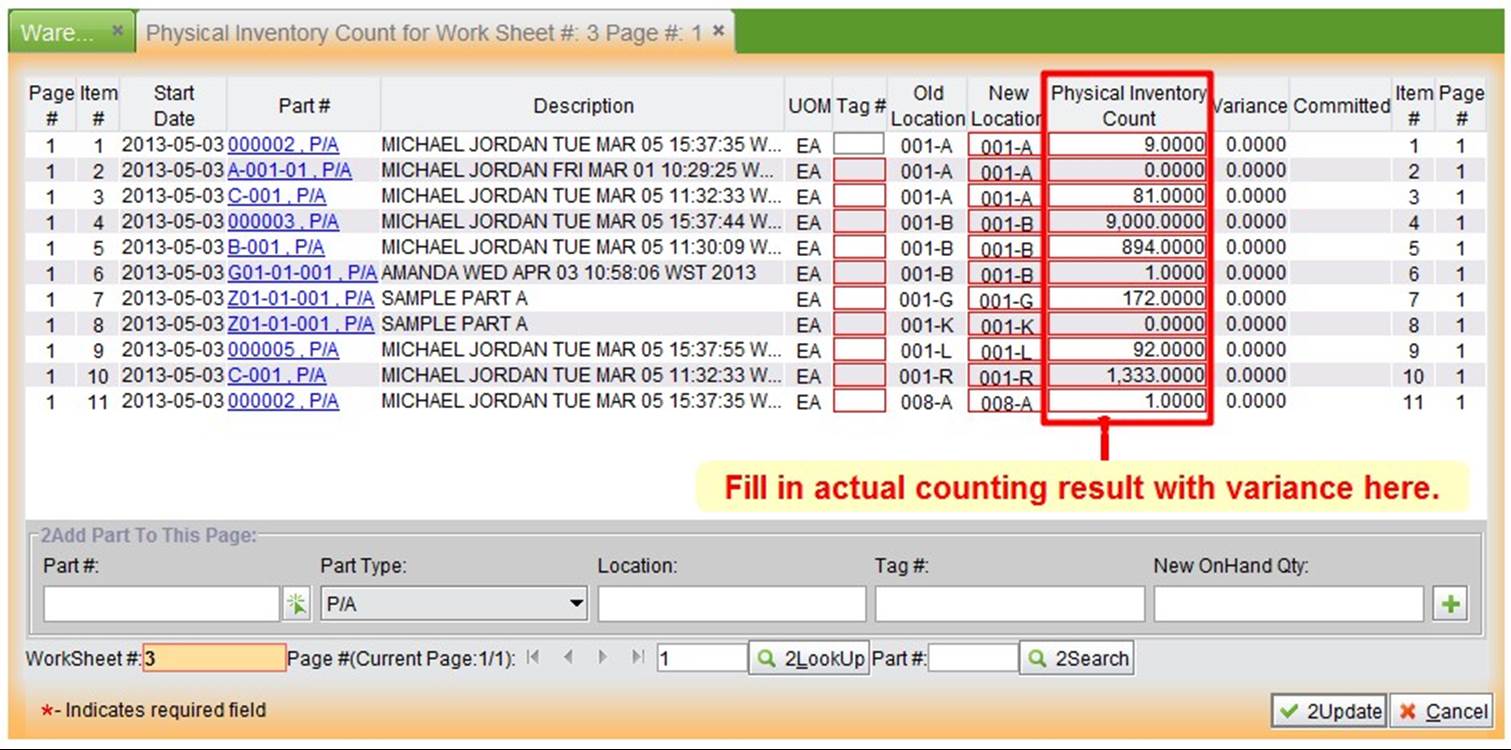
After counting inventory, click “Edit” and fill in the actual counting results that did not match with those in the system in the “Physical Inventory Count” column.
 |
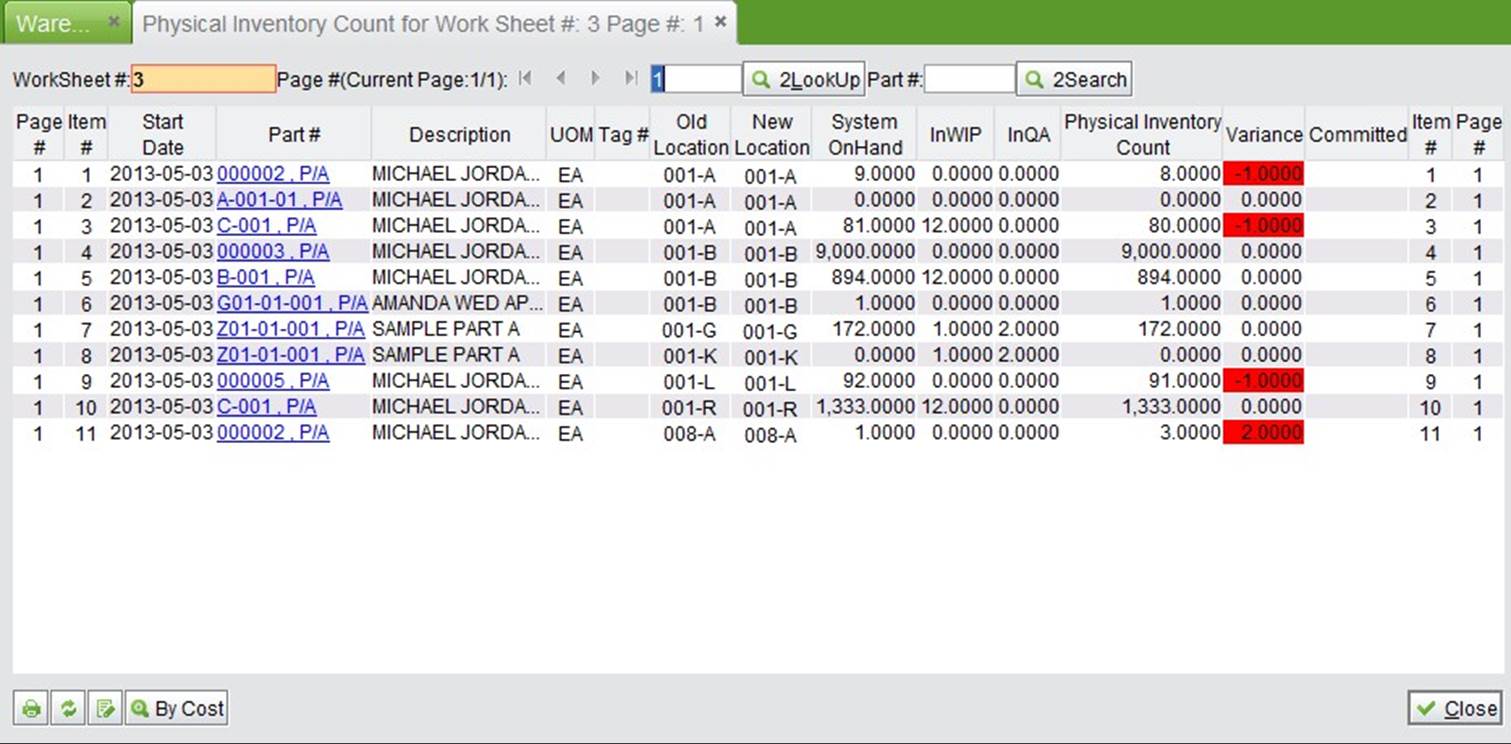
After updating, items with variance will be highlighted in red:
 |
 |
Parts with quantity variance after physical counting need to be confirmed with physical counting one more time. Input a work sheet# and click “Changed Physical Inventory Worksheet” to see part items with variance.
 |
Click “Print” to print the work sheet to go to warehouse do physical counting again. If variance still exists, repeat the above operation until the numbers match. (Do it according to company’s requirements).
After physical counting, company users with permission can go to “Accounting module->Inventory” to update part inventory.
Input a work sheet # and click the button to commit a physical inventory work sheet.
 |
Input a work sheet# and page#, then click the button to see physical inventory work sheets with average cost.
 |
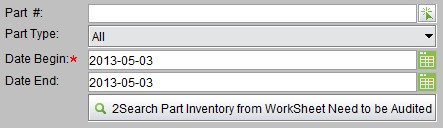
Input a work sheet# to search for physical inventory information in a specified work sheet.
 |
 |
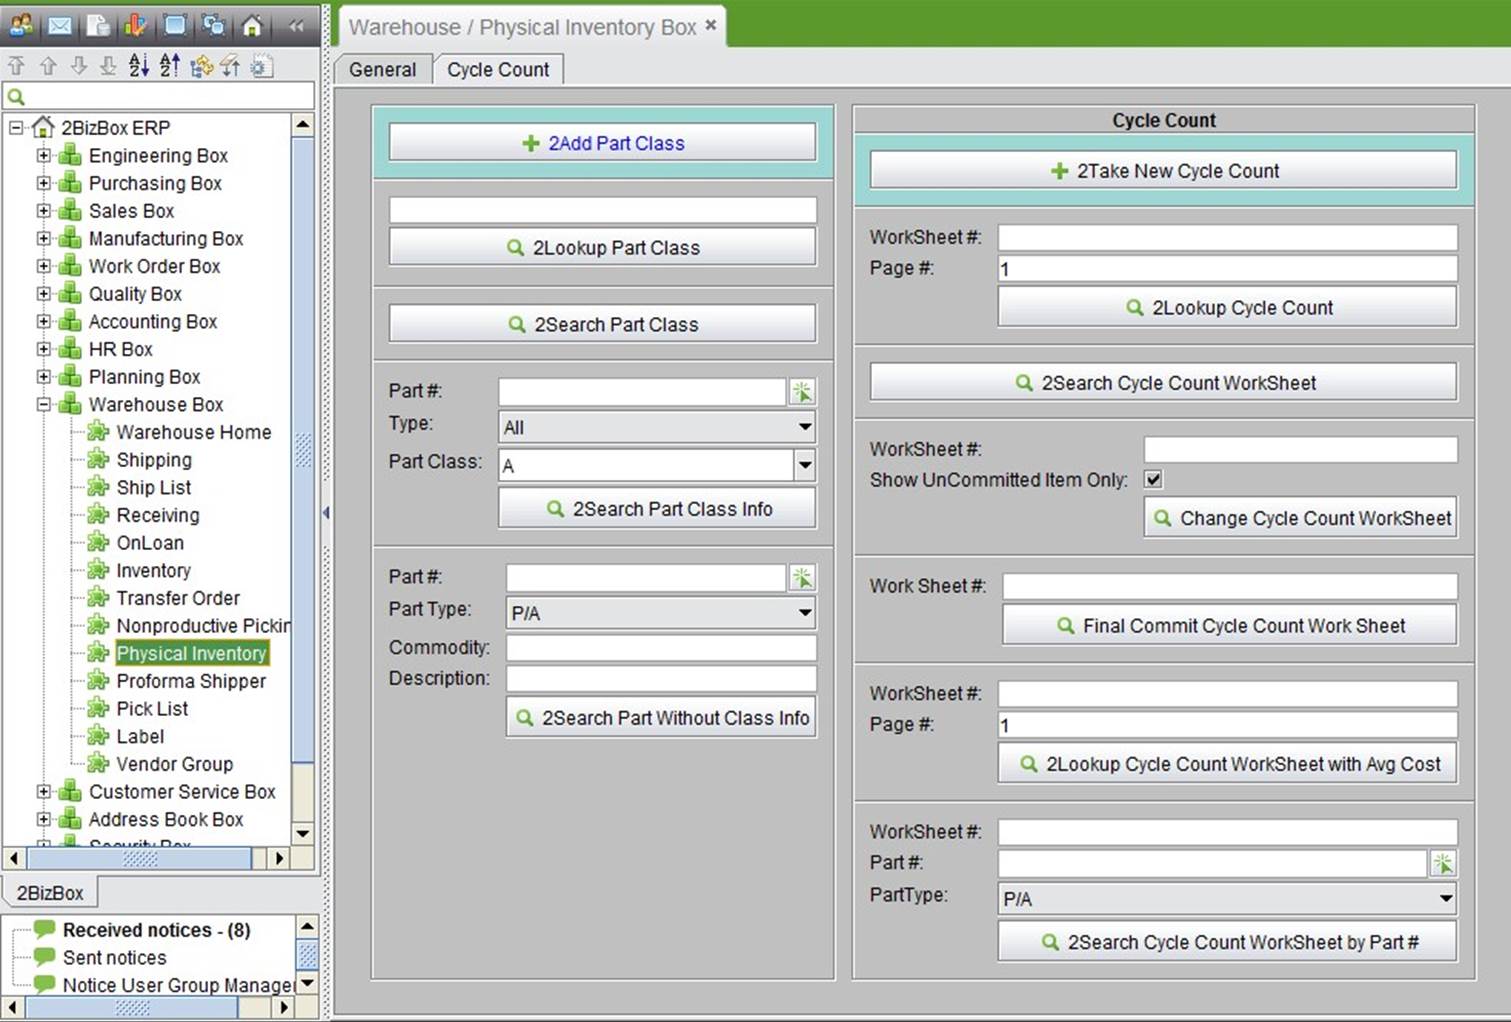
A cycle count is an inventory auditing procedure, which falls under inventory management, where a small subset of inventory in a specific location is counted on a specified day. Cycle counts are different from traditional physical inventory in that a full physical inventory may stop operation at a facility while all items are counted at one time. Cycle counts are less disruptive to daily operations, provide an ongoing measure of inventory accuracy and procedure execution, and can be tailored to focus on items with higher value, higher movement volume, or that are critical to business processes. Cycle counting should only be performed in facilities with a high degree of inventory accuracy (greater than 95%). The purpose of cycle counting is to verify the inventory accuracy and is not an adequate procedure to be used to correct inventory errors.
Most cycle counting applications use ABC analysis, segregating items into various count frequencies based on the material’s values. ABC analysis is also applied to the 2BizBox system. It is used to simplify the management process and mitigate cost.
 |
Parts in the warehouse can be divided into different part classes by their value and usage. A cycle counting period and frequency can be made for each predefined part class. Click “Add Part Class” to go to the adding interface.
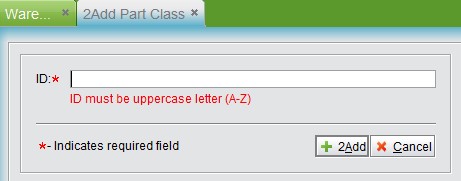 |
Input part class ID# and click the “Add” button to go to the updating interface. Note: part class ID# must be an uppercase letter A-Z.
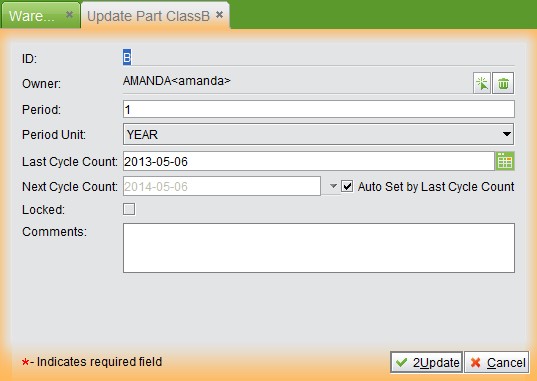 |
Owner: the person who is responsible for cycle counting the part class.
Period & Period Unit: select week, month, quarter, half year or year.
Cycle Count Time: the next cycle count date set automatically by its period; or based on checking “Auto Set by Last Cycle Count.”
Locked: check this box to lock the part class.
Click “Update” to finish adding a part class.
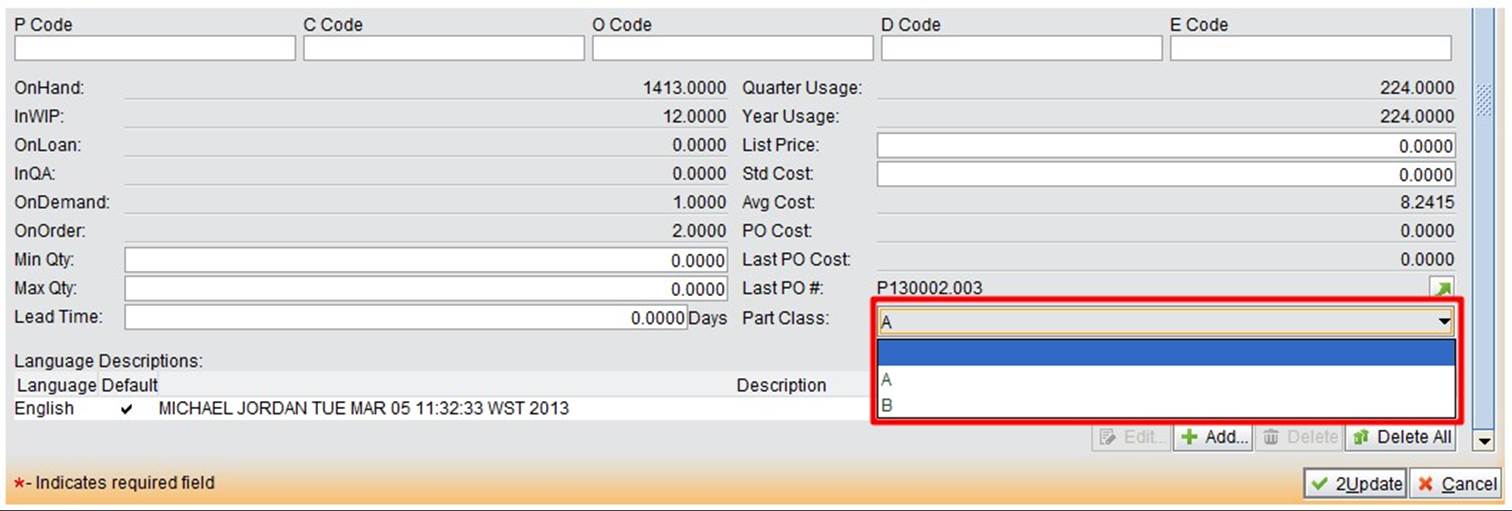
After adding the part class, go to the part updating interface to set a part class for the part.
 |
Input part class ID and click the button to see detailed information.
 |
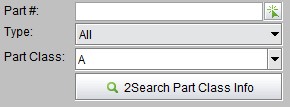
Click the button to search all part classes in the system.
Search part class information by part# and part type.
 |
Note: 2BizBox Client needs to be restarted after a new part class is added. After the restart, the new one will appear in the drop-down list.
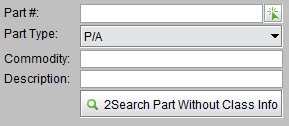
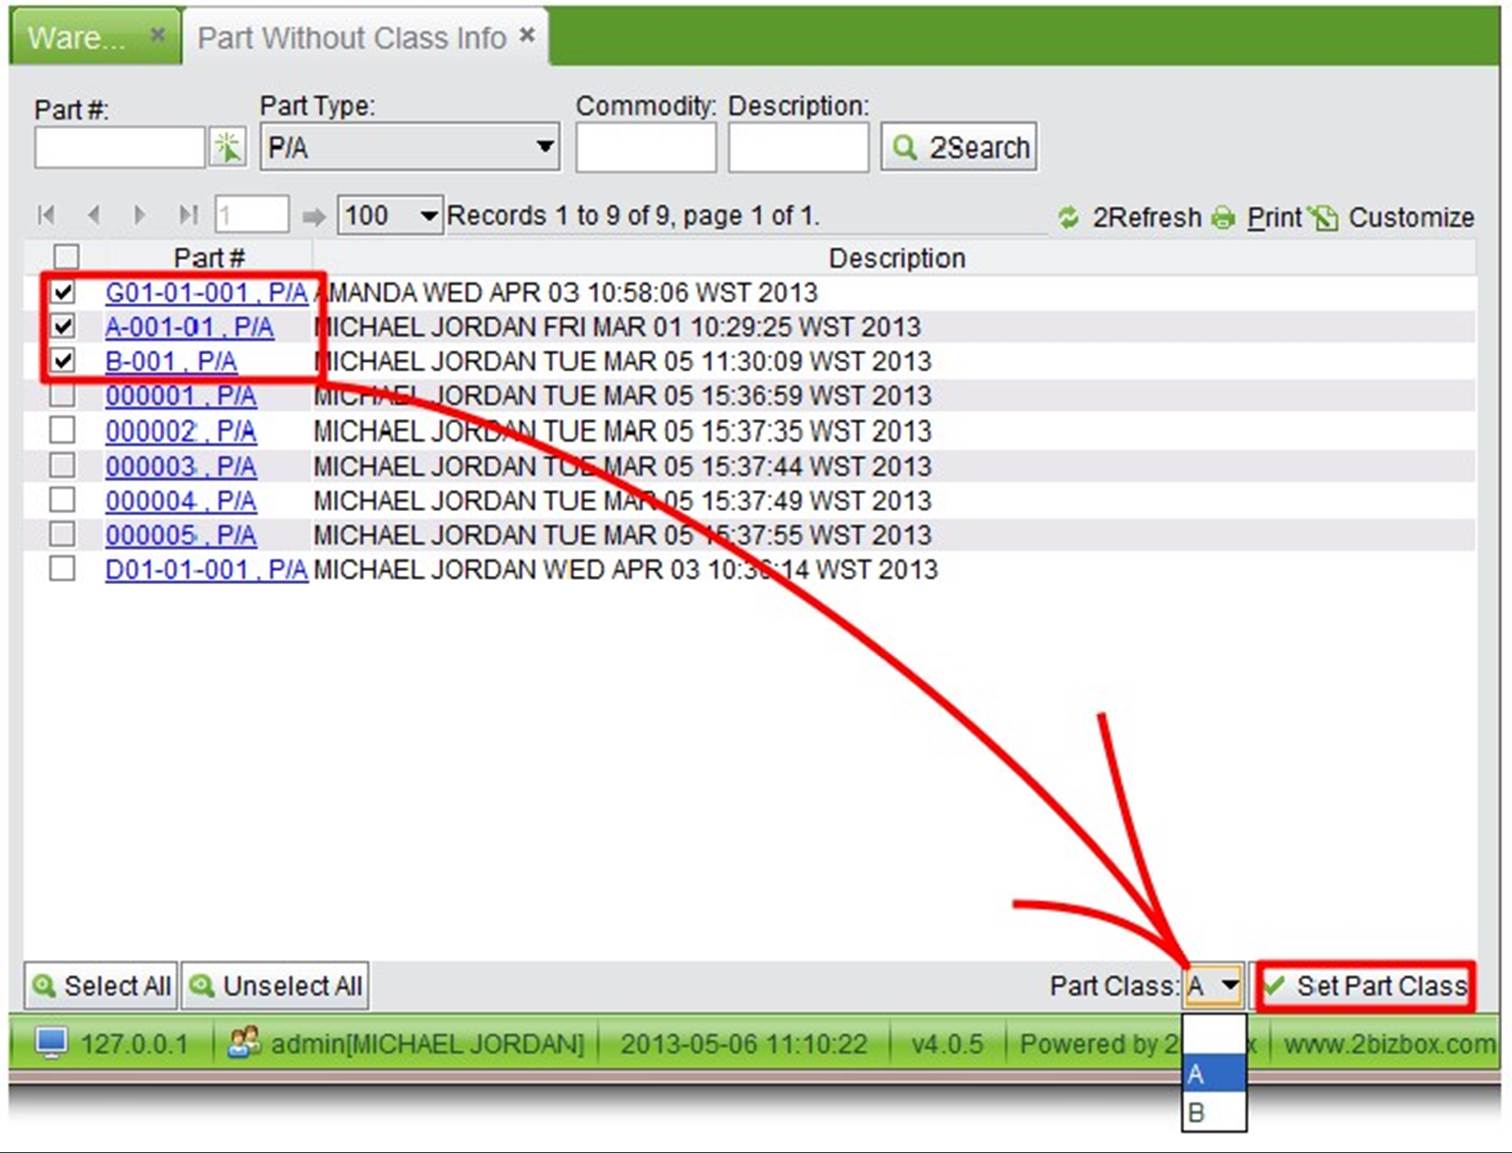
Search parts without class information by part#, part type, commodity code, or description.
 |
Search results will appear as below:
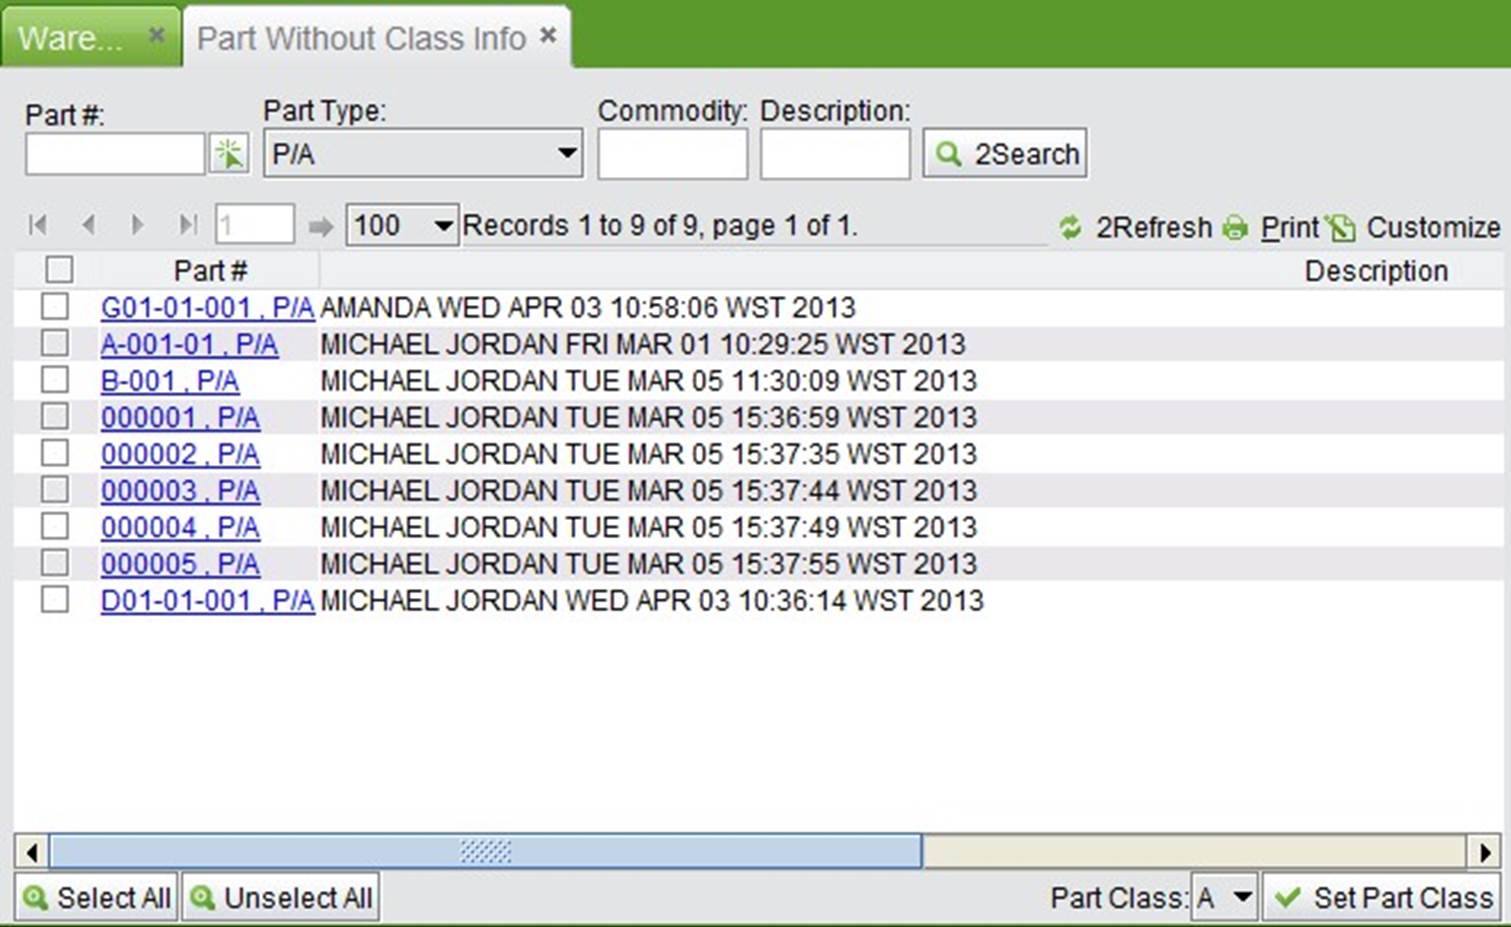 |
In the above interface, you can set part class for those parts without set yet. Select the corresponding part#, part class at right bottom, and click “Set Part Class” to finish the part class setting for selected parts.
 |
Essentially the same as a physical inventory work sheet, a cycle count work sheet is used for cycle counting parts based on part class. While creating a cycle count work sheet, part class needs to be chosen. For the cycle count process, refer to “physical inventory general process. “
Click “Take a New Cycle Count” button to go to its adding interface.
 |
New Work Sheet Number: the number is automatically defined as 0, 1, 2, etc.
Add Location with Zero: indicates whether to show the part quantity with zero in the location.
Part Class: choose a part class to cycle count from the drop down list.
Order by: choose an order sequence by part # or location for newly created cycle count work sheet information.
“Add” to add one cycle count work sheet for the part class; click work sheet# to view detailed information.
 |
The cycle counting work sheet is as shown below:
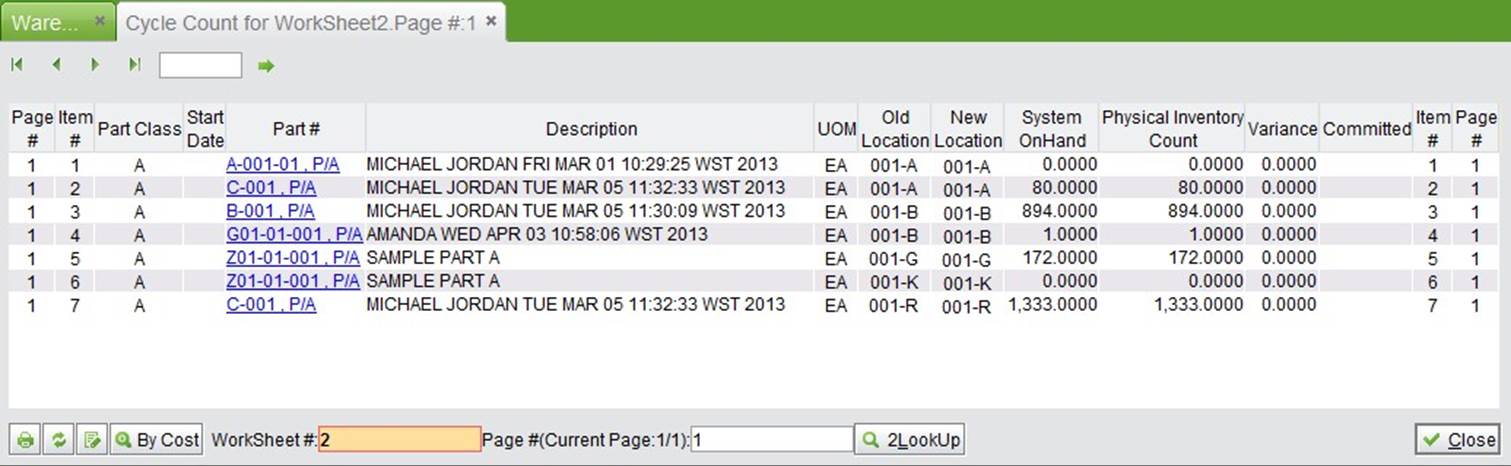 |
Click “Print” to print the work sheet. Then proceed to the warehouse to count with it.
The print results are shown below:
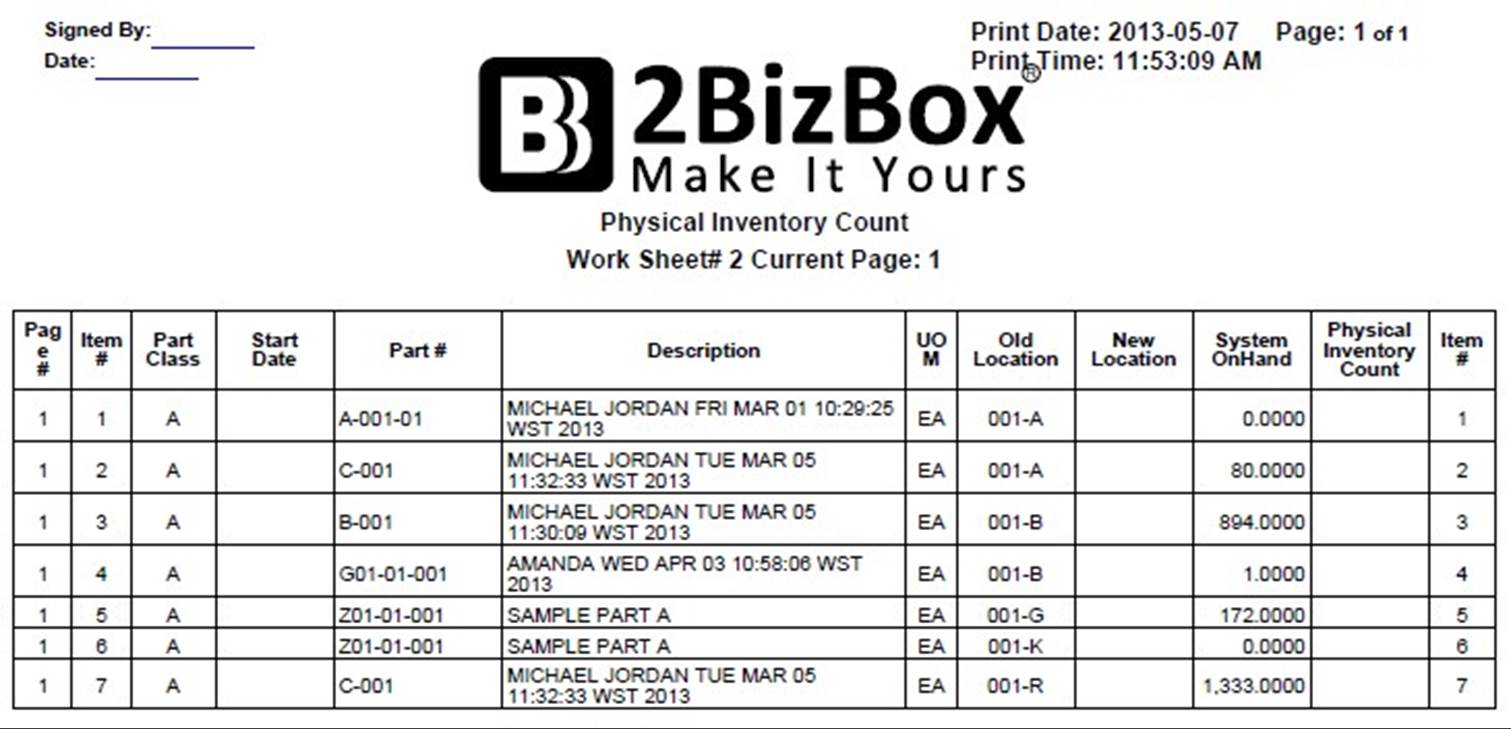 |
Input work sheet# and page#, then click the button to see detail information.
 |
Click the button to search all cycle count work sheets.
After counting parts, fill in the “Not matched item qty” in the “Physical Inventory Count” column on the printed work sheet. Then click the “Edit” button to fill in any “not matched items’” location and inventory information in the 2BizBox system.
 |
If some parts of the warehouse where there is no inventory recorded in the system, you can add it in the below interface. When you are finished, click “OK.” You will see part items with variance highlighted in red.
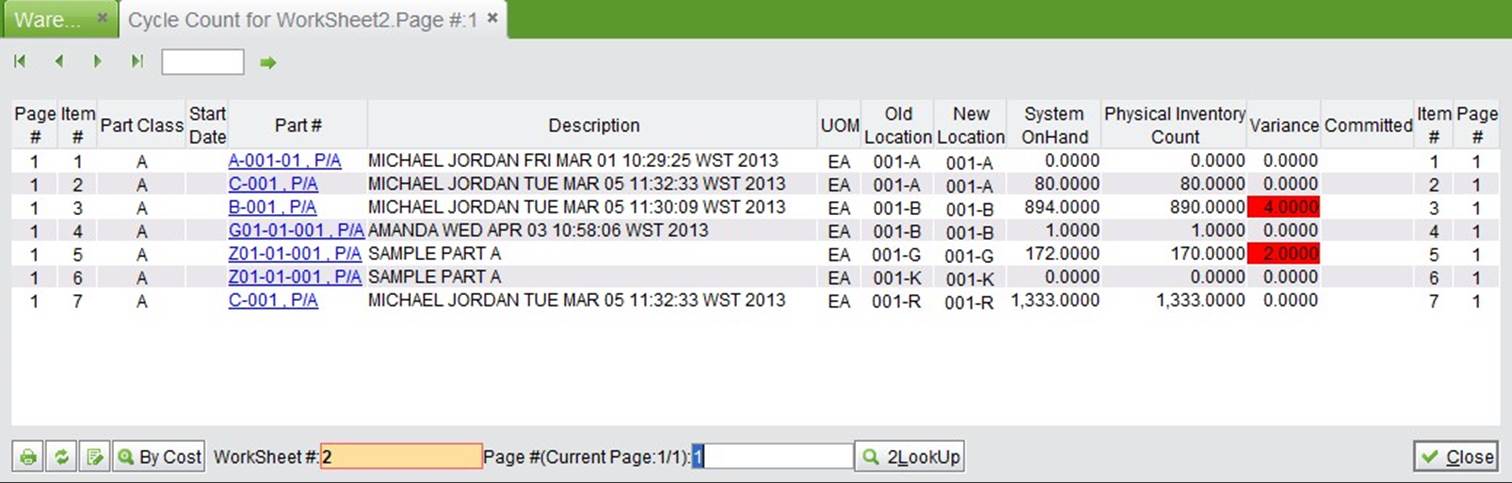 |
After cycle counting, part items with variance need to be counted again. Input work sheet# and click “Change Cycle Count Worksheet.”
 |
It will list all part items with variance; print this sheet and go to the warehouse to count again.
 |
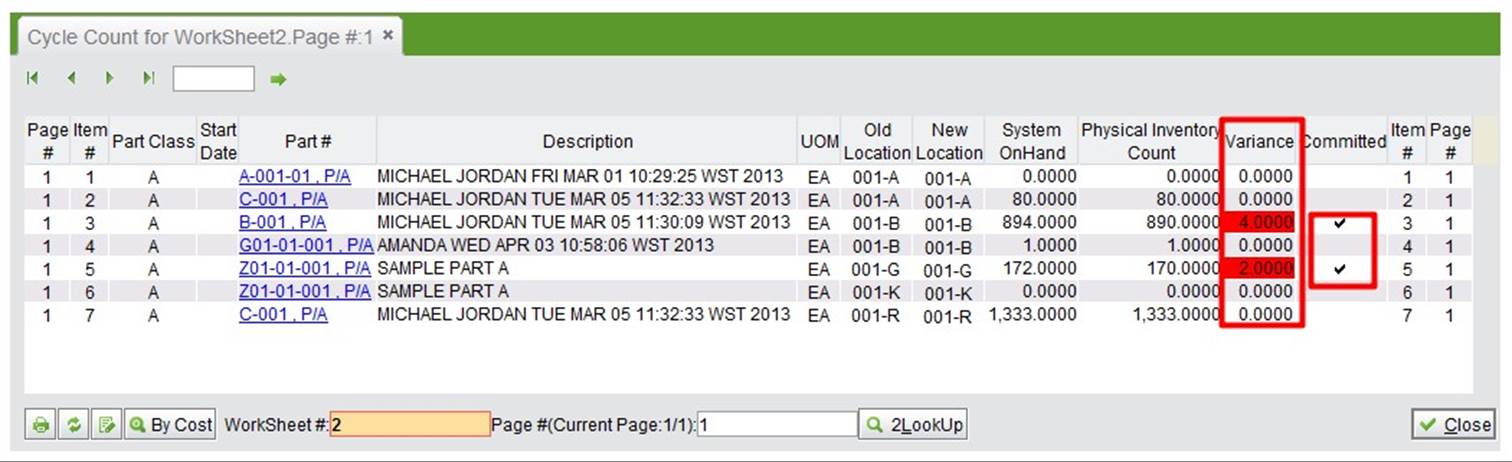
After cycle counting is completed in the warehouse and the part item with variance is corrected, click “Final Commit Cycle Count Work Sheet” to submit the changed part items quantity.
 |
After being committed, the part item with variance will be highlighted and shown as committed. The new inventory should be changed in the accounting module by a related user in the company, like an accountant.
 |
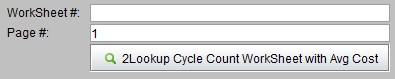
Input worksheet# and page#, then click the button to see a detailed cycle count worksheet with average cost.
 |
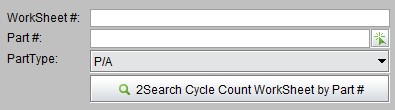
Input worksheet# and part# key word, then click the button to search cycle count work sheets by part#.
 |