2BizBox® Manual |
Go back to 9.0 Main |
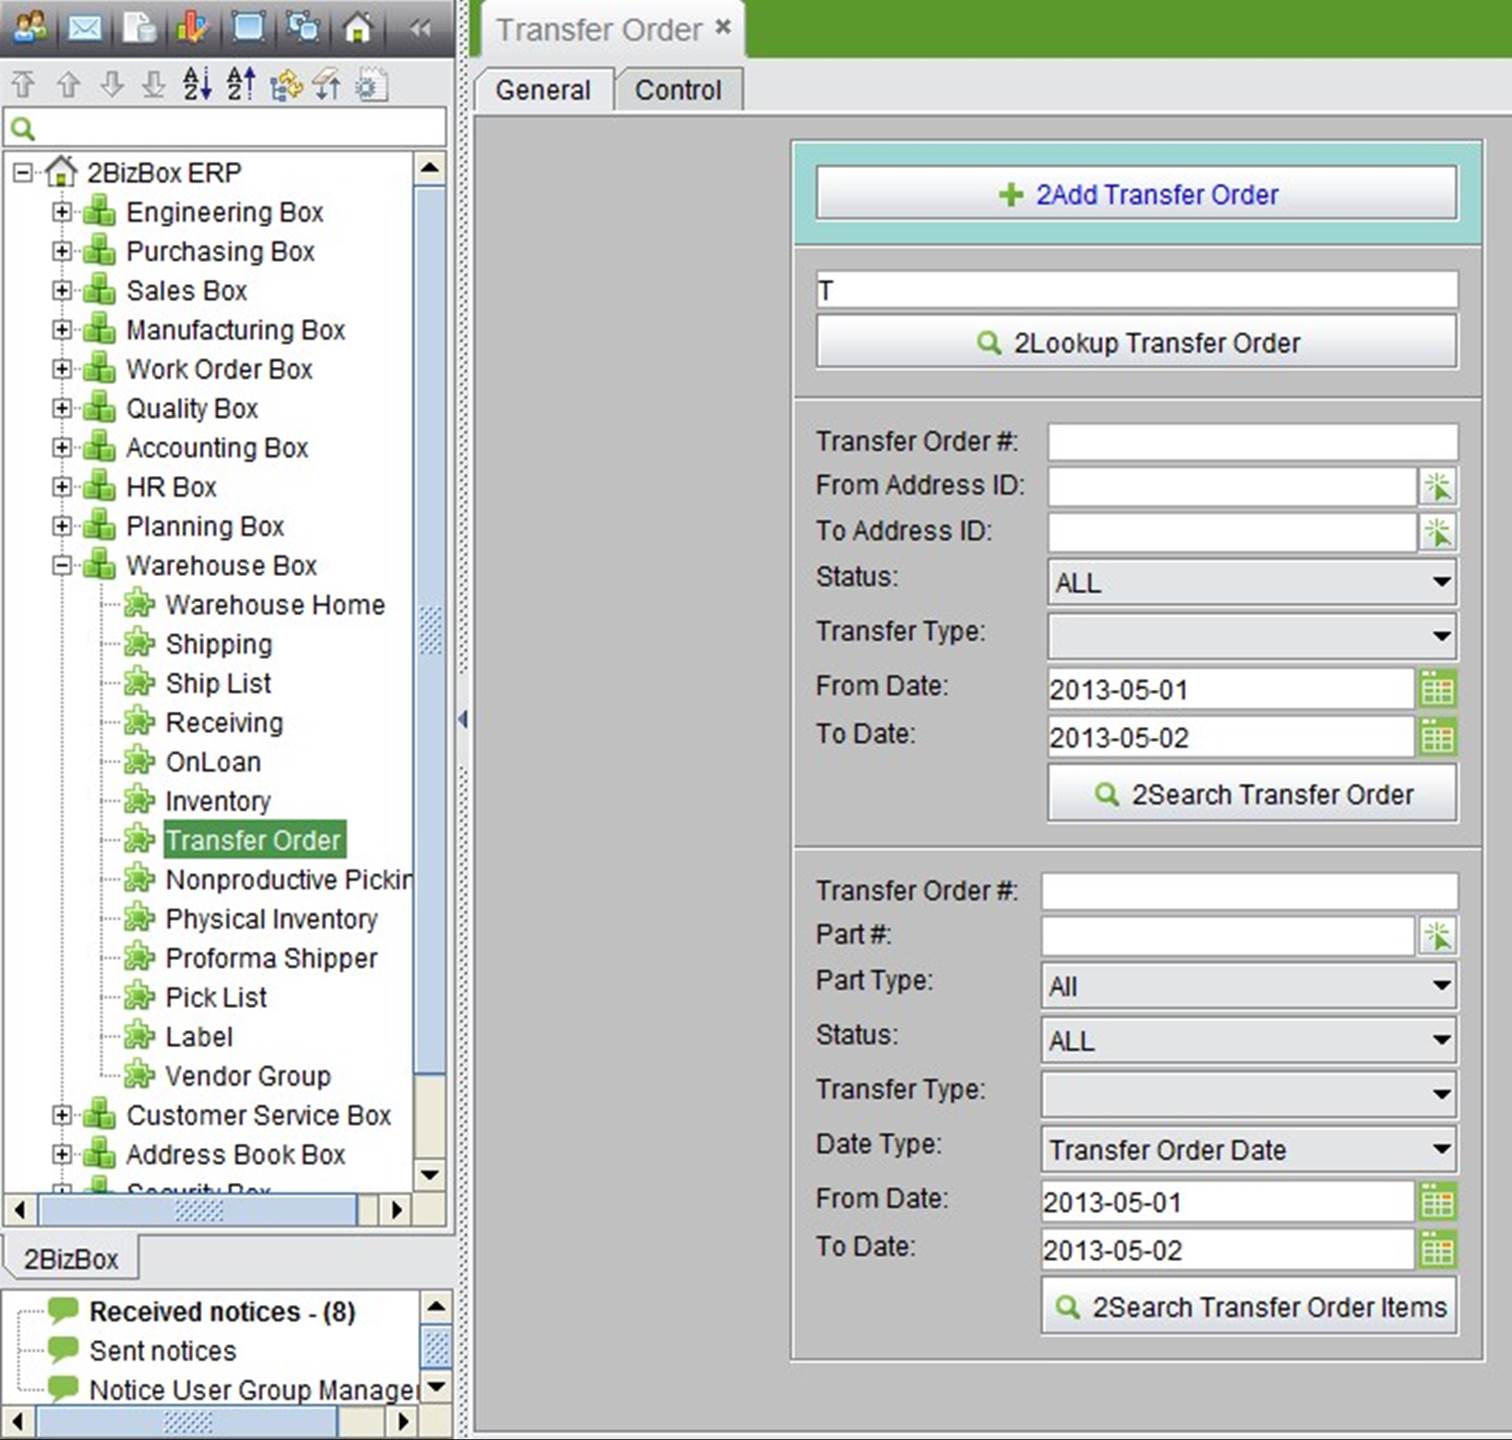
Transfer orders include inner transfer and outer transfer, These all can be added in the transfer order module in the Warehouse Box.
|
Click “Add Transfer Order” to choose a transfer type and address ID#. “From Address ID” can be the same as “To Address ID.”
 |
Click “Add” to go to the transfer order updating interface.
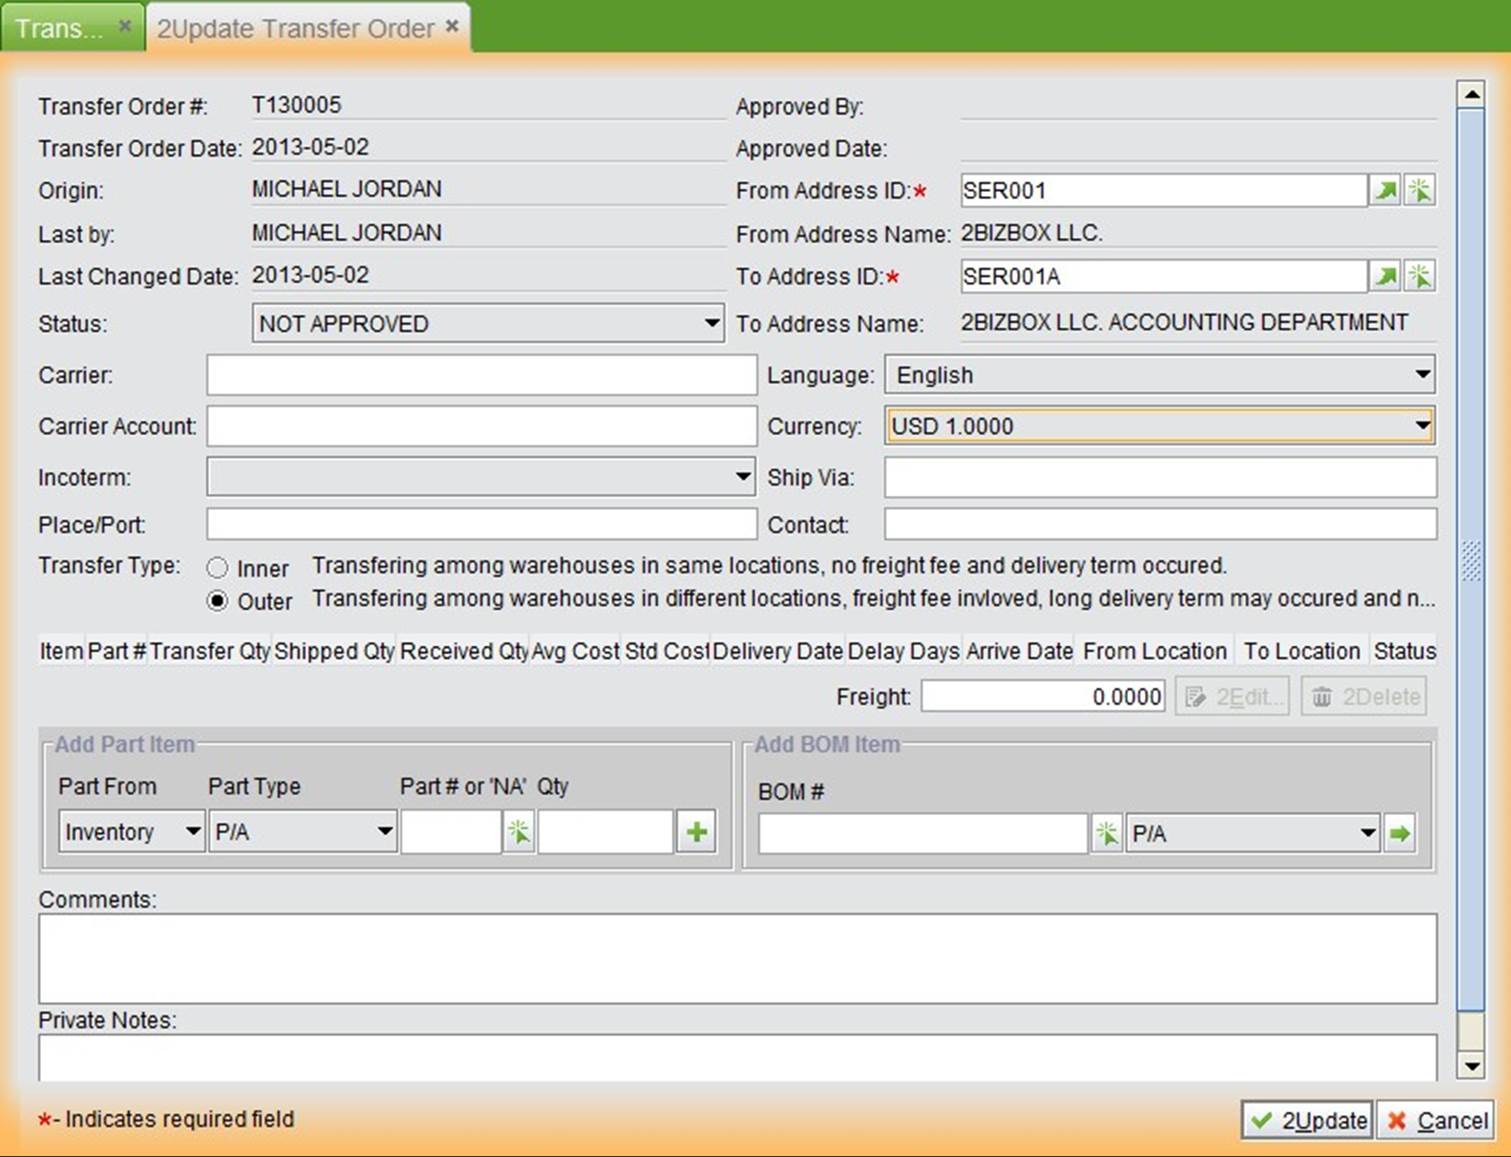 |
At the updating interface, transfer type can be changed based on the actual situation. You can find detailed descriptions of the two transfer type’s differences. Simply put, inner and outer transfer is moving parts among different locations in different warehouses; inner transfer doesn’t need freight or long delivery time, while outer transfer will generate freight and related long delivery time. After submitting a transfer order, inner transfer order does not need a shipping action in the system; simply click the “Transfer” button at the transfer order interface to finish. Outer transfer needs shipping and receiving action in system. Input part# and part quantity to be transferred and click the “+” button to go to the updating transfer item interface.
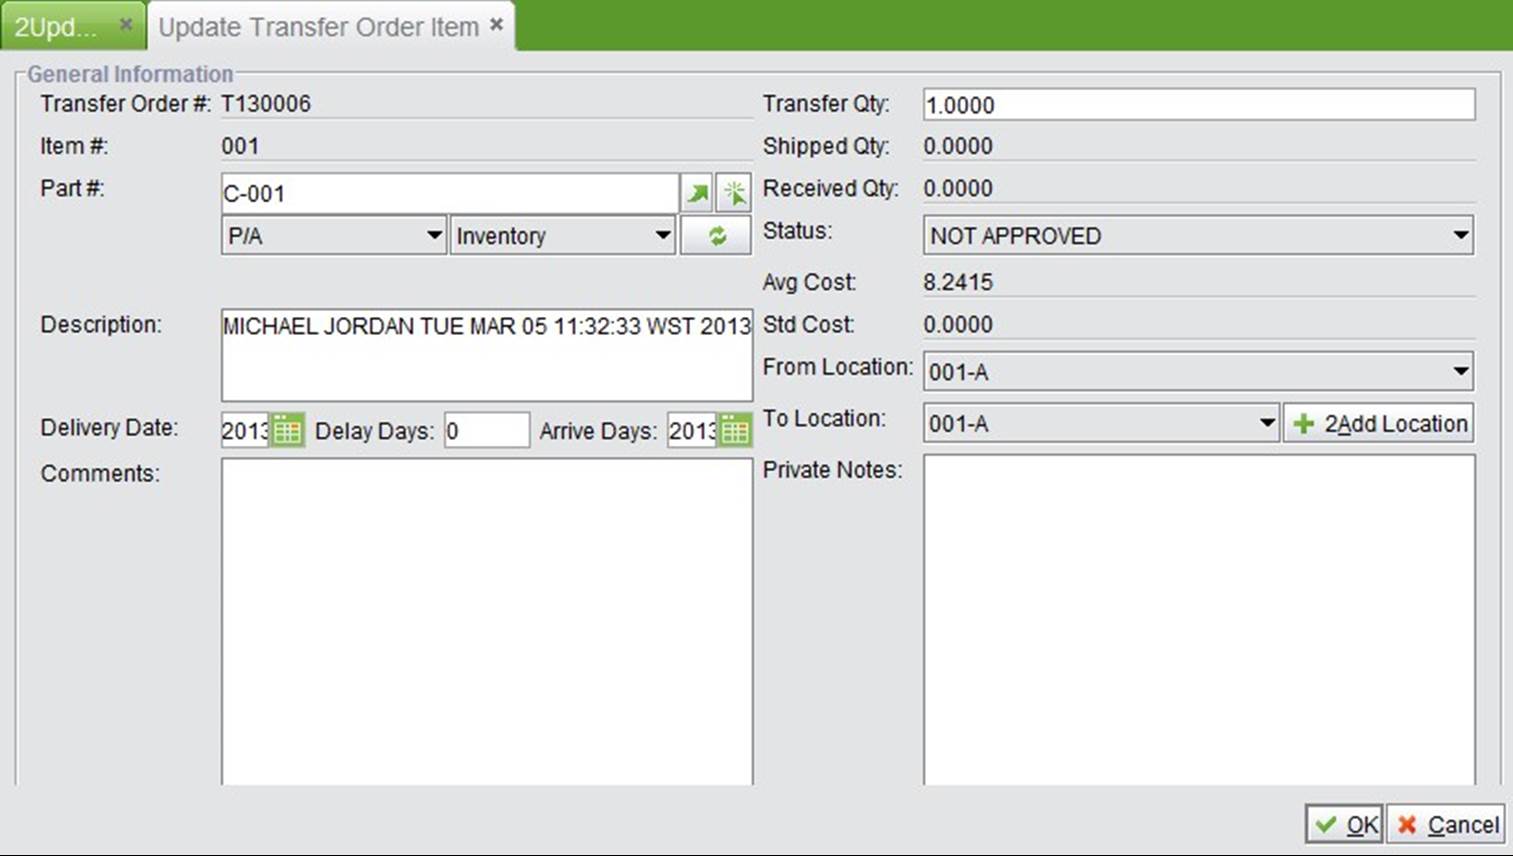 |
Here choose “From Location” and “To Location” from the drop down list.
 |
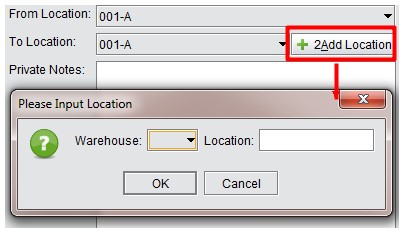
You can also add a new warehouse and location for “To Location” instead of choosing from the drop down list.
 |
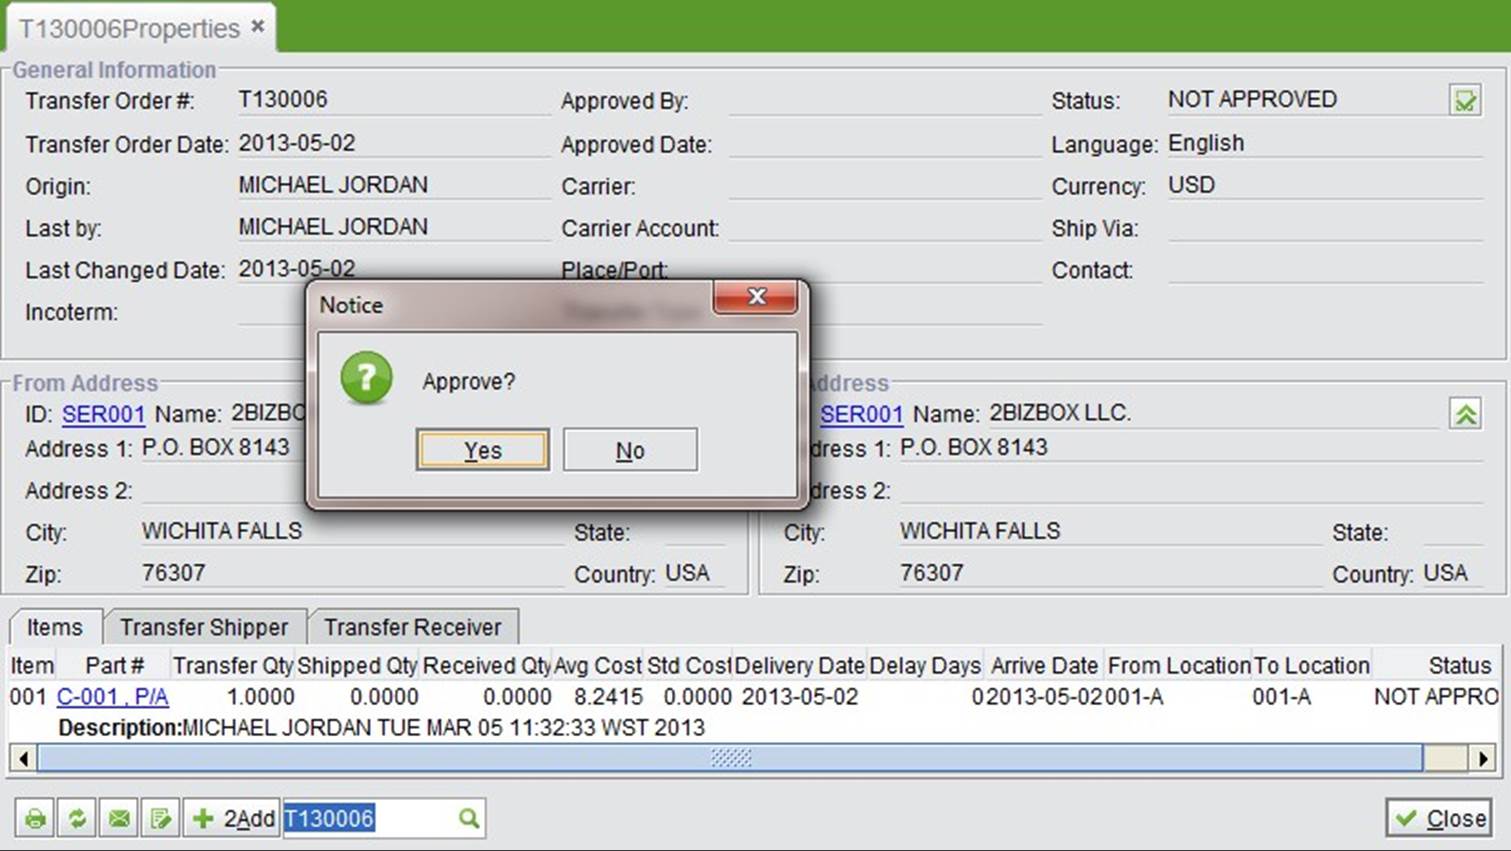
After that, click “OK” to go back to the updating transfer order interface. Here, you can go on to add, edit or delete a transfer order item. Then, click ”Update” to finish the transfer order creating and approve it. Transfer order status will become ”Open” after it is approved; then you can proceed to shipping.
 |
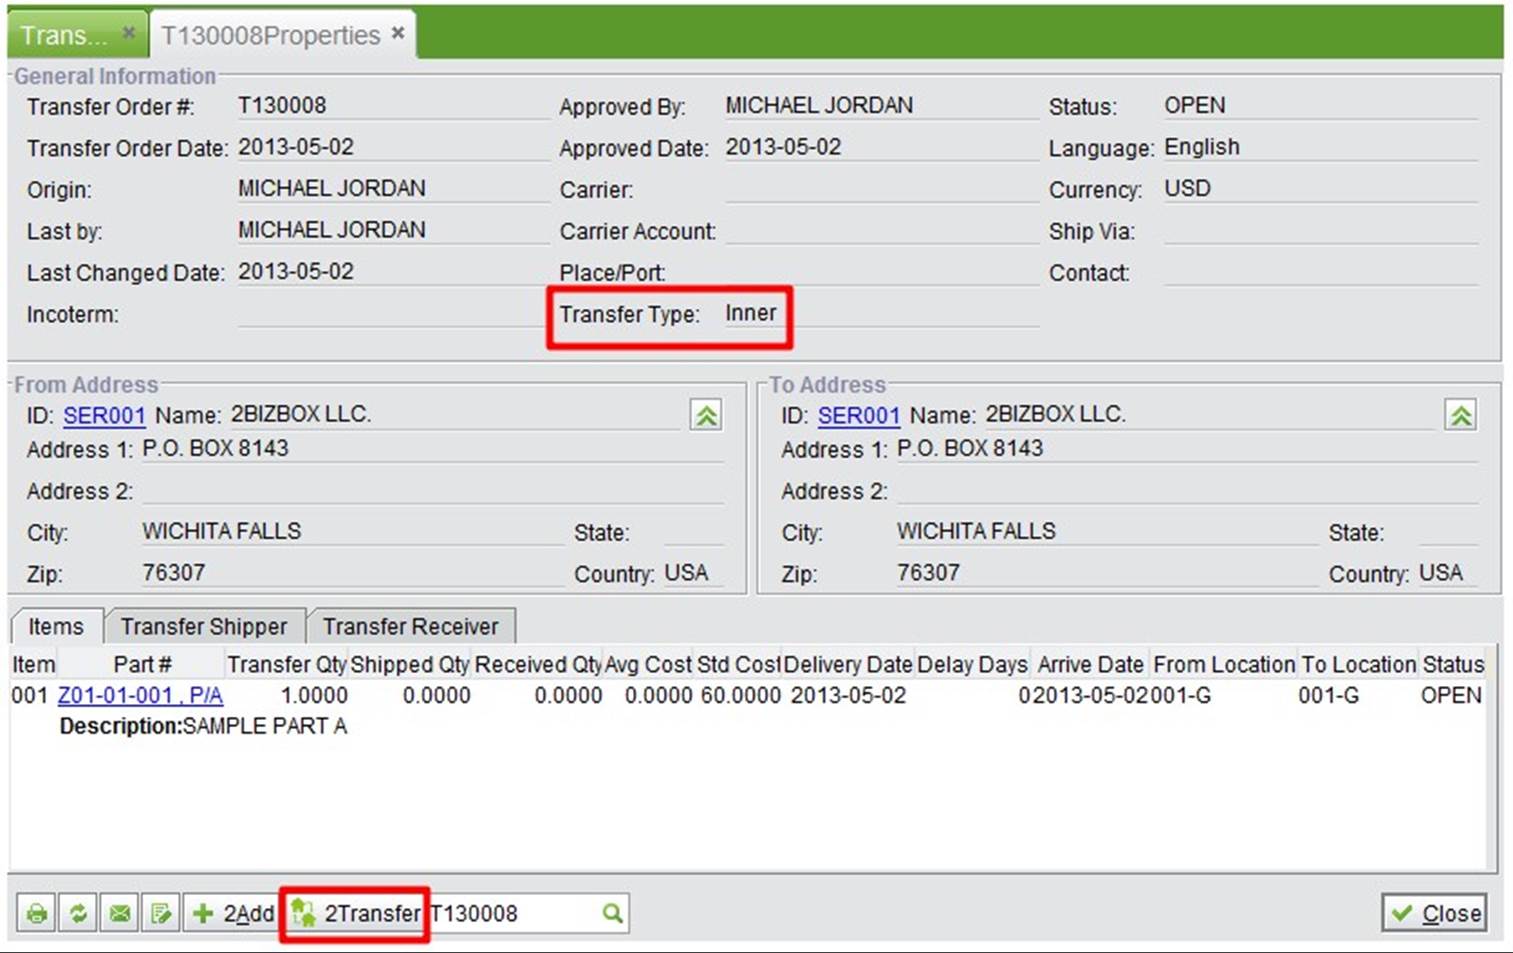
If you select an inner transfer, its updating process is the same as that of an outer transfer. A “Transfer” button will appear at bottom of the transfer order interface, click it to finish shipping.
 |
Input a full transfer order# and click the button to check its detail.
 |
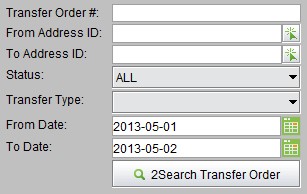
Search for a transfer order by different conditions within a specified time frame.
 |
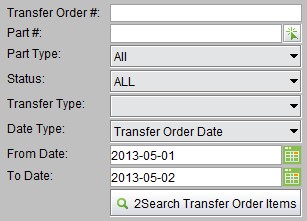
Search for a transfer order item by different conditions within specified time frame. Search results will be listed by item.
 |
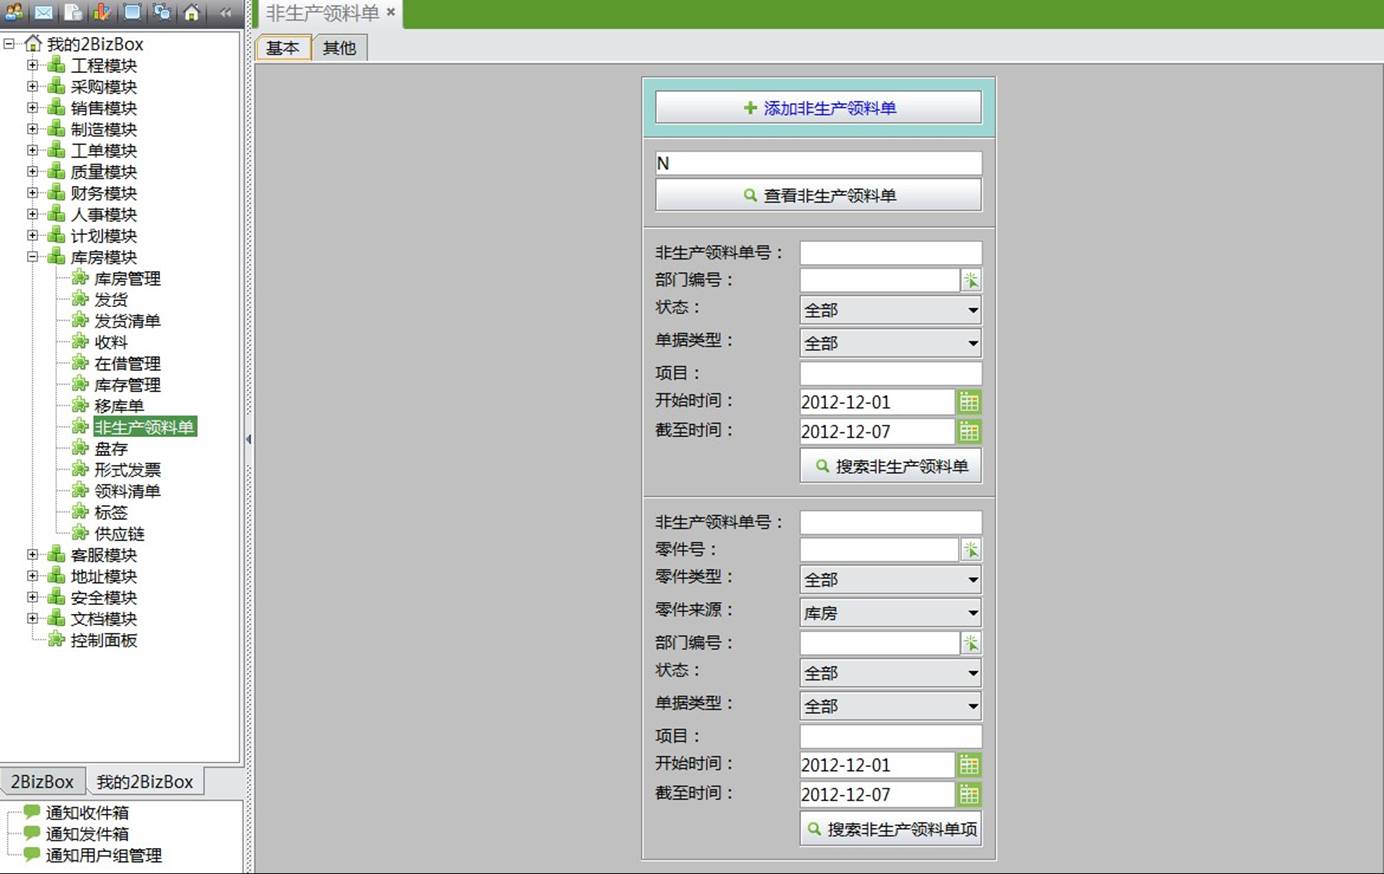
Nonproductive picking is used for picking nonproductive materials, which can be categorized. Take Serva Software LLC for an example, nonproductive materials can be divided into office goods, other goods, etc.
Nonproductive materials picking can be managed by a nonproductive picking order.
You can set an account# for these items, while creating a GL as a debit account. After a nonproductive picking order is created, complete shipping functions in the warehouse module. A nonproductive picking type can be added at the “Nonproductive Picking->Control” interface. You can also add nonproductive picking approval and add or lookup nonproductive picking orders here.
 |
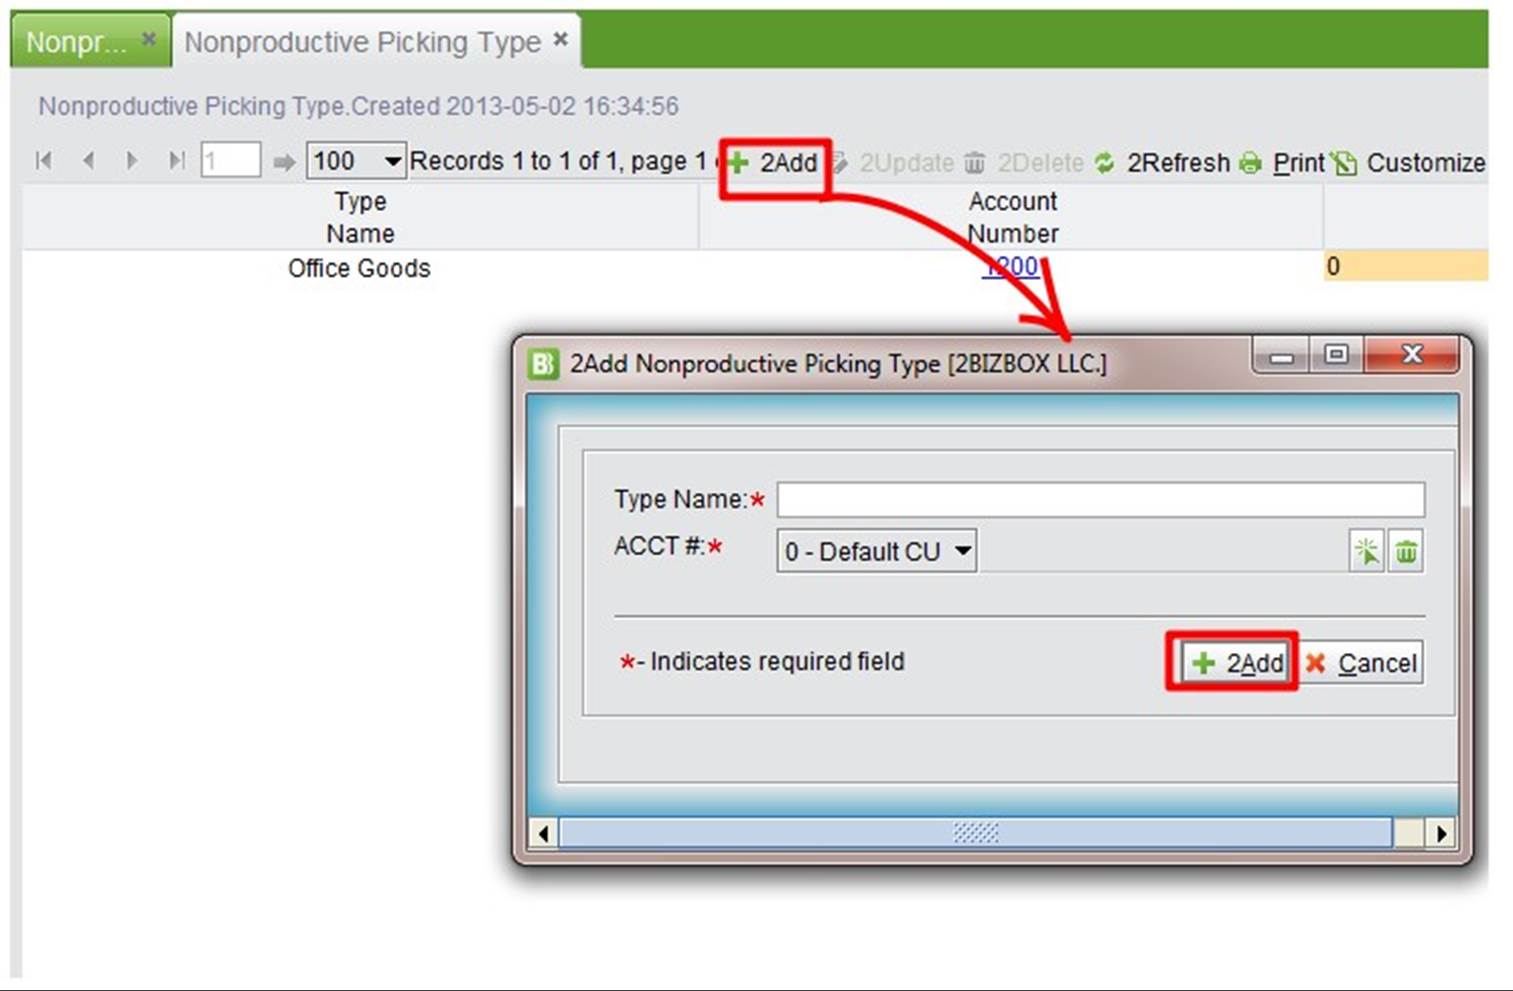
Nonproductive picking types must first be added in the system before creating a nonproductive picking order. Click “Nonproductive Picking Type” at the “Nonproductive Picking->Control” interface; then click ”Add” at the search results interface.
 |
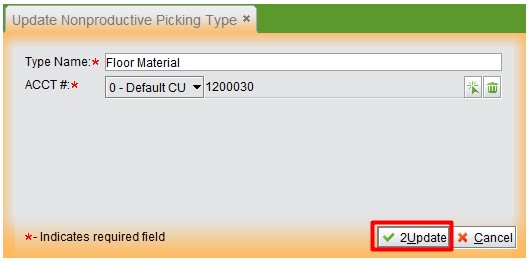
Go to the nonproductive picking type updating interface, input a type name and account#, and click “Update” to finish adding.
 |
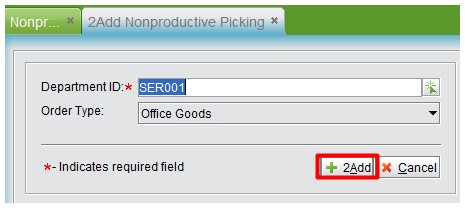
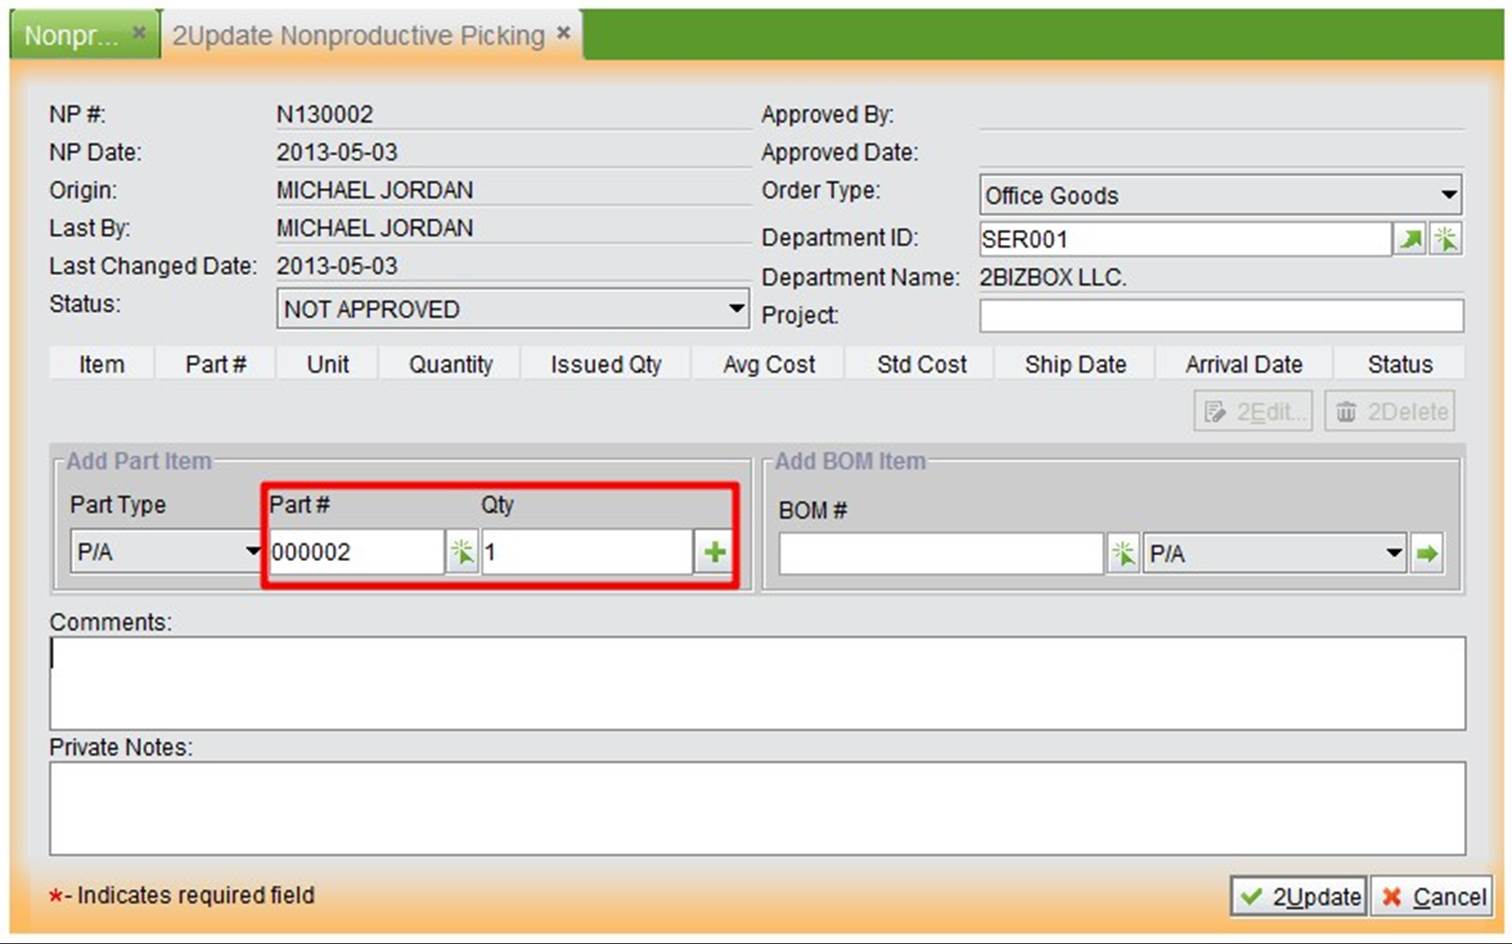
Click “Add Nonproductive Picking” at the nonproductive picking general interface after the nonproductive picking type is added. At the adding interface, input dept# and order type, and click “Add” to go to the updating interface.
 |
At the updating interface, add a nonproductive part item and part quantity, then click “+” to update the part item.
 |
At the updating part item interface, input the necessary information, then click “OK” to go back to the updating nonproductive picking order interface.
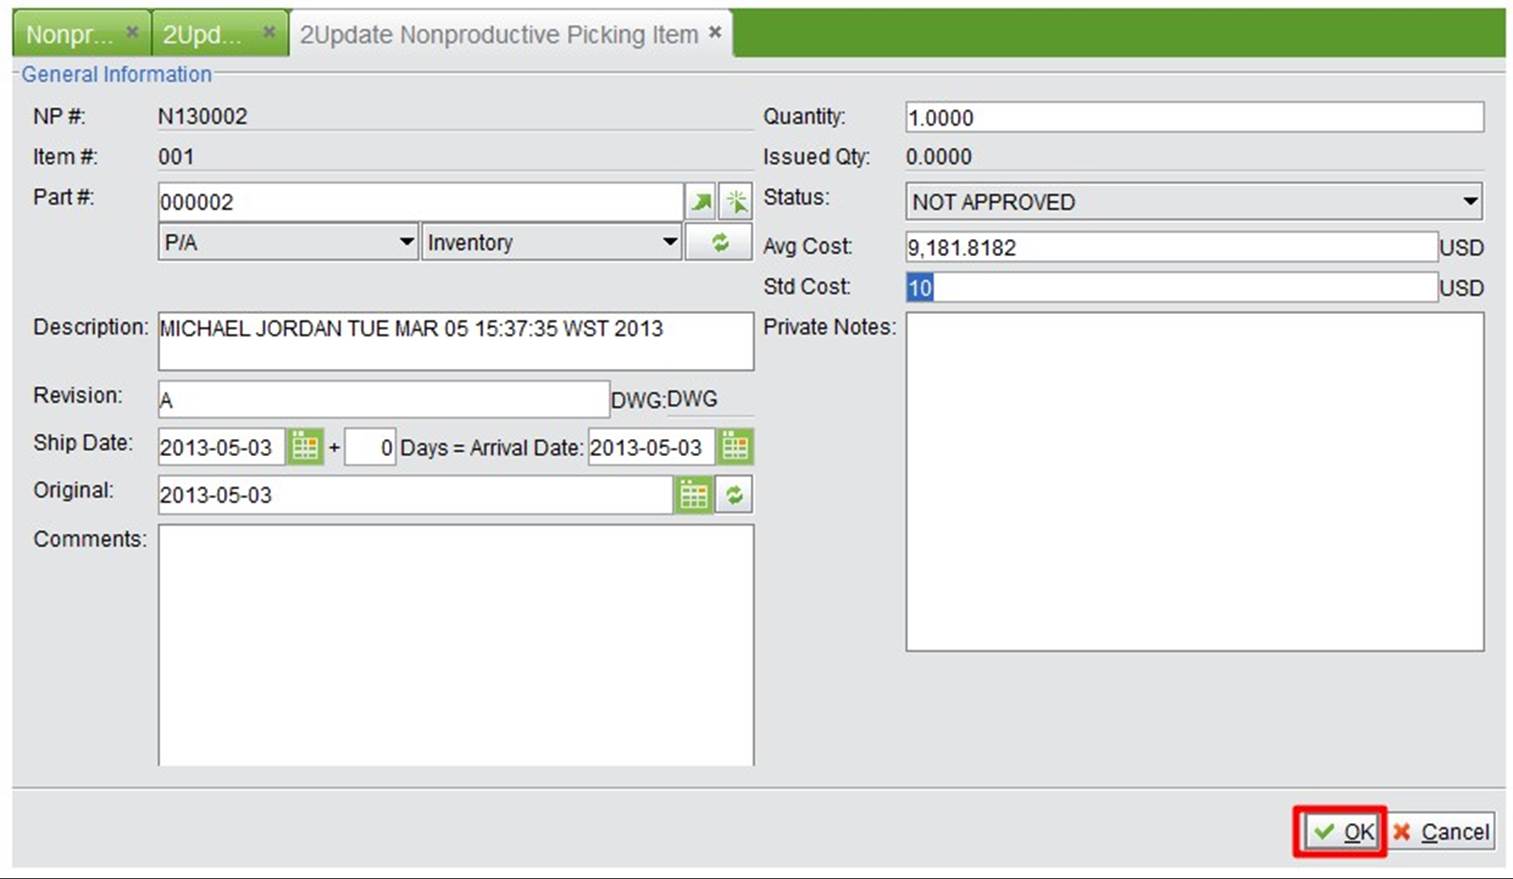 |
You can add additional part items. When you are finished, click “Update” to finish the nonproductive picking order.
 |
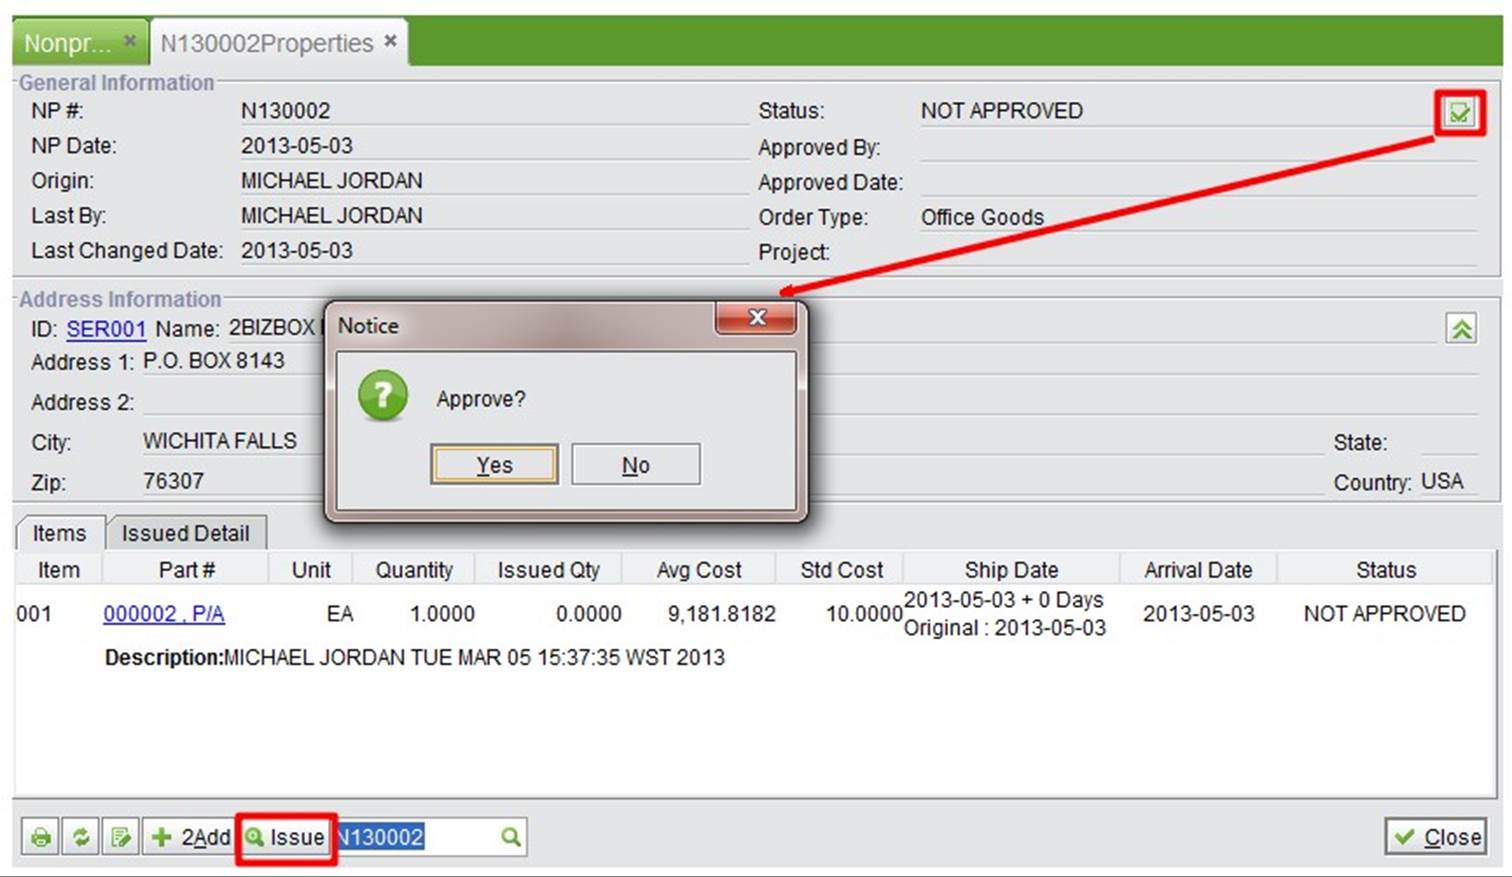
At the monument, the status of the nonproductive picking order will be “Not Approved.” Click “Approve” at the top right to approve it. You can click “Issue” at bottom of the interface to issue the picking order, or go to the warehouse module to do the issuing.
 |
Choose an employee ID and click “Add” to go to the updating interface
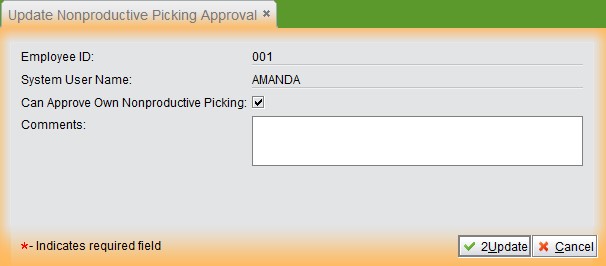 |
First, you can choose if users can approve their own nonproductive picking orders; then, fill in the commments and click “Update” to finish adding.
2BizBox offers several ways to look up non-productive picking.
Fill in a full non-productive picking order# and click the button to see its detailed information.
 |
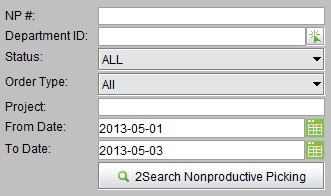
Search for non-productive picking by conditions like NP#, department ID, status, and order type.
 |
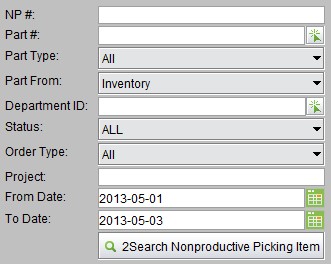
Search for non-productive picking items by conditions like NP#, part#, department ID, status, and order type.
 |