2BizBox® Manual |
Go back to 8.0 Main |
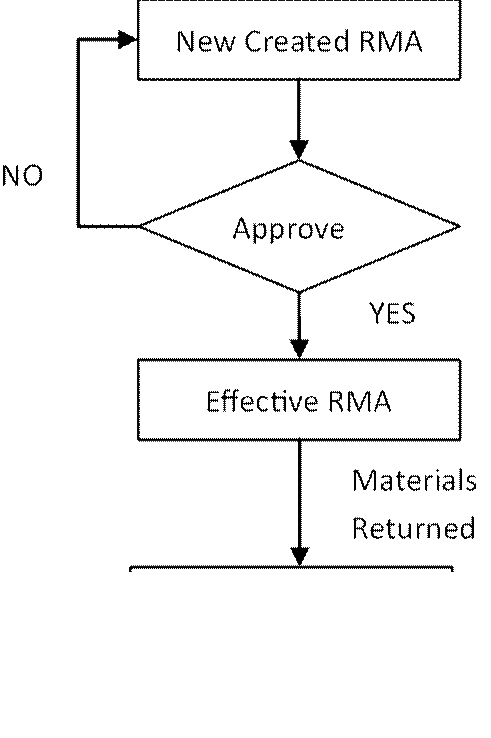
Return material authorization, or RMA, is used to receive the returned materials or products that have been sold to a customer. After creating a RMA, you can receive returned products from customers to the warehouse. For example, if Serva Software LLC products have a quality problem, you need receive them to perform a quality inspection first, and then decide what to repair, downgrade or other actions, in order to manage the returned materials efficiently.
|
 |
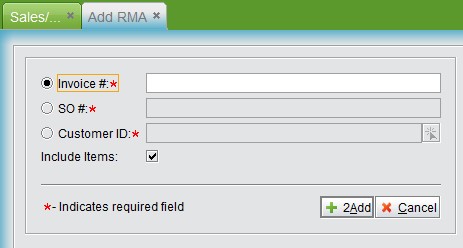
Based on a product’s invoice or sales order, you can add a RMA for it. If an invoice or SO cannot be found, or a product was sold before the company employed an ERP system, you can also create an RMA with a customer ID.
At the “Sales Order->RMA” interface, click “Add RMA”, and choose the RMA source: invoice, sales order or customer ID. Choose “Include Items” if you are creating the RMA by invoice or sales order. If you include the items, the information of an invoice or a sales order will be linked to the RMA directly. Take inputting an invoice as an example:
 |
Click “Add” to finish adding the RMA and go to the updating RMA interface.
If items are included while adding a RMA, they will be linked to the RMA directly, so that you can change the returned quantity, amount, etc. based on the situation at hand. Also, you can add new items.
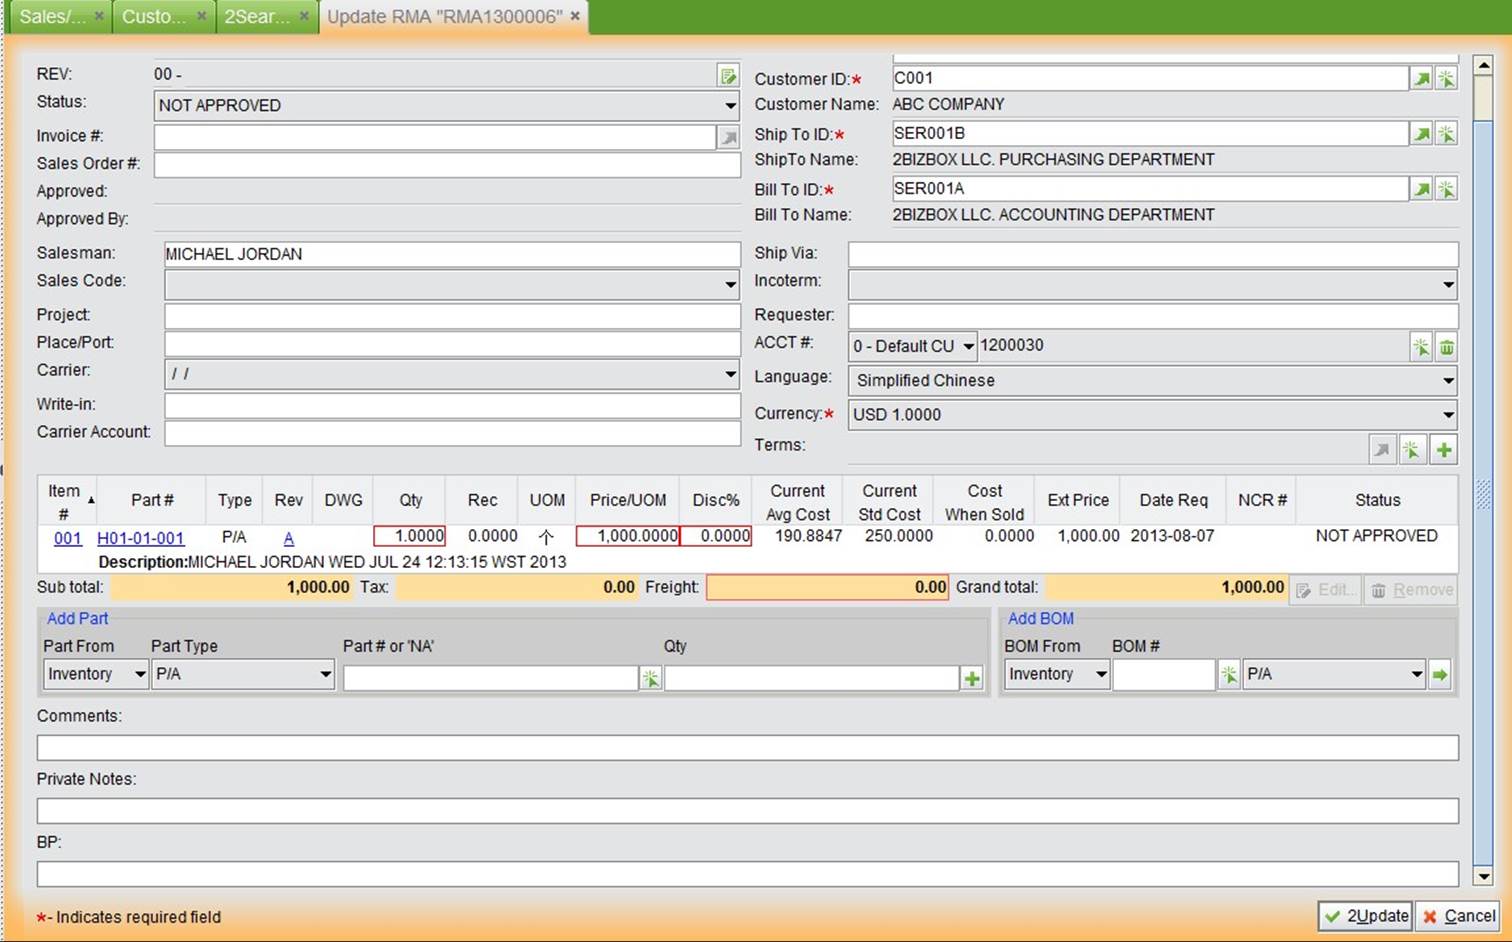 |
Click “Edit” to enter the update RMA interface, where quantity ordered is the returned material quantity, and price is the returned price to the customer, which by default is the price when the product was sold.
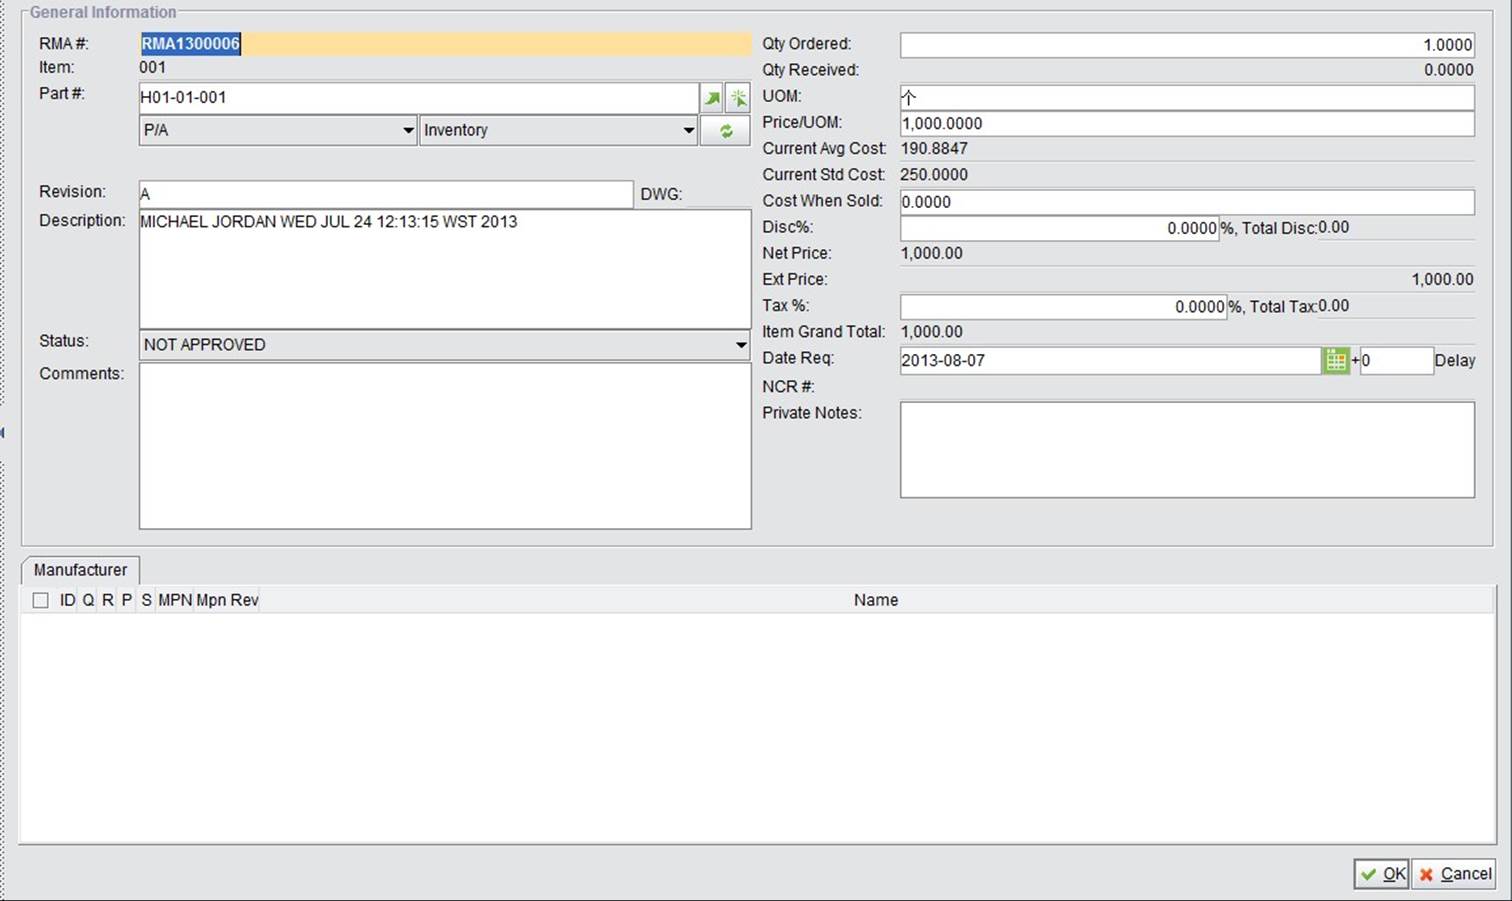 |
Click “Update” to finish updating the RMA.
A RMA can only be effective when it is approved. Click the “Approve” button at the top right of the interface to approve the RMA. After the returned materials are received to your company’s warehouse, you need do receive the RMA at “Warehouse Module->Receiving->RMA Receiving.” After it is received, the system will generate an RMA RMARXXXXXX. A Credit Memo can be generated by the RMA receiver directly. Please refer to this in greater detail at “Accounting Module-> Credit Memo.”
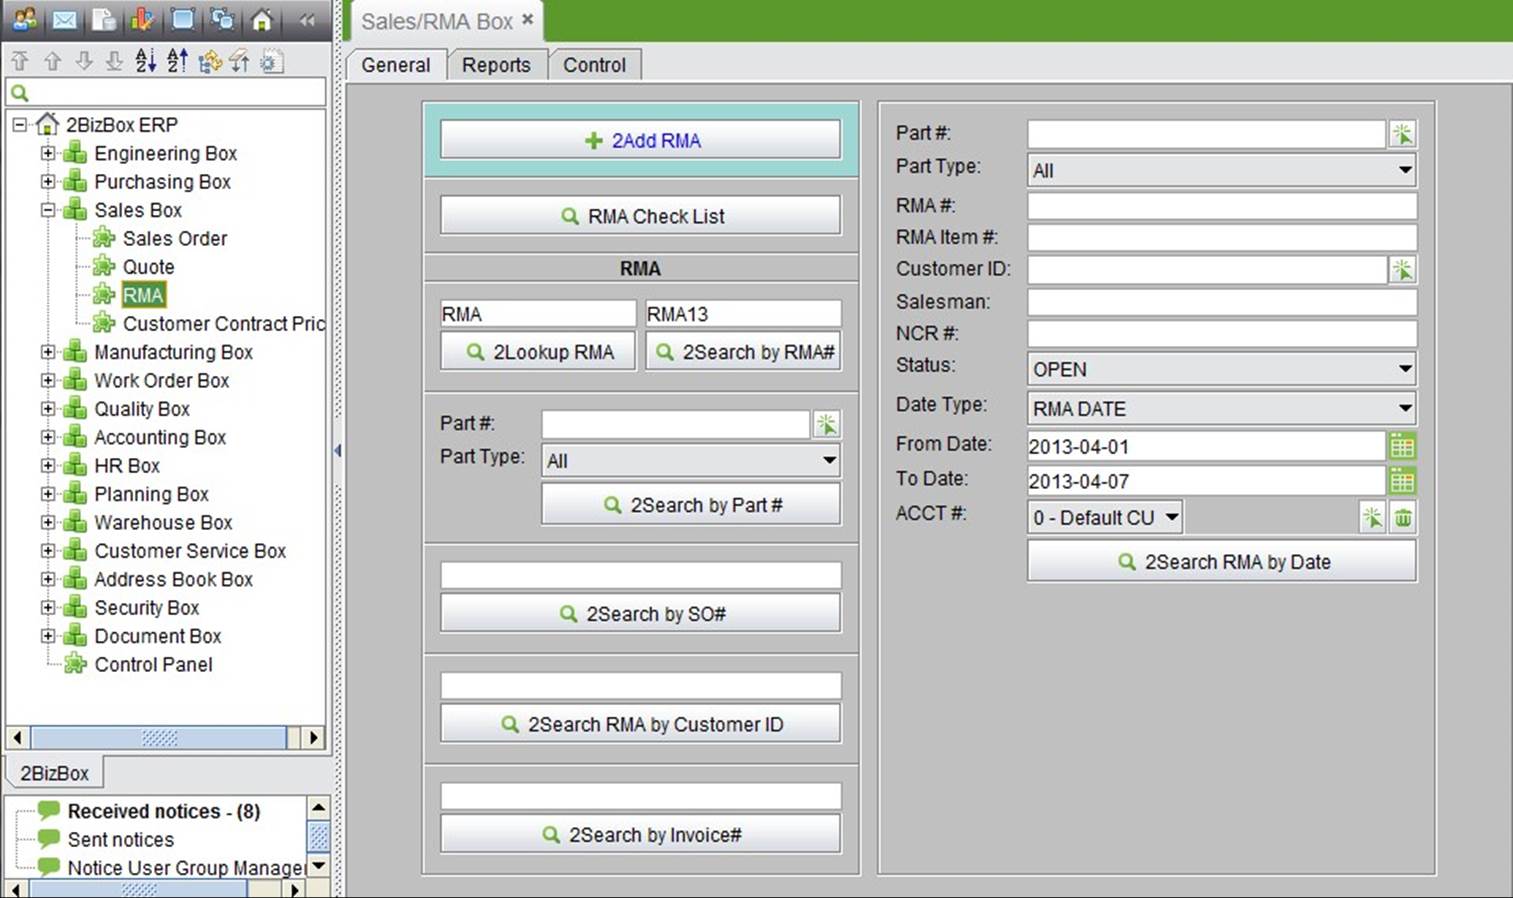
Click this button to search all unapproved RMAs. Click the “Approve” button behind each RMA to approve all of them quickly.
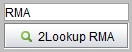
Input a RMA# and click the button to look up the RMA in detail.
 |
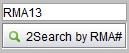
Input a RMA# key word and click the button to search all related RMAs.
 |
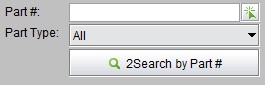
Input a part# and click the button to search all related RMAs of the part.
 |
Input a SO# and click the button to search all related RMAs of the SO.
 |
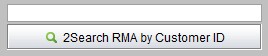
Input a customer ID and click the button to search all RMAs of the customer.
 |
Input an invoice# and click the button to search all RMAs of the invoice.
 |
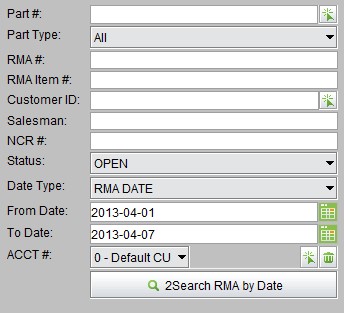
Search RMAs by date and other related conditions.
 |
Click the button to check all past due RMAs. Past due RMAs are those not yet received by the shipping date.
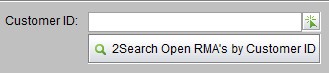
Select a Customer ID, or fill in the keyword of the Customer ID to search for related RMAs.
 |
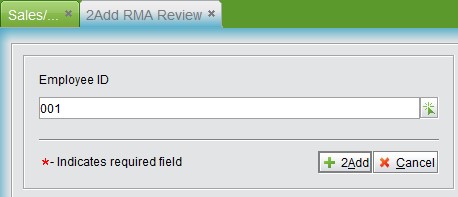
Add and check RMA approval at the “RMA->Control” interface. Click “Add RMA Review” button.
 |
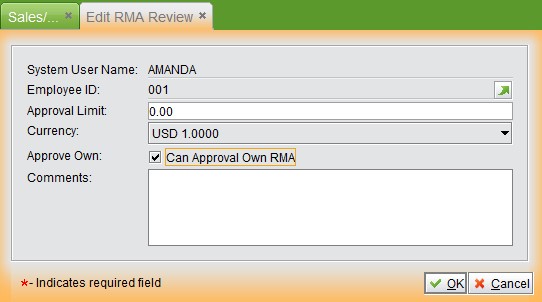
Input the approver’s employee ID and click “Add” to go to the updating interface.
 |
At the updating interface, input the approval’s limit, currency, if a user can approve their own RMA, and click “OK” to complete the adding.
 |
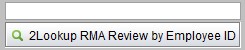
Input a RMA approval employee ID and click button to check.
 |
Click the button to see all RMA approvals.