2BizBox® Manual |
Go back to 7.0 Main |
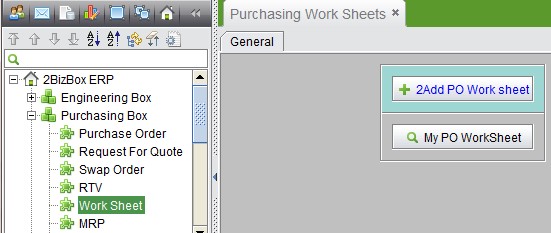
By creating a PO work sheet, you can put all parts to be purchased into one work sheet, then create one PO or RFQ for all parts. In addition, you can set periodical purchasing and create POs in batch.
|
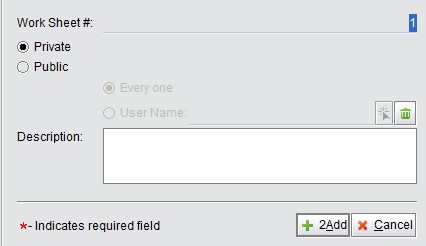
Click “Add PO Work Sheet” to start creating a new PO Work Sheet. In the following screen, you’ll need to select the type of the Work Sheet. There are two types of Work Sheets: Private and Public. Private Work Sheet, as the name suggests, can be viewed only by the Creator User. Public Work Sheet can be viewed by everyone, or by specified Users. You can select “User Name” and then pick users from the picker list. When you finish, click “2Add” to create the Work Sheet with a Number started from 1:
 |
Below is a new PO Work Sheet composed by “General Information” and “Items”. At the upper left corner, you are still able to change the Control Type.
The top right part of the interface contains the general information of the Work Sheet. The main body is blank at the moment. Added part items will show in the main body.
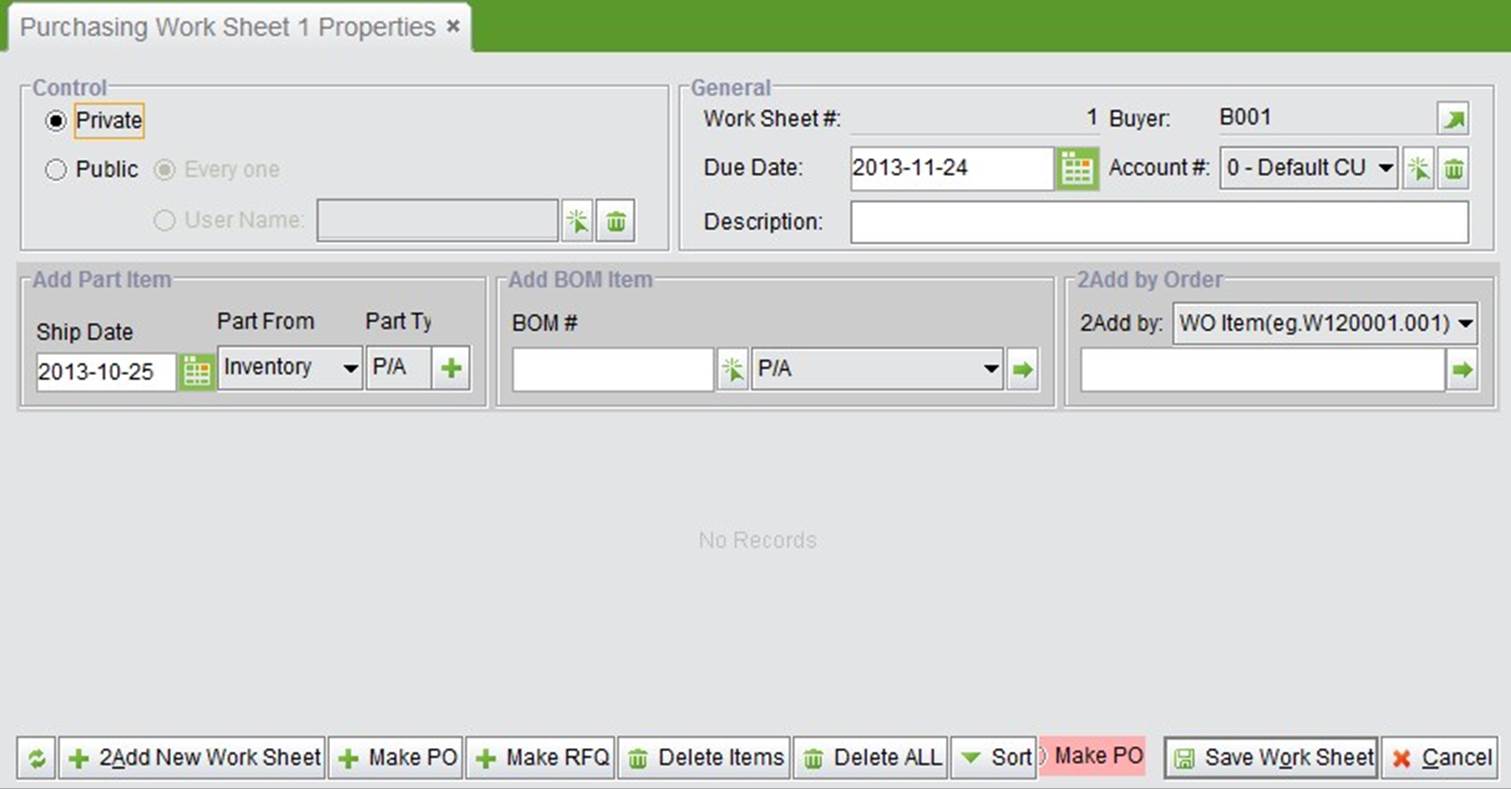 |
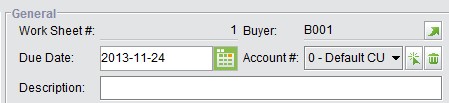
General Information describes the general information of this Work Sheet.
 |
Work Sheet Items can be added by Part, by BOM Item, or by Orders (WO, Quote and SO).
 |
Input a part# and quantity, then click the “+” button to add a part to be purchased.
Input a BOM#, then click “->” to select desired parts.
Add items from WO, SO and Quote. Input the Order # and click “->” to select your desired parts.
Below is a particular item added to the Work Sheet:
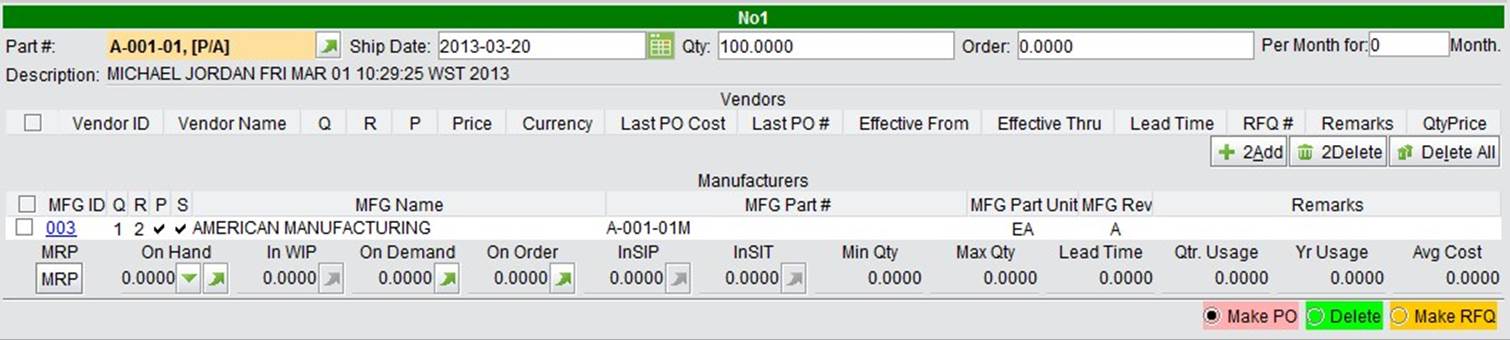 |
At the top of the interface, fill out the purchasing information of the part. Set order quantity per month for the desired amount of months.
If the part already has a vendor, part vendor information will appear.
 |
You can also click the “Add” button to pick a vendor from the system.
At the bottom of the work sheet, you can see the part MRP information for reference.
You can add more part items and set up purchasing information and vendor. After that, choose to “Make PO” or “Make RFQ” or “Delete” action.
You can see this row of buttons at the bottom of the PO work sheet:
Make PO: click “Make PO” for a part item, then click the “+Make PO” button to create a PO for all selected part items. Parts with same vendor will be created in one PO; parts purchased in batch will be created to multiple POs.
Make RFQ: click “Make RFQ” for the part item, then click the “+Make RFQ” button, create a RFQ for all selected part items. Parts with the same vendor will be created in one RFQ; parts purchased in batch will be created in multiple RFQs.
Delete Items: click “Delete” for a part item, then click the “Delete items” button to delete the selected part items.
Delete all: click the “Delete All” button to delete all part items in the work sheet. Sort: click the button to sort all parts in the work sheet by part# and date.
At the bottom right of the interface, there is “Make PO” and “Make RFQ” button; click to make a PO or a RFQ for all part items.
Click the “Save Work Sheet” button to save the PO work sheet. Click the “Add new work sheet” button to add new one.
The status of POs and RFQs created in batch will be “Not approved,” and must be approved one by one.
 |
Continuous POs are shown as below. After approving the PO, the vendor will ship the parts on time. When we complete receiving for the parts finished last month, the PO will be closed.
 |
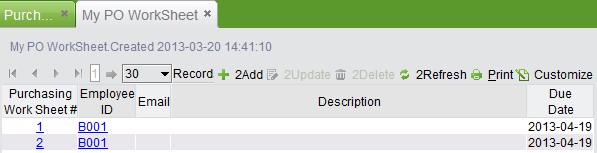
If a PO work sheet is used one time, it can be closed once it is finished. If the parts need to be purchased periodically for a long time, save it to a PO work sheet. At the “PO module->Work Sheet” interface, click the “My PO work sheet” button to see all PO work sheets. At the search results interface, click work sheet# to see it in detail.
 |