2BizBox® Manual |
Go back to 7.0 Main |
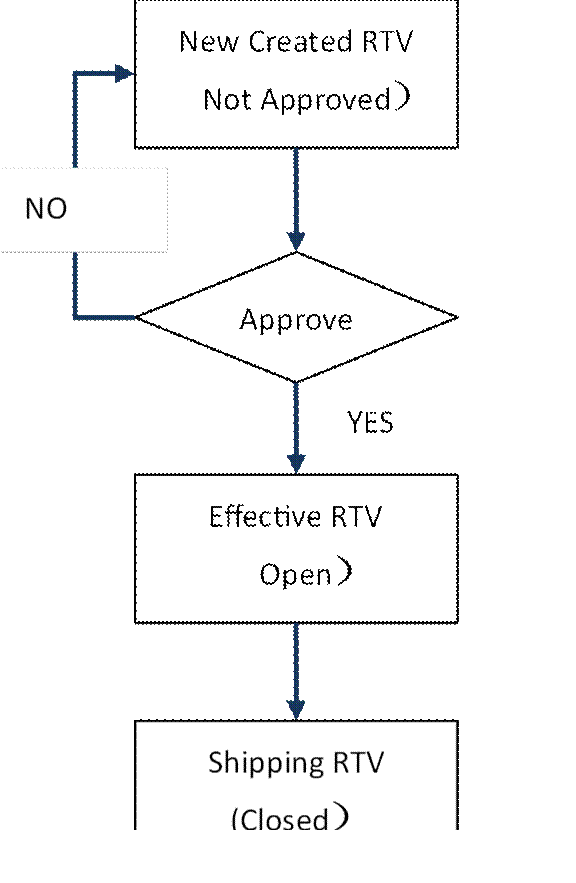
Goods purchased that have been received to warehouse may need be returned to the vendor, as some goods have some problems, like quality. Once a RTV order is created, shipping RTV should be completed.
|
Go to “PO-> RTV->General” and click “Add RTV” to enter the adding interface.
 |
You can see that RTV is to add PO# in default; also you can add RTV by picking a vendor ID. Adding PO # can help to easily track a RTV. Note: whatever the adding methods, PO receiving has to be done in advance. Add RTV by Picking Vendor ID
When adding a RTV by vendor ID need input vendor ID firstly, click “Add” to enter RTV updating interface. Add RTV by PO#
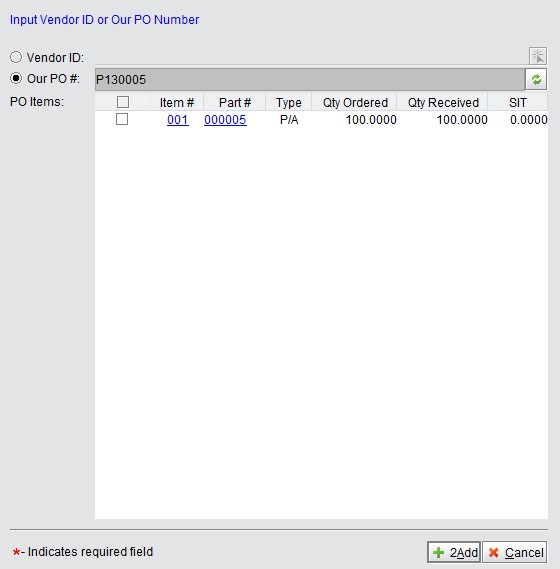
Add RTV by PO#, input the PO# need to be returned, click the right side “Refresh” button.
 |
All part items of the PO will be listed. Check the part item to be returned, then click “Add” to generate the RTV and go to the updating interface.
If you add a RTV by PO#, the PO’s data will be copied to the RTV, and you only need change quantity to be returned. If you add RTV by vendor ID, you need to add the part item and quantity to be returned manually. When you have finished adding, click “Update: to go back to the RTV property interface.
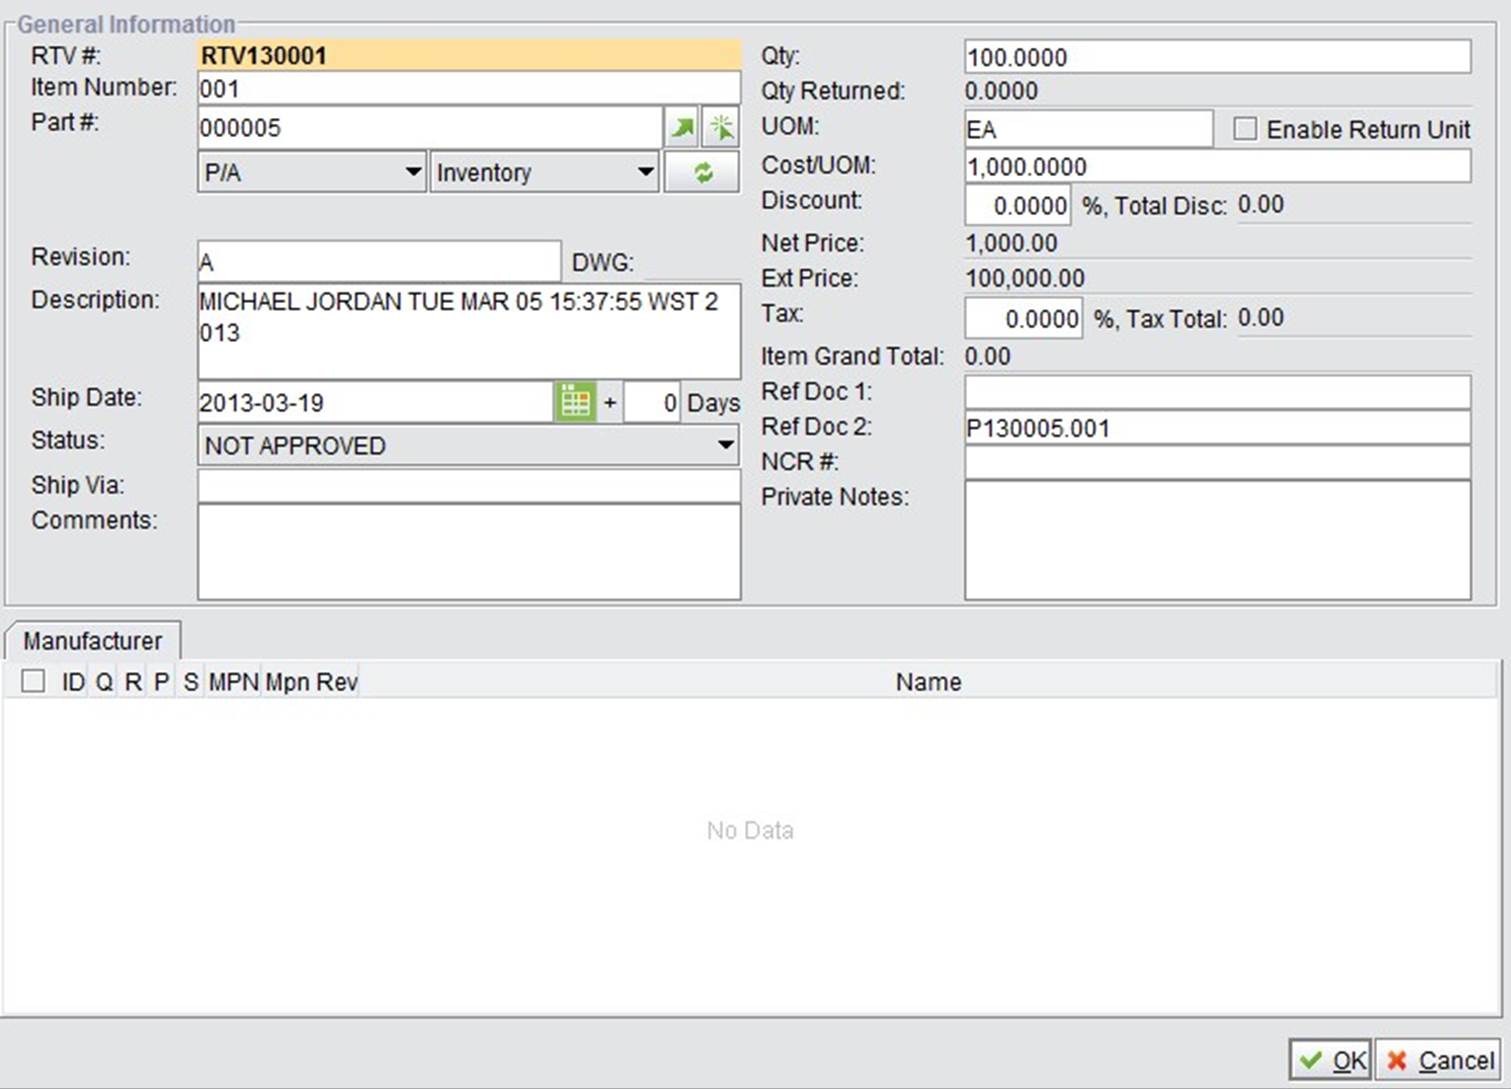
RTV general information is located at the upper part of the interface.
 |
The related parameters’ are described below:
Parameters |
Description |
RTV Number |
The RTV number is generated automatically when creating a RTV. |
RTV Date |
The date of creating a RTV is automatically generated by the system. |
RTV Status |
RTV status can be “Not Approved,” “ Open” or “Closed;” the newly created RTV will be defined as “Not Approved” by default |
Approved Date |
The system will automatically record the approved date of the RTV. |
Approved By |
The system will automatically record the user who approves the RTV. |
Contact |
The RTV’s contact. |
Our PO# |
The PO# is related to the RTV’s part items. |
Vendor ID |
The RTV supplier’s address ID. |
Vendor Name |
The name of the vendor in the system. |
Bill to ID |
The payer ID (Bill to ID) in the system. Sometimes bill to ID is different from the customer’s. |
Bill to Name |
The payer’s name (bill to name) |
Ship to ID |
Ship to ID in the system, sometimes it is different from Customer ID. |
Ship to Name |
Ship to name |
Buyer |
The buyer of the PO related to the RTV. |
REV |
The RTV’s revision#, the default number is “00,” click “Edit” to change it. |
Incoterm |
The trading methods the RTV uses. |
Place/Port |
The shipping place or port. |
Carrier |
The third party carrier, it is determined by customer’s choosing. Refer to this further at the address module. |
Write-in |
Input the carrier directly. |
Carrier Account |
The carrier’s account, used for accounting calculation. |
Acct# |
The RTV’s account# |
Requester |
The RTV’s requester |
Project |
If the RTV’s equipment belongs to a project, enter it here. |
Language |
The language used while trading with the vendor. |
Currency |
The currency used while trading with the vendor. |
Exchange Rate |
The exchange rate used while trading with the vendor. |
Terms |
The payment terms vendor requested. |
Enter By |
The person who enters the RTV data. |
At “Item Information” of the update RTV interface, add the part to be returned. At the “Add Part” window, input part# and quantity, and click the “+” button to add a part and enter the “Update RTV item” interface. Here, fill out the needed information here, and click “OK.” You can also add parts at “Add BOM Item,” these parts will also appear in the “Item” window.
 |
The part added via BOM will be added to the part item. You can select these parts by clicking “Edit” to enter the update part item interface; select one part item to delete or edit. At the “Freight” row, you can fill out “Freight.”
 |
Lastly, you can add “Comments” and “Private Notes” for the RTV. “Comments” can be seen by both sides, while
“Private Notes” are for private communication; while printing the RTV, you can choose not print “Private Notes.”
While adding a part item, input part# and quantity, and click “+” to go to the “Update RTV Item” interface. Or, you can select one part item and click “Edit” to enter the “Update Purchase Order item” interface.
The “Update RTV Item” interface is shown below:
 |
Once you choose a new part here, system will give reminding that the part# has been changed, need click” Refresh” button to confirm part.
 |
Descriptions of the RTV parameters are as below:
Parameters |
Description |
RTV # |
The RTV#, with one item# to confirm one RTV item. |
Item# |
Item# |
Part# |
The item’s part |
Description |
Part’s description |
Ship Date |
The item part’s shipping date, which includes shipping time needed |
Comments |
The item’s comments. |
Qty |
The purchased part’s quantity |
Qty Returned |
The part quantity to be returned. |
UOM |
The part’s UOM. |
Status |
RTV’s status, including “Not Approved,” “Open” and “Closed.” |
NCR |
The part’s NCR order. |
Ref Doc 1 |
The order related to the RTV’s part. |
Ref Doc 2 |
The order related to the RTV’s part. |
Private Notes |
Private Notes |
Enable Return Unit |
|
Return Unit |
|
Return UOM TR |
|
Qty in Return UOM |
|
Cost/UOM |
|
Discount |
|
Net Price |
|
Ext Price |
|
Tax |
|
Item Grand Total |
|
After you have filled out all this information, click “OK” to finish, and return to the RTV interface. Once here, continue to add parts to be returned. Click “Update” to finish the RTV and wait for approval.
A RTV can only be effective when it is approved. Go to “PO Module->RTV->Control” to add RTV approvals.
After the RTV is approved, a shipper# starting with RTVSH will be generated. When the good is returned and if payment is made, the vendor needs refund some payment, so a debit memo should be created. Refer to this further in the “Accounting” module.
Go to the “PO Module->RTV->Control” interface to add RTV approvals.
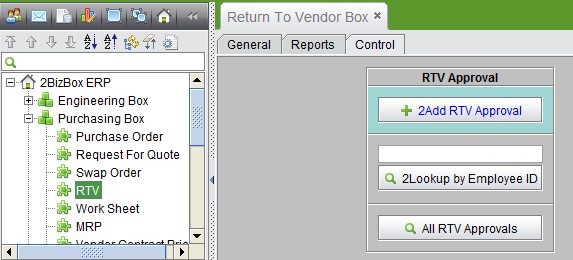 |
Click “Add RTV Approvals” to enter the RTV approval interface.
 |
Input or pick an employee ID for approvals, and click “Add” to enter the RTV approval editing interface.
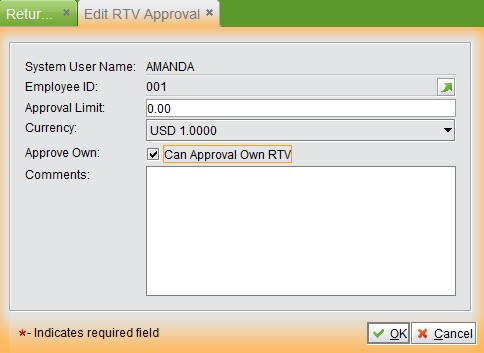 |
Different from a swap order, RTV approval still needs an approval limit.
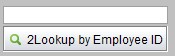
Input an employee ID to look up RTV approvals.
 |
Click the button to see all RTV approvals.
Input RTV # and click the button to see detailed RTV information.
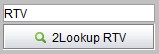 |
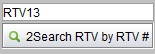
Input a RTV# key word and click the button to search all related RTVs.
 |
Click the button to see a RTV checklist. At the search results interface, click “Approve” to approve related RTVs directly.
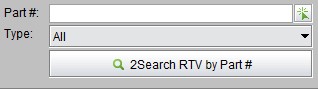
Input a Part# key word and click the button to search all RTVs of related a part
 |
Input a vendor ID key word and click the button to search all related RTVs of a vendor.
 |
Search for related RTVs by RTV date or requirement date and other conditions.
RTV date: the date the RTV was created.
REQ date: the date we expect the part to be returned to the vendor.
Click the button to see all past due RTVs. Part items in same RTV, but not past due, will not appear.
Click the button to see all open RTVs.