2BizBox® Manual |
Go back to 7.0 Main |
A swap order is created when the goods Serva Software LLC purchased from a vendor have quality problems and need to be replaced. When creating a swap order, you need to ship the problem goods to the vendor who will replace them with a new one for the customer. For this reason, receiving orders for swap orders need be created in the system.
|
Go to “PO module->Swap Order->General,” and click “Add SWO” to enter the SWO adding interface:
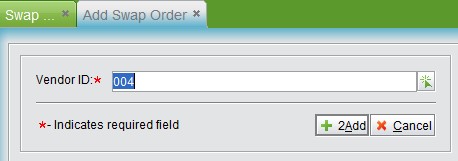 |
Here, input or pick a vendor ID#. Click “Add” to create one SWO with its ID# starting with SW, and enter the updating interface.
When you go to the update SWO interface, you can see that the SWO# cannot be changed, while the vendor ID can be changed. Here you can fill out the SWO’s general information, part information, and add comments and boilerplates.
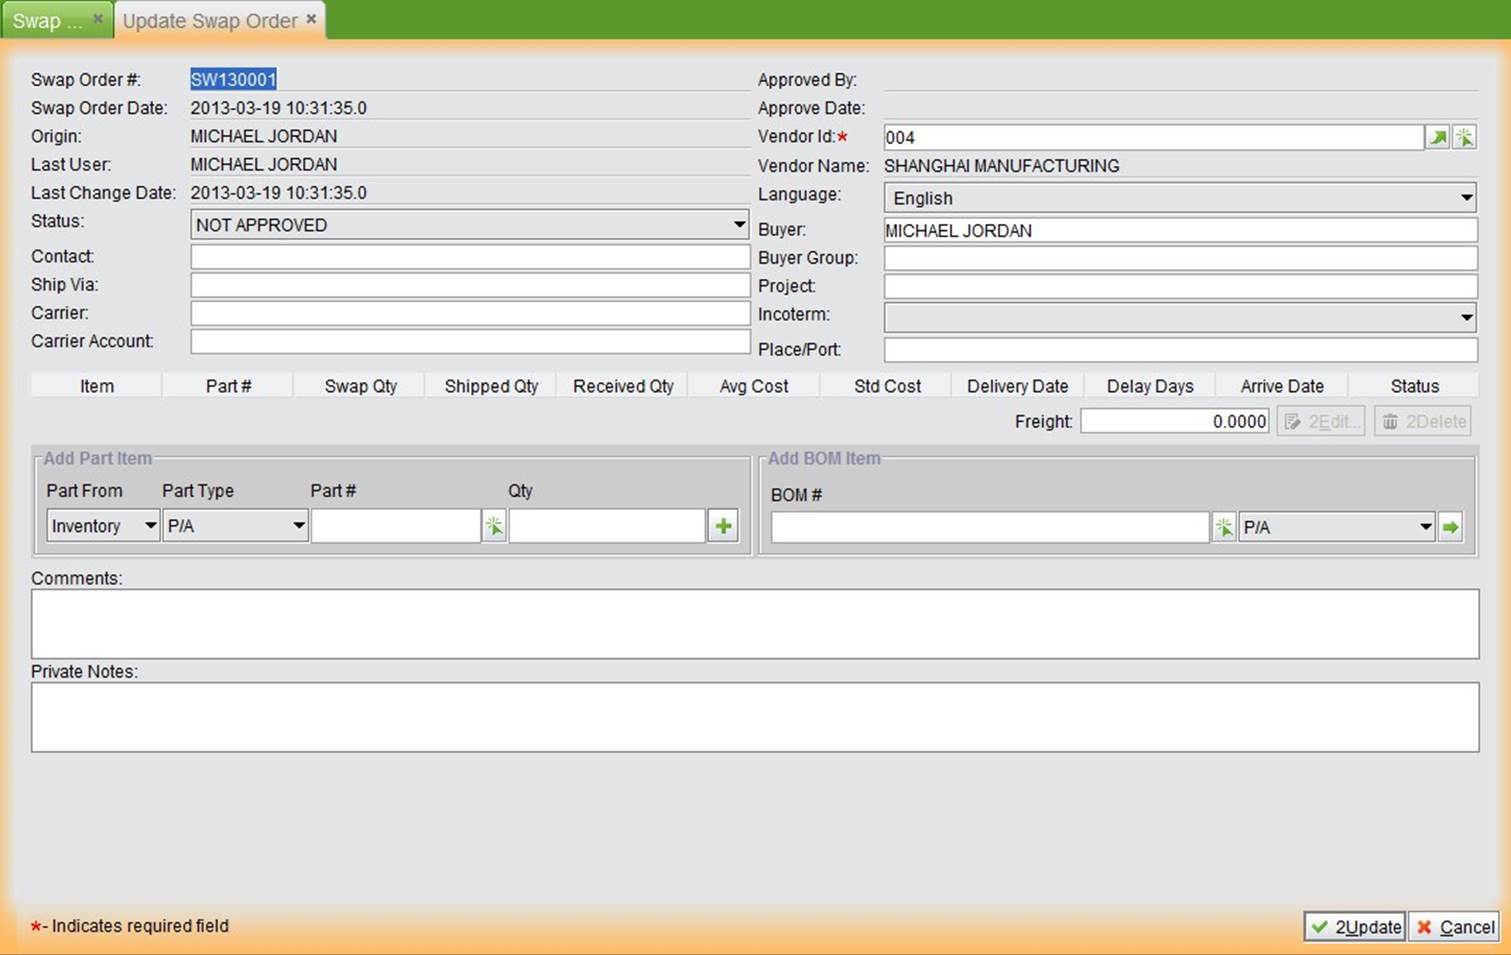 |
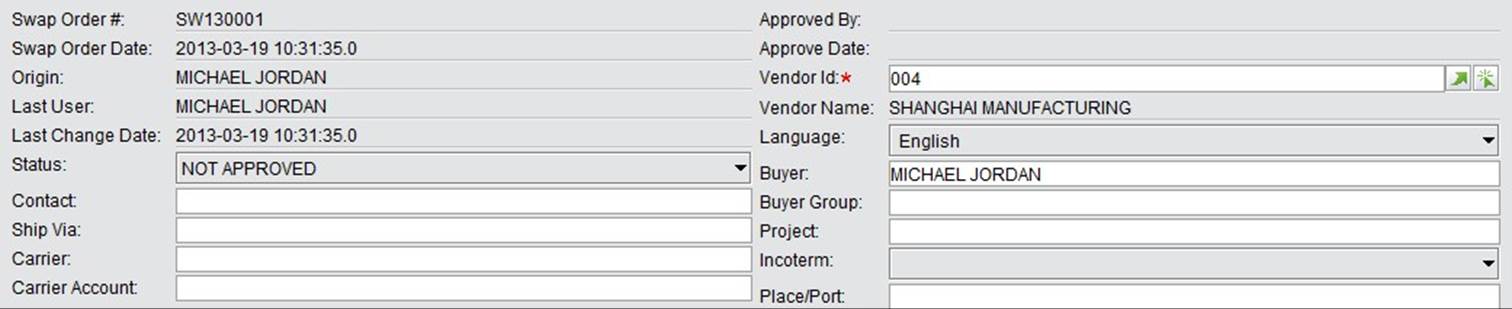
SWO general information is located at the upper part of the interface.
 |
Descriptions of related parameters are as follows:
Parameters |
Description |
SWO# |
The SWO number is generated automatically while creating a SWO. |
SWO Date |
The date of creating a SWO is generated by the system automatically. |
SWO Status |
SWO status can be “Not Approved,” “ Open,” or “Closed;” the newly created SWO is by default, “Not Approved” |
Approved Date |
The approved date of a SWO; the system will record it automatically. |
Approved By |
The user who approves the SWO system will record it automatically. |
Contact |
The SWO’s contact. |
Vendor ID |
The SWO’s supplier’s address ID. |
Vendor Name |
The name of vendor in system. |
Buyer |
The buyer of SWO |
Buyer Group |
The group buyers belong to. |
Incoterm |
The trading ways the SWO use. |
Ship Via |
The shipping method. |
Place/Port |
The shipping place or port. |
Carrier |
The third party carrier, it is used for customer’s choosing. Refer to its more at address module. |
Acct# |
The SWO’s account# |
Project |
If the SWO’s equipment belongs to some project, fill it here. |
Language |
The language used while trading with vendor. |
Currency |
The currency used while trading with vendor. |
At the “Item Information” screen of the update SWO interface, add the part to be swapped. At the “Add Part” window, input part# and qty, then click the “+” button to add a part and enter the “Update SWO item” interface. Fill out all needed information here, then click “OK.” You can also add a part at “Add BOM Item.” It will also appear at the “Item” window.
 |
The part added via BOM will be added to a part item. You can choose these parts, then click “Edit” to enter the update part item interface. Select any part item to delete or edit; you can also fill out the “Freight” category .
 |
Lastly, you can add “Comments” or “Private Notes” for the SWO. “Comments” can be seen by both sides, while
“Private Notes” are used for private communication; when printing a SWO, you can choose not print “Private Notes.”
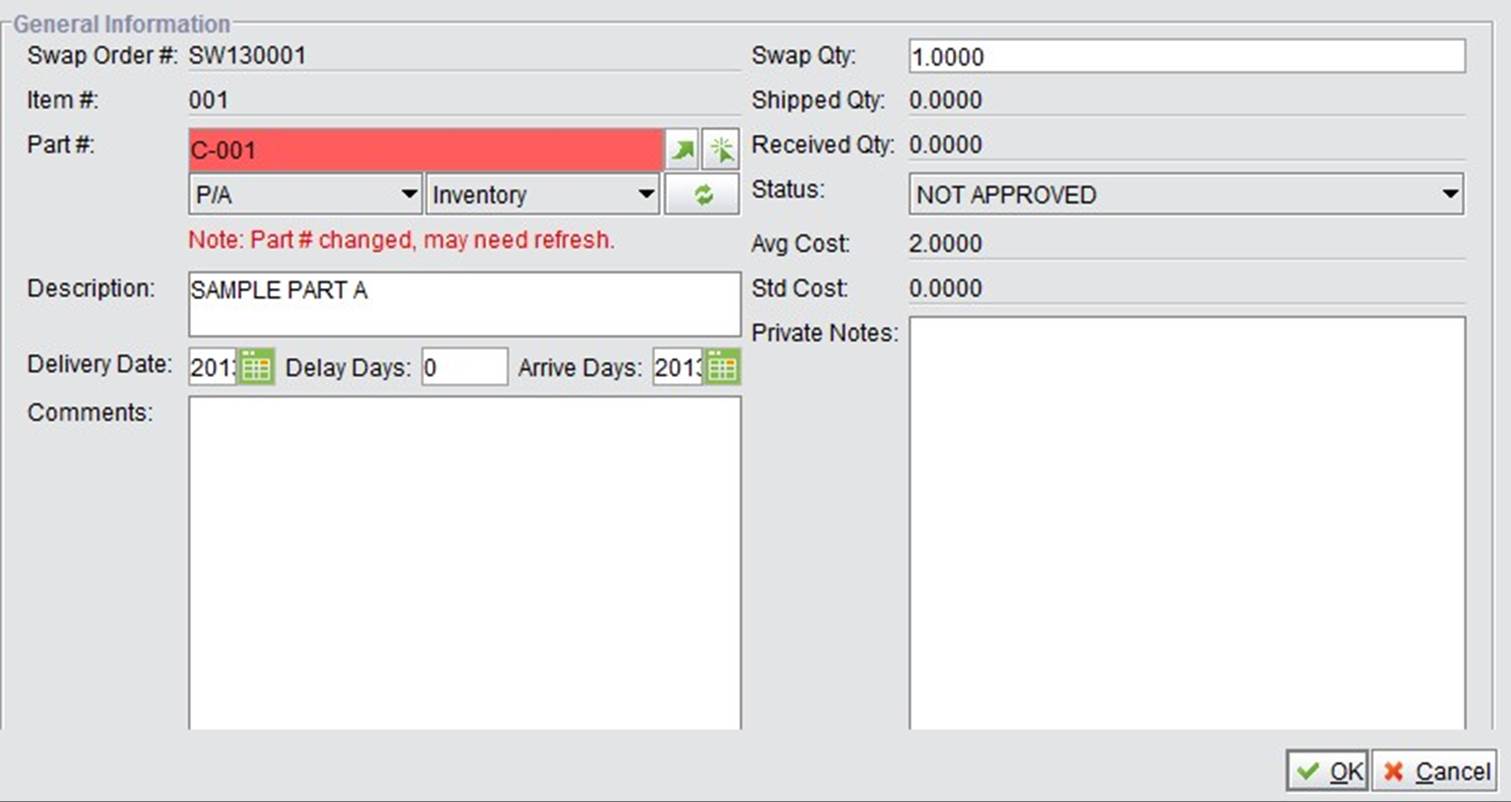
While adding a part item, input part# and quantity, then click “+” to go to the “Update SWO item” interface. Or, you can select one part item and click the “Edit” button to enter the “Update SWO item” interface as shown below:
 |
Once you choose a new part here, the system will give you notice that the part# has been changed. You need click the “Refresh” button to confirm the part.
 |
A SWO’s item will not involve price; its parameters’ description at the update SWO item interface are as below:
 |
Parameter |
Description |
SWO # |
The SWO #, with one item# to confirm a SWO item. |
Item# |
Item# |
Part# |
The item’s part |
Description |
Part’s description |
Delivery Date |
The delivery date of the item; the days behind “+” shows on way time. |
Delay Date |
It can be goods on the way time. |
Arrive Date |
The goods arrival date. |
Comments |
The item’s comments |
Swap Qty |
The quantity to be swapped. |
Shipped Qty |
The shipped quantity |
Received Qty |
The received quantity of the swap order. |
Status |
The swap order’s status: not approved, open and closed. |
Avg Cost |
The part item’s average cost. |
Std Cost |
The part item’s standard cost. |
Private Notes |
The item’s private notes. |
When you finish filling out all of this information, click “OK” to finish. Back at the swap order updating interface, continue to add part items to be swapped. When you are finished, click “Update” to finish the swap order and wait for approval.
After filling out all needed information at the update swap order interface, click “Update” to finish adding the swap order. Back at the SWO property interface, the SWO’s status is not approved. Related users may click the “Approve” button to approve the SWO. Its status will be changed to “Open.” Only users with permission can
approve a SWO. SWO approval can be designated at “PO Module-> SWO->Control.”
After approving the swap order, related users need to go to “Warehouse Module->Shipping->Swap Order
Shipping” to ship the SWO. When the replaced goods are recieved from the vendor, go to “Warehouse Module>Receiving->Swap Order Receiving” to receive the swap order and generate a swap order receiver. Then, the swap order’s status will change to “Closed.” For detailed instructions on shipping and receiving, refer to the “Warehouse Module” chapter.
2BizBox provides many ways to look up or search SWO at the SWO homepage.
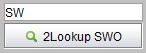
Input a swap order# and click the button to see the SWO detailed information.
 |
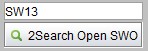
Input a swap order key word and click the button to search swap orders.
 |
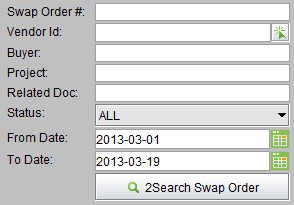
Search swap orders by conditions.
 |
Search swap orders by items.
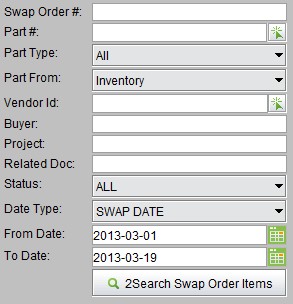 |
Swap orders have to be approved firstly before they become effective. Go to “PO module->Swap Order>Control” to add swap order approval.
Go to “PO Module->Swap Order->Control” and click “Add Swap Order Approval” to enter the adding interface:
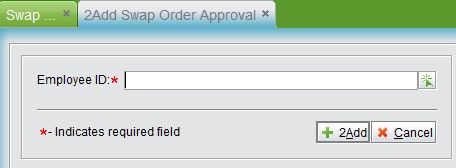 |
Input or choose an employee ID for approval, then click the “Add” button to enter the swap order approval updating interface.
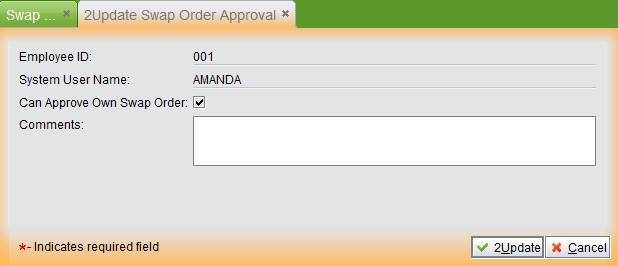 |
There is no amount limit for swap order approval. Check the box to designante if users can approve their own swap orders. Add comments (If needed). Click “Update” to finish adding.
Input an employee ID# key word and click the button to search swap order approvals.
 |
Click the button to see all swap order approvals.