2BizBox® Manual |
Go back to 6.0 Main |
The Bill of Material, or BOM is not only the product structure data file that can be identified by your computer, but it is also the 2BizBox system’s core basic data and files. Simply put, BOM explains the components that make up one part, including raw materials, and parts order, the mutual number relationship. The BOM helps 2BizBox to identify the structure of products in the enterprise, and is used a communication among all modules or enterprise business ties.
 |
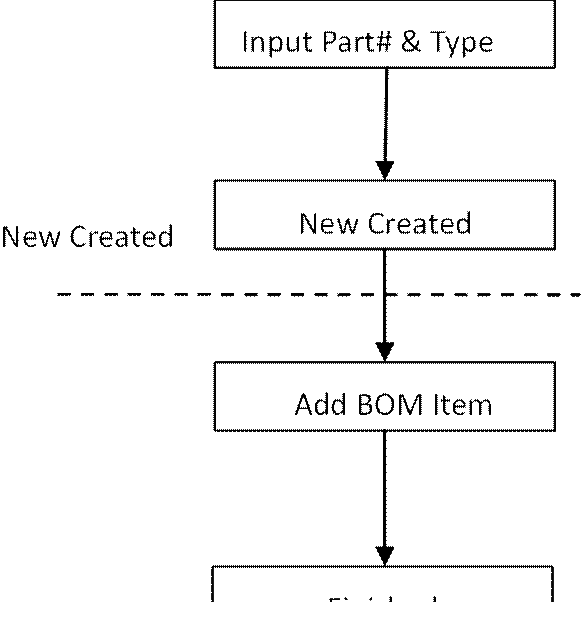
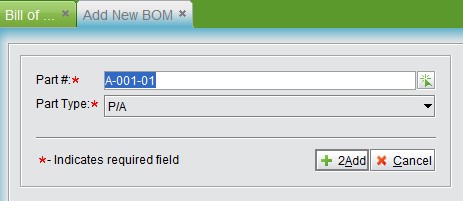
Go to “Engineering Module->BOM->General,” and click” Add BOM.” In the adding interface, fill in the Part # or choose the part from pick list to add it as a BOM. Then click “Add” to enter the BOM update interface:
 |
Part item is the most important core information of a BOM. Here you can exercise the adding, editing and deleting functions. A BOM is a part, therefore, the BOM’s basic information can be edited in the part master.
 |
To add items for the BOM, click “Add Item” at the bottom left corner to arrive at the window as below.
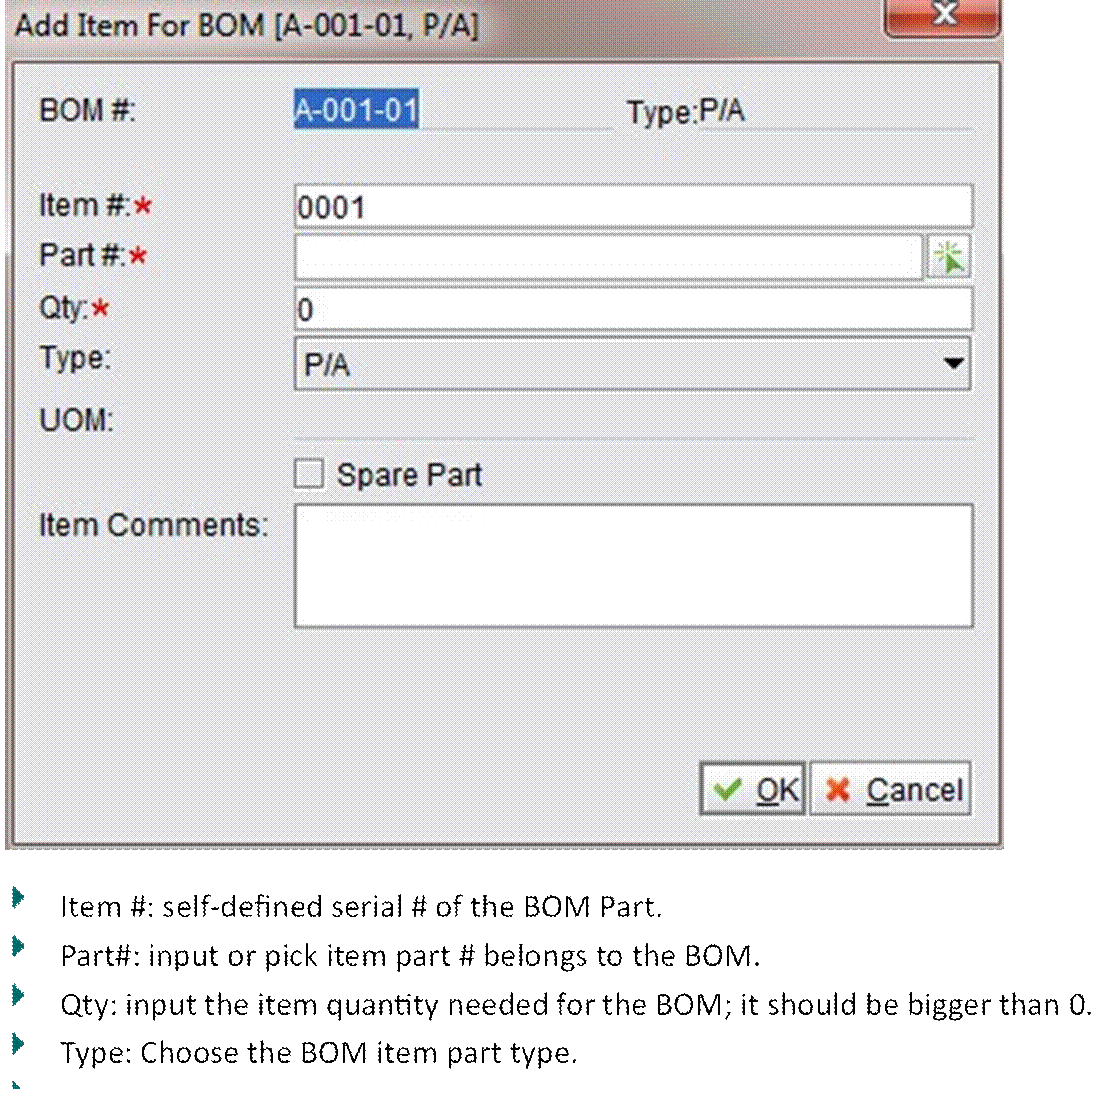 |
After filling out the information, click “OK” to return to the Update BOM interface.
In addition to adding items one by one, you can also add items from BOM. This means that you can add batch items from an existing BOM. For example, BOM A is almost the same as BOM B, so when you are creating BOM A, you can directly add items from BOM B, and only make little changes. Click “Add Item from BOM,” to see the window below:
 |
At the above interface, input BOM#, click the bottom right, and the BOM item list will appear and be selected. From here, choose the item for which the BOM being createded, and click “OK” to add the selected item(s) to the BOM list.
If you click “2Batch Add BOM Item,” you will open the below window that lists all parts in the system. You may filter parts by the searching area at the top and check items to add into the BOM.
 |
Note: when adding an item from a BOM, 2BizBox will calculate and assign item#s automatically to make sure that there are no repeated item#s; if you change this manually, you have to make ensure the uniqueness of item#s.
Select one existing part item and click “Edit” to change like item#, quantity, part number, part type, etc.
Select the item you wish to delete, then click “Delete;” or you can click “Delete all” to delete all items.
 |
At the end of an added item, you can appoint a replace item. When the BOM item is in shortage, the replace item can replace the BOM item in setting up the Work Orders. Click the red textbox to open the replace item adding window:
 |
Click “Add” to add a replacement item. Ratio here means how many replace items are needed to replace the BOM Item.
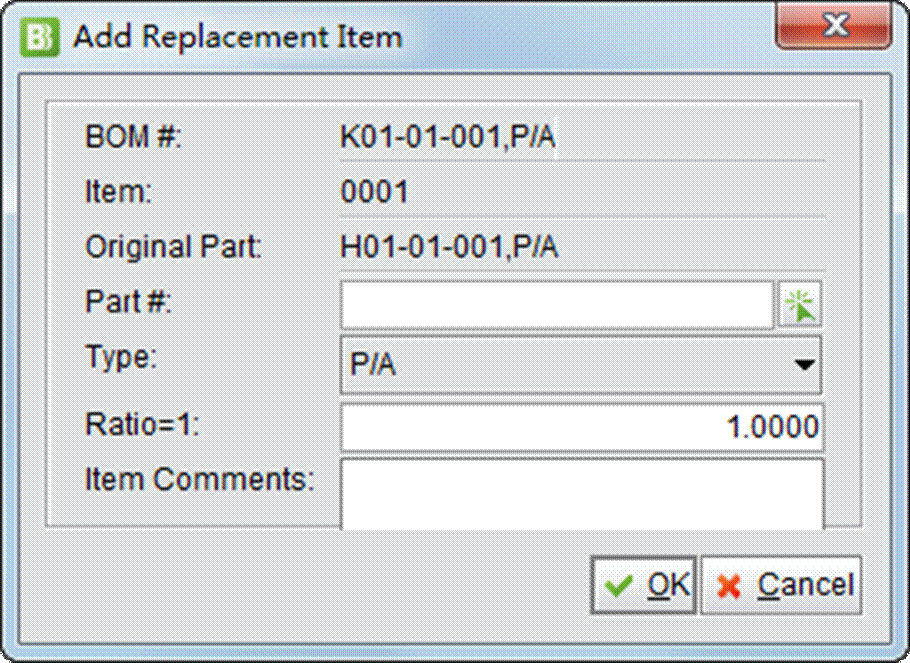 |
Click “OK” to finish editing the replace part.
When you finish adding all items in the BOM, click “Update” to submit.
Another way to create a BOM is by clicking the “+” button on a Part’s Property. It will also guide to the Update BOM interface.
 |
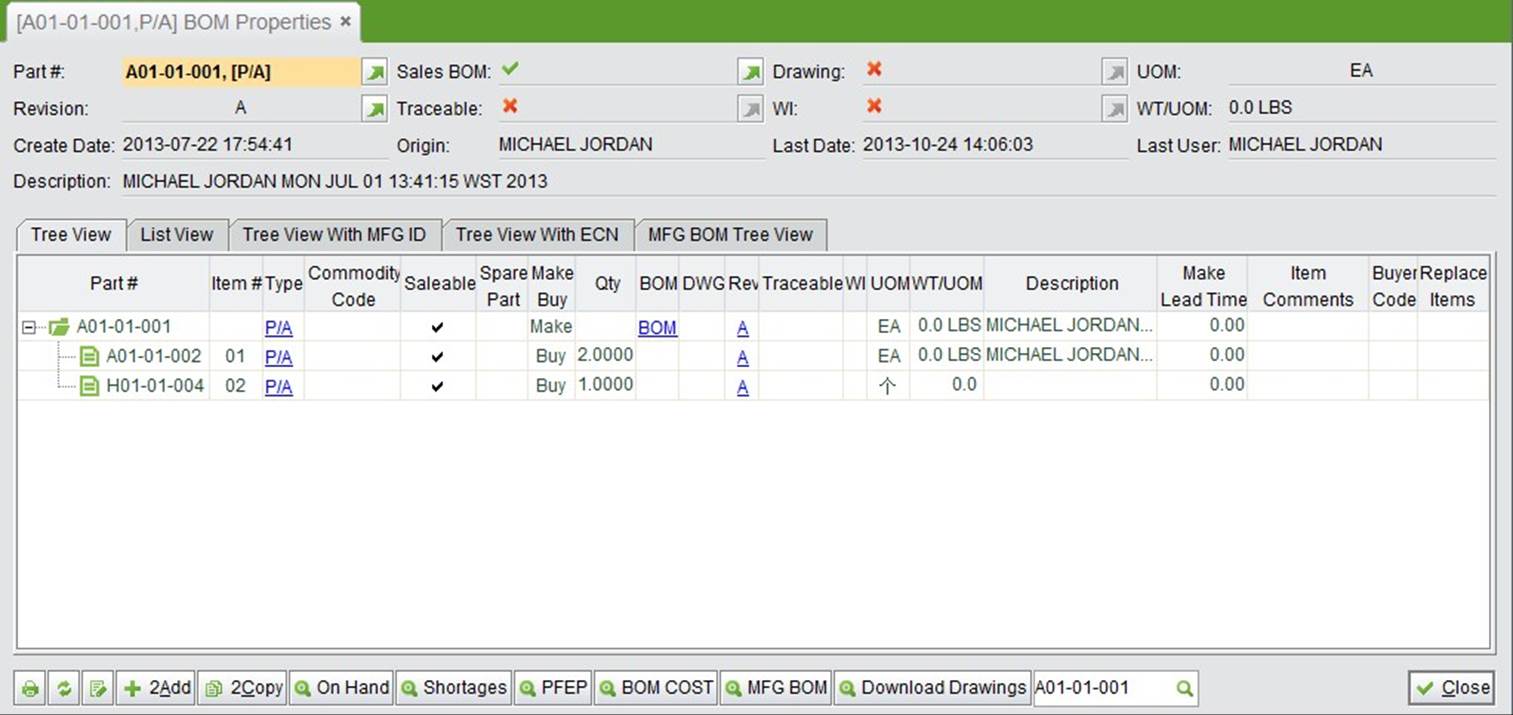
The main BOM’s information interface is a tree structure, including all associated part items and related information. At the BOM tree, the ![]() icon shows that the part is still a BOM. Click
icon shows that the part is still a BOM. Click ![]() to expand it; the
to expand it; the ![]() icon shows that a non-BOM cannot be expanded.
icon shows that a non-BOM cannot be expanded.
Note: 2BizBox supports BOMs with many levels where you can click to expand all of them.
 |
|
The BOM tree is the core data structure of a BOM; it lists all of the BOMs and its sub-item’s BOMs. You can learn what the part consists of easily.
Parameters |
Description |
Part# |
With tree view you can see part# to form a BOM; the BOM tree can be unlimited nested and expanded/collapsed. |
Item |
The part item#, it shows the seq# the part located in the BOM. |
Type |
The part type; click to see the part’s detailed information. |
Commodity Code |
It is used for search. |
Saleable |
The part’s saleable status; yes or no. |
Spare Part |
Indicates if the part is a spare part. |
Make/Buy |
Indicates whether the part is bought or made. |
Qty |
The part quantity needed in the BOM. |
BOM |
Indicates if the item is also a BOM; if yes, click to see its detailed information. |
DWG |
If the part has DWG. If yes, click to its all DWG information. |
Rev |
The part’s revision. Click to see all ECN record of the parts. |
Traceable |
Indicates if the part is traceable; if yes, click to see its detailed information. |
WI |
Indicates the part has WI; if yes, click to see all WI information. |
UOM |
The part’s qty UOM |
WT/UOM |
The part’s weight and its UOM |
Description |
The part’s description information. |
Item Comments |
The part’s item comments. |
Buyer Code |
The part’s buyer code; click to see all buyer code in detail. |
Replace Items |
The part can replace the item. |
Five view of the BOM is provided in the BOM Properties. Different views will help you to know better about the BOM structure and information.
The default view in the tree structure with BOM Levels folded. Click “+” to unfold the sub levels.
Show all components of the BOM by Part #.
Add an “MFD ID” column in the tree view structure.
Add an “ECN #” column in the tree view structure. If some part in the BOM is under Engineering Change status, related ECN# will be shown in the column.
Show the MFG BOM tree view. Please refer to chapter “Maufacturing BOM” in “Manufacturing Box” for details about how to make an MFG BOM.
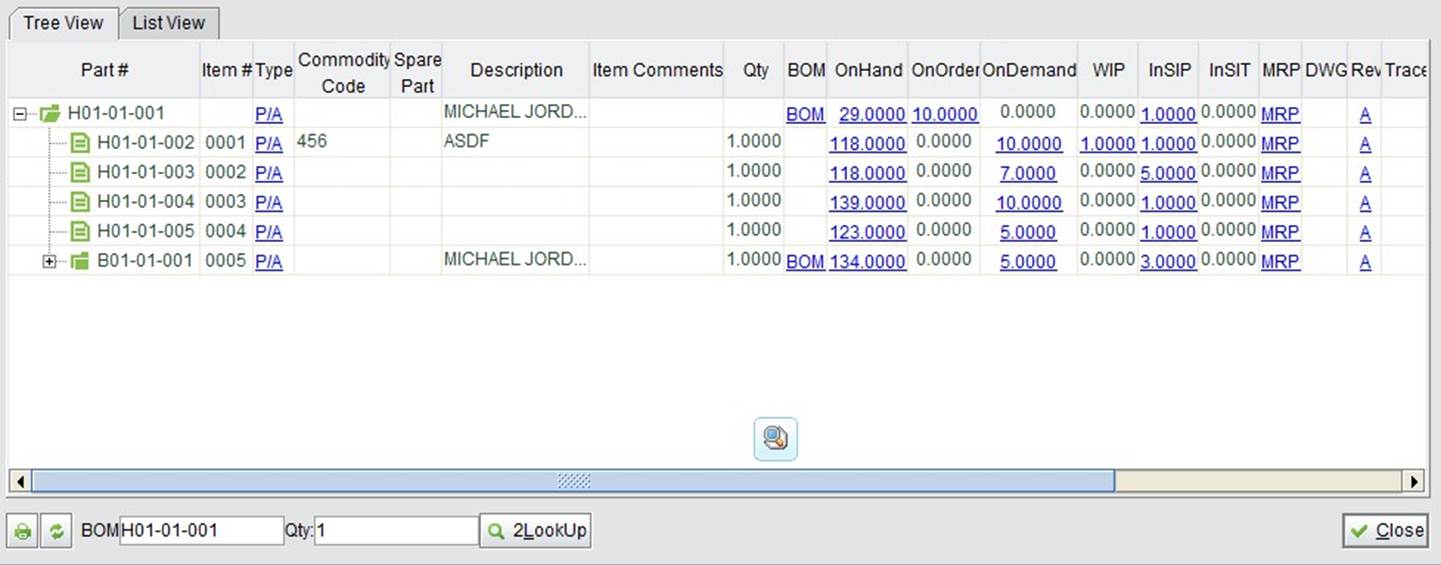
On Hand: click this button to view BOM part’s inventory information.
 |
Shortages: click to list parts in shortage in the BOM.
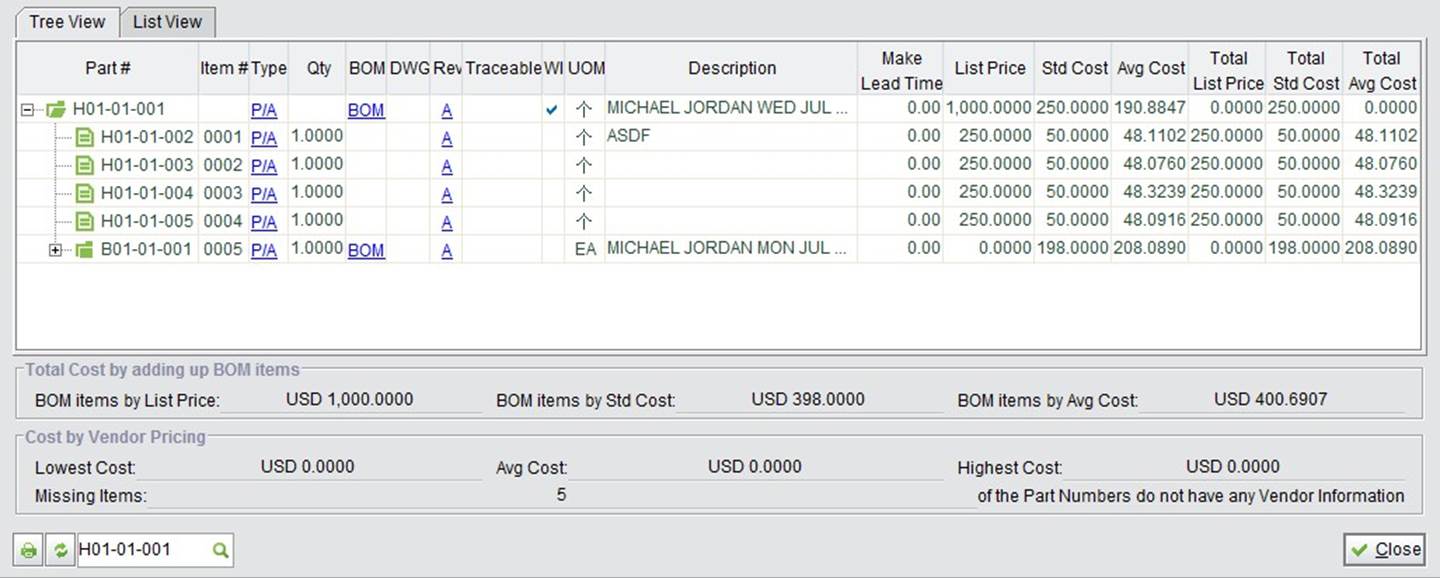
BOM Cost: click to see the BOM part’s cost information and the BOM’s cost information.
 |
MFG BOM: click to view the MFG BOM of the BOM. Click the “Edit” button can open MFG BOM Update interface.
Download Drawings: providing a batch download MFG Drawings function. Click “Download Drawings” and check parts with drawings. You will get a zip file with all the drawings.
 |
2BizBox provides lots of ways to lookup or search BOMs at the BOM homepage.
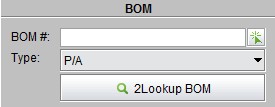
Input a complete BOM#, and choose BOM type. Click the button to see the exact BOM and its information in detail.
 |
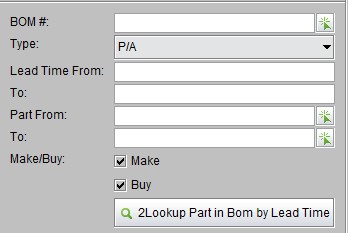
6.3.3.2 2Look up Part in BOM by Lead Time
Through this function you can see the lead times of the parts under a specified BOM.
 |
In the search result shown as below, you can see the BOM parts’ make/buy attributes, lead times and the basic inventory info. In this way, you will get a sketch of the BOM’s supply and sales status.
 |
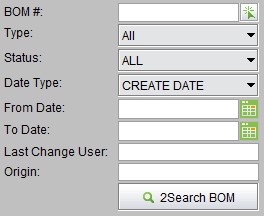
Input a BOM#, choose BOM type, date type, form date, to date, last change user, and origin, and click the button to search which BOMs meet the conditions.
 |
Input a BOM# and choose a BOM type, the system will check if the BOM exists. If yes, the system will show the BOM’s cost interface (click the button to see it).
 |
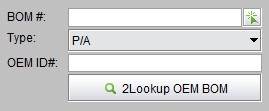
Input a BOM#, choose a BOM type, and OEM ID #. The system will check if the BOM exists; if yes, the BOM interface will appear.
 |
Fill in the Part A in the upper textbox and the BOM B below, then click “2Lookup Where Used,” you will see in which BOM and sub BOMs Part A is used in BOM B.
 |
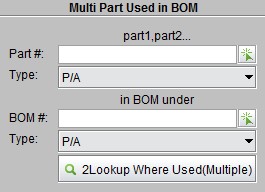
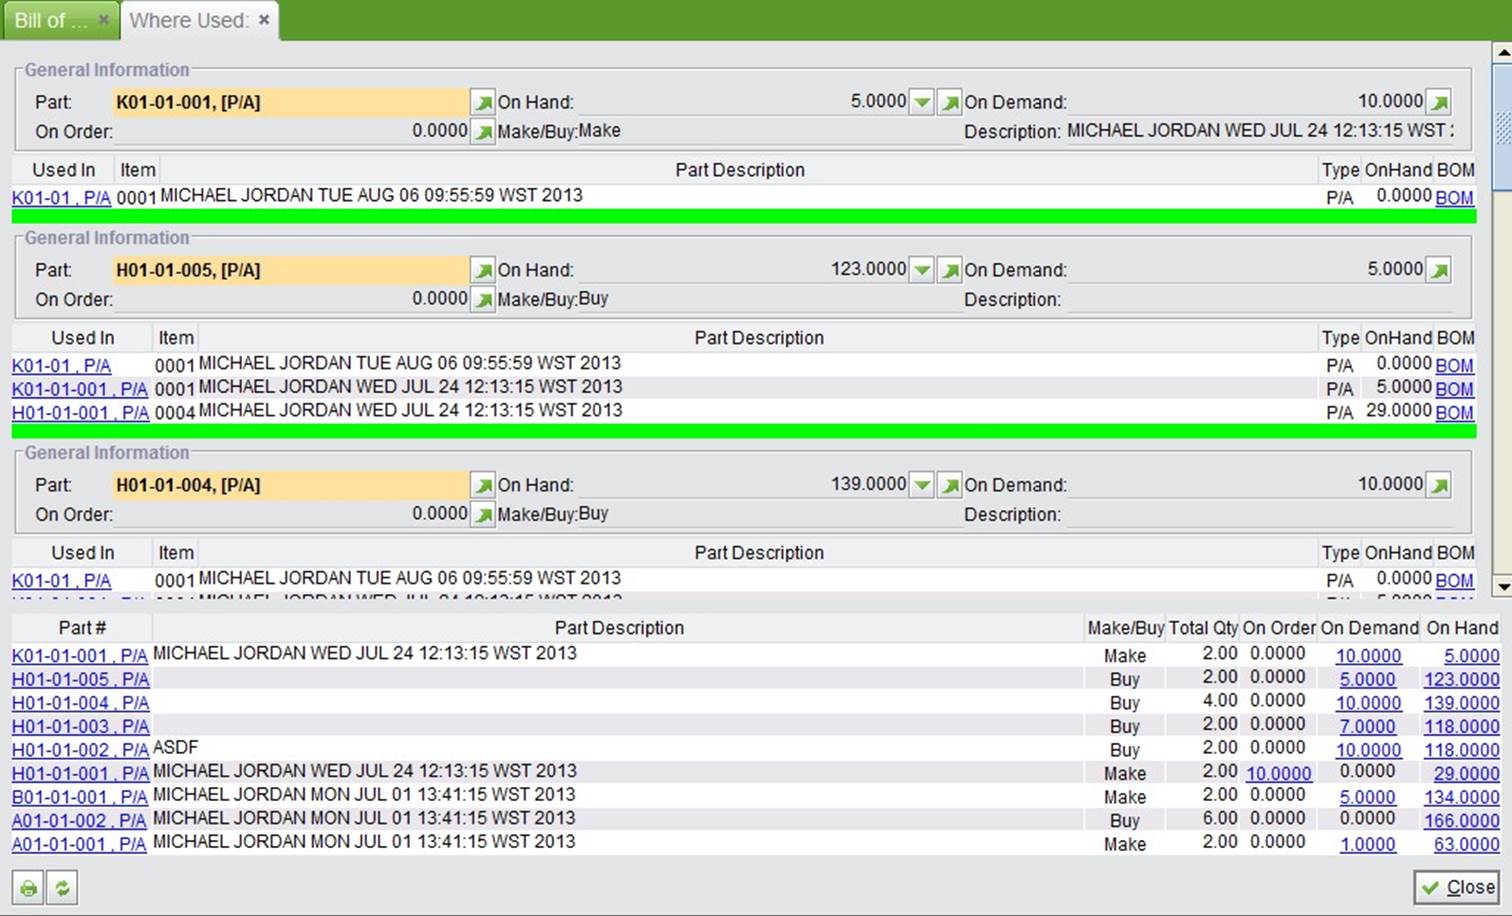
The search method is the same as “Used in BOM,” except here multi part search is supported at the same time. Note: while inputting many parts, you need to separate them by commas.
 |
The search result will show parts separately as below:
 |
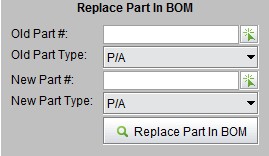
You have the capability to replace part A in all BOMs with part B. The system will search and check all BOMs using part A. If you confirm the replacement, click the button; or you can uncheck those parts in BOMs that don’t need to be replaced, and click the button to do the replacement.
 |
There are two ways of showing a BOM report.
Click the button to see all BOMs in the system.
Search the BOM log by conditions.
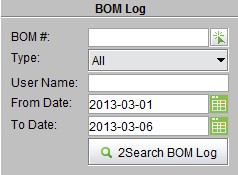 |
The search results show the BOM’s modification of item, user, quantity, spare part, etc.
 |
The Audit function is used for checking and correcting data errors that occurred in the system.
This function is used to find BOMs without items in system and clear them. When you click the button, the system will list all BOMs without items and select them. You can directly click the button to clear this data, or unselect the BOMs needed, then click to clear data.
 |
Recursive BOM means that one BOM, say A, includes a duplicate BOM A. It is not right logically. Generally, 2BizBox doesn’t allow recursive BOMs. You can use the function here to check if there are recursive BOMs in your company’s system. Click the button to show all recursive BOMs, click the “Start” button at the bottom right, and the system will audit and list all recursive BOMs.
 |
To modify the BOM, you need to go back to the BOM interface at the engineering module.