2BizBox® Manual |
Go back to 5.0 Main |
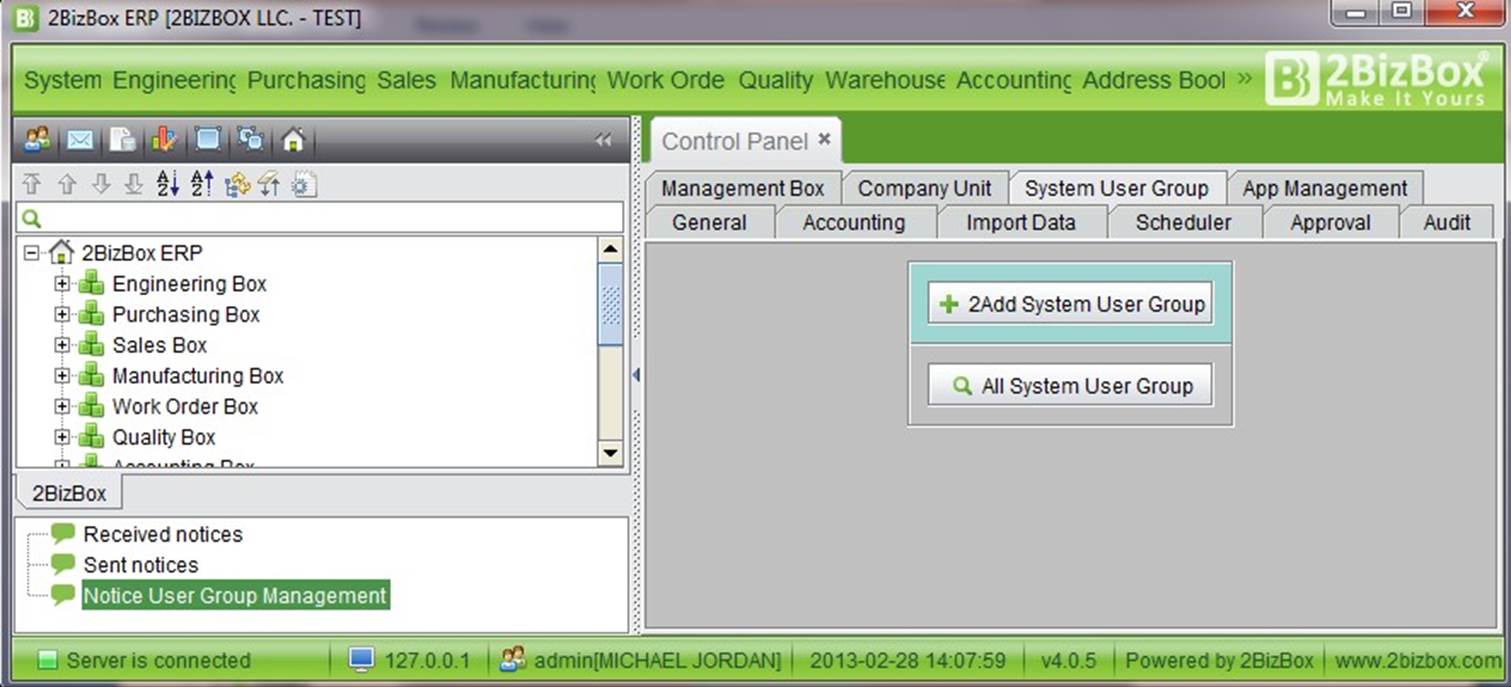
Before we mentioned “Notice User Group,” which can be used for sending and receiving notifications. If you check the “Global” box in the “Notice User Group” interface, then “Notice User Group” will appear in the “System User Group.” In addition, we can add a “System User Group” directly in the control panel. Unlike a “Notice User Group,” the ID# of a “System User Group” has been predefined by the system, but you can add a new user to an existing system user group.
|
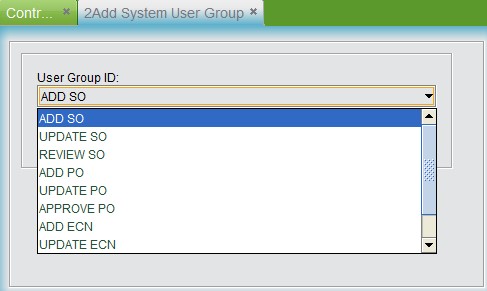
At the “Control Panel->System User Group” interface, click” Add System User Group” to enter the adding interface. Here you can see that an ID# cannot be self-defined, but you may choose a user group category from the drop down list, e.g., “Add SO,” “Add PO,” etc.
 |
After that, click the “Add” button to enter the update interface. Here, checking “Global” will cause the System User Group to be considered a “Notice User Group,” receiving and sending notice to all users in the group. Stop the user group by unchecking the “Global” Box.
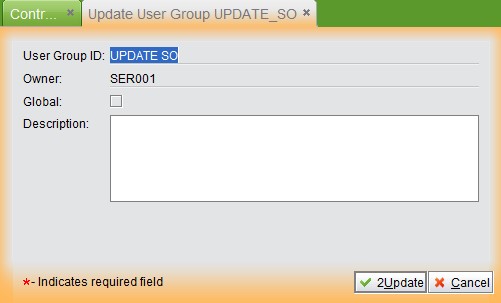 |
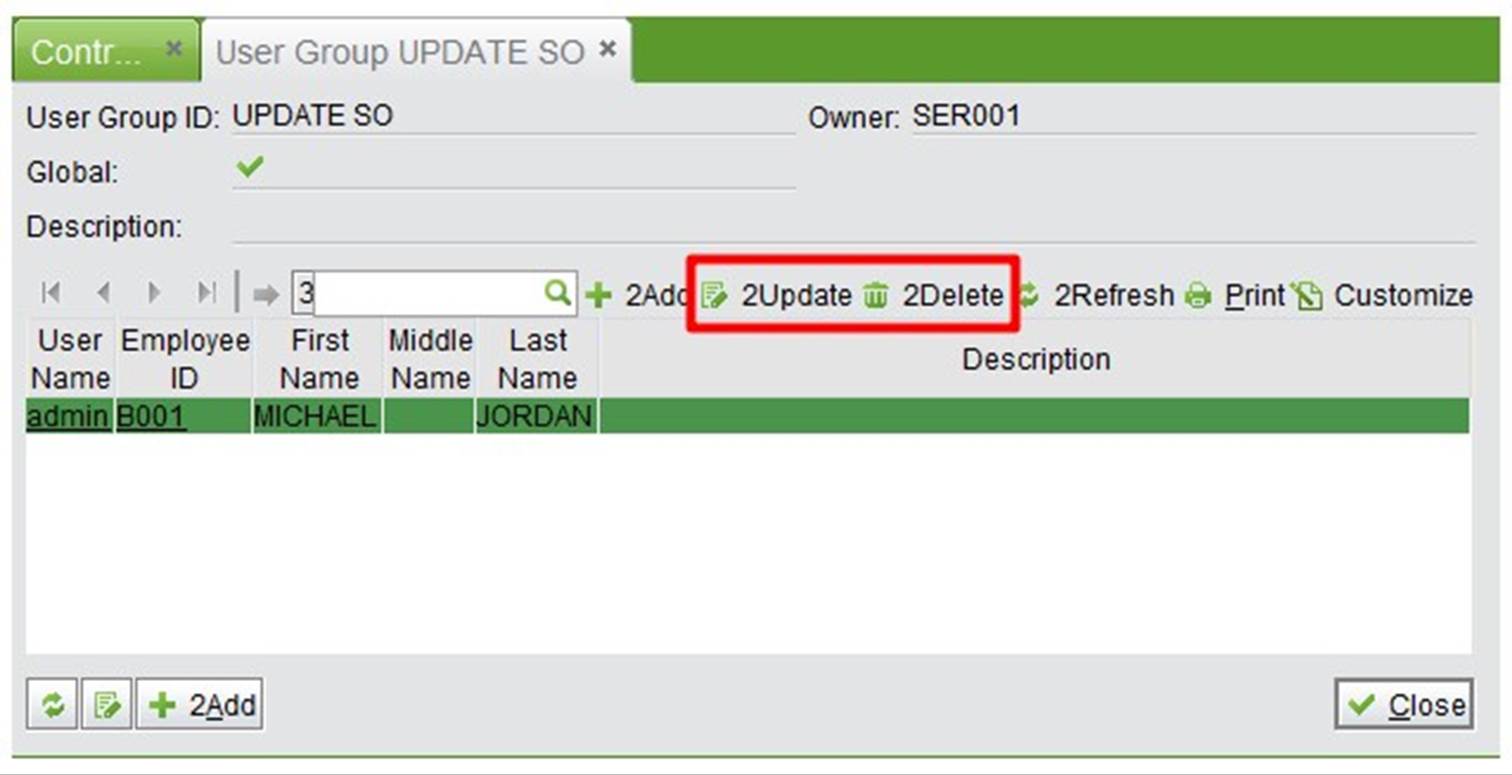
Click “Update” to finish. Add new users to this group by clicking “Add” in the user group interface, input a user name or pick a user in the system.
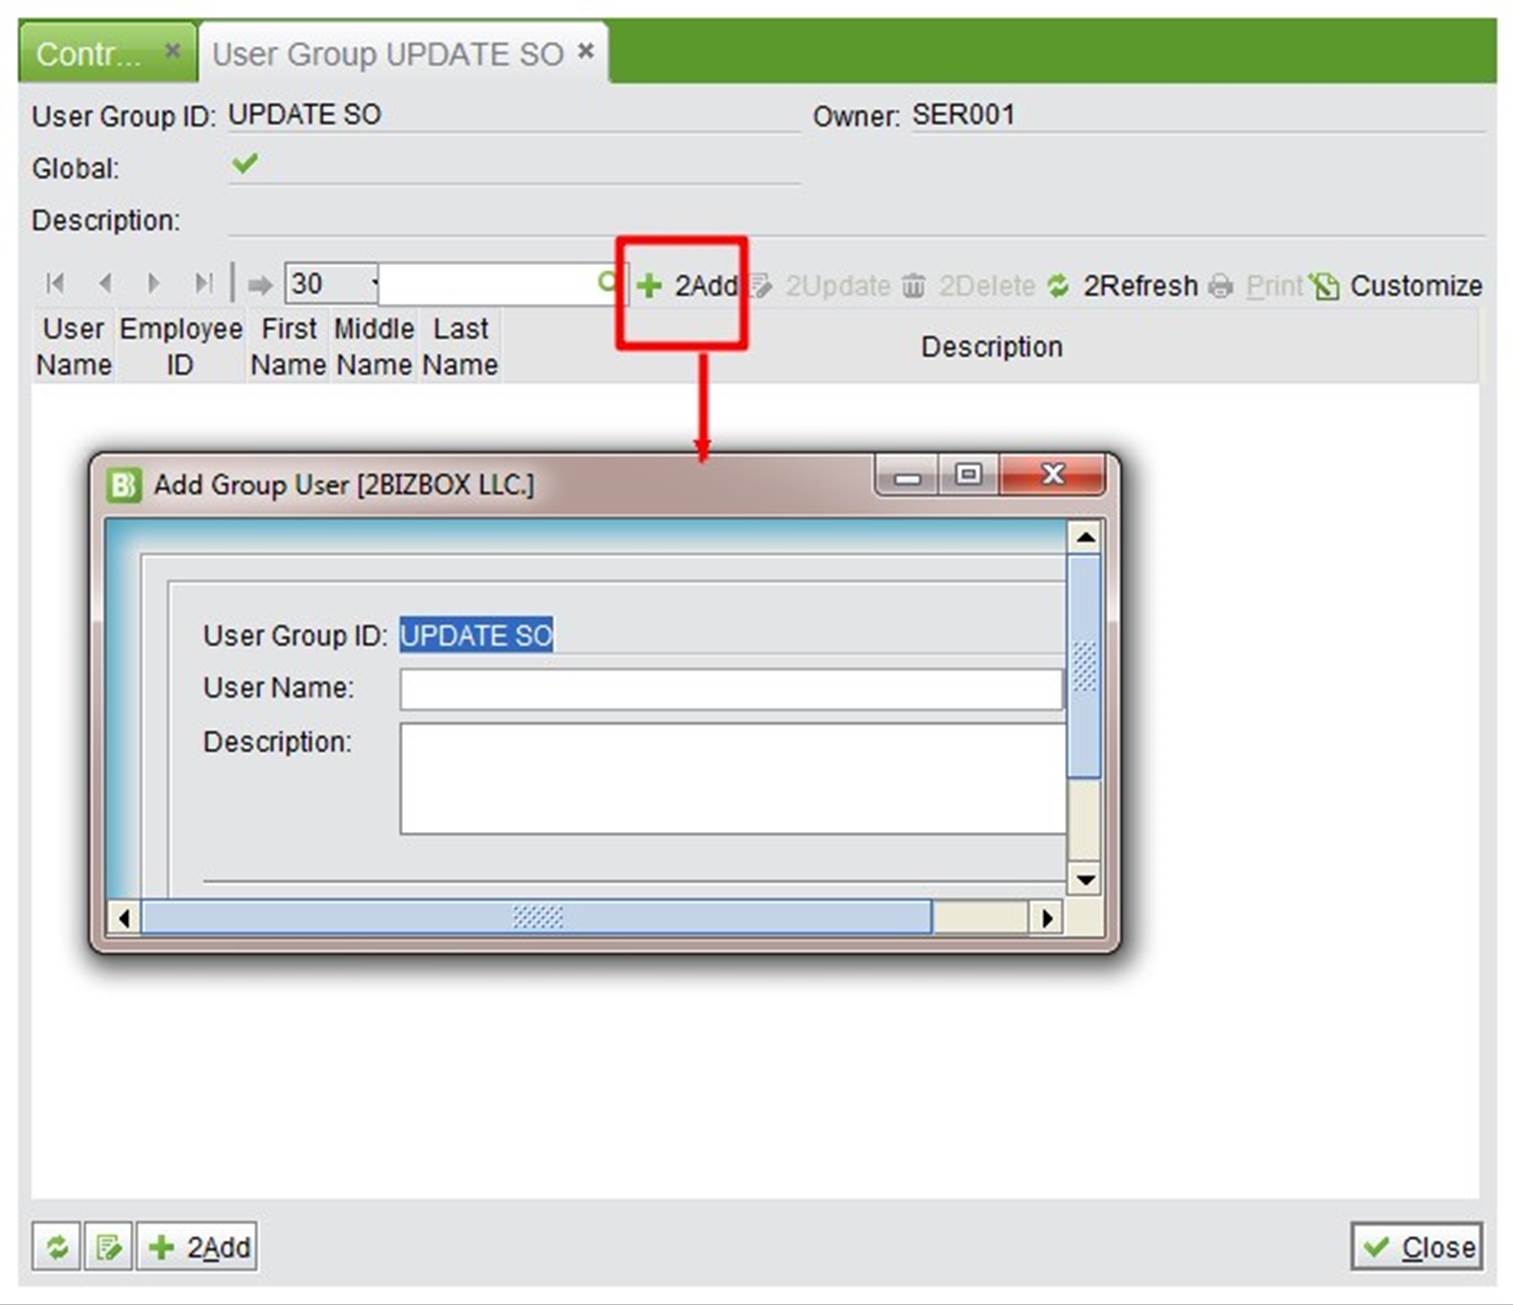 |
After that, you can go back to the user group interface to “Edit” or “Delete.”
 |
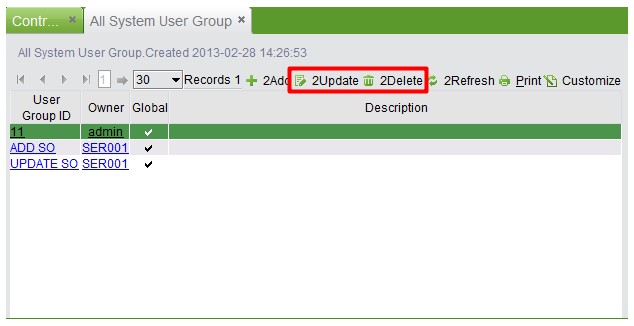
Click “All System User Group” to see all groups. Click the related user group to “Update” or “Delete” it.
 |