
2BizBox® Manual |
Go back to 3.0 Main |
There are many modules and interfaces in the 2BizBox system, which can be divided into several categories to make them easy to explain.
The main interface is the main screen after 2BizBox startup, as seen below:
|
The main screen can be divided into the following parts:
 |
 |
|
Select a module from the module tree on the left to go to a detailed module. Each module has a page, called a module home page. The homepage will be displayed when a module tree is selected. The picture below shows Sales Order’s home page.
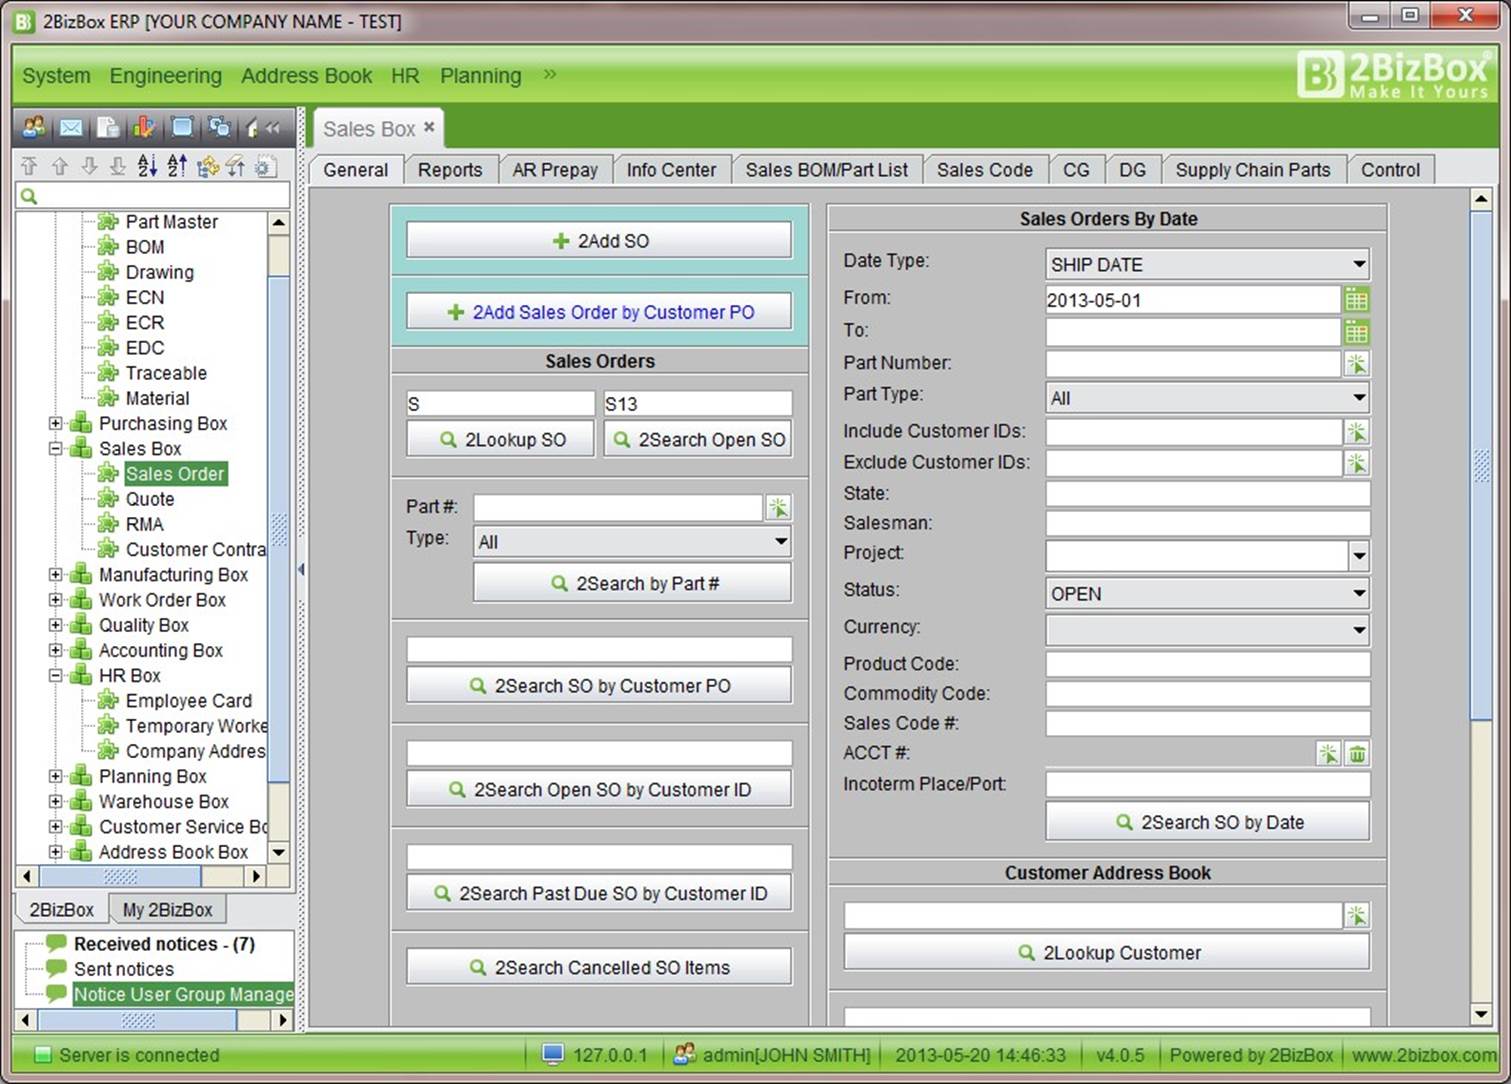 |
The module home page provides a shortcut for often used functions like add, look up, and search. Each function is divided by a line.
2BizBox will highlight some key functions with a bright color. For example, “Add PO” is shown below on the PO module’s homepage.
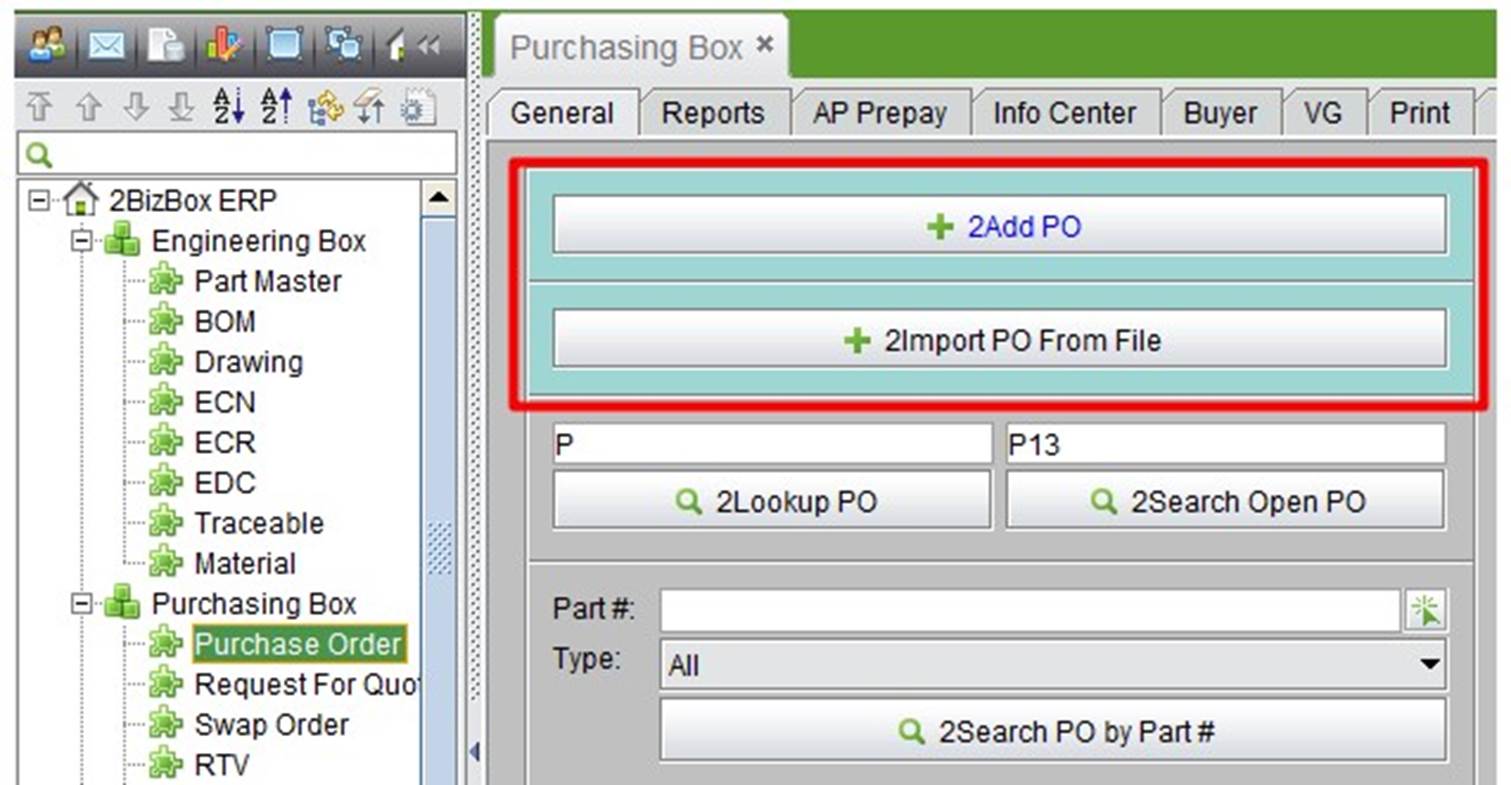 |
For some modules, several sub-pages are included. For example, the purchasing module contains: General, Reports, AP Prepay, Info Center, Buyer, VG, Print, and Control.
 |
Click the page header of each page to show detailed information of the subpage or to operate it.
On the 2BizBox homepage, many buttons can be used to lookup and search. There are differences between lookup and search.
The list interface is a result screen generated from a vague search, which includes a data list and related operation information, as shown below:
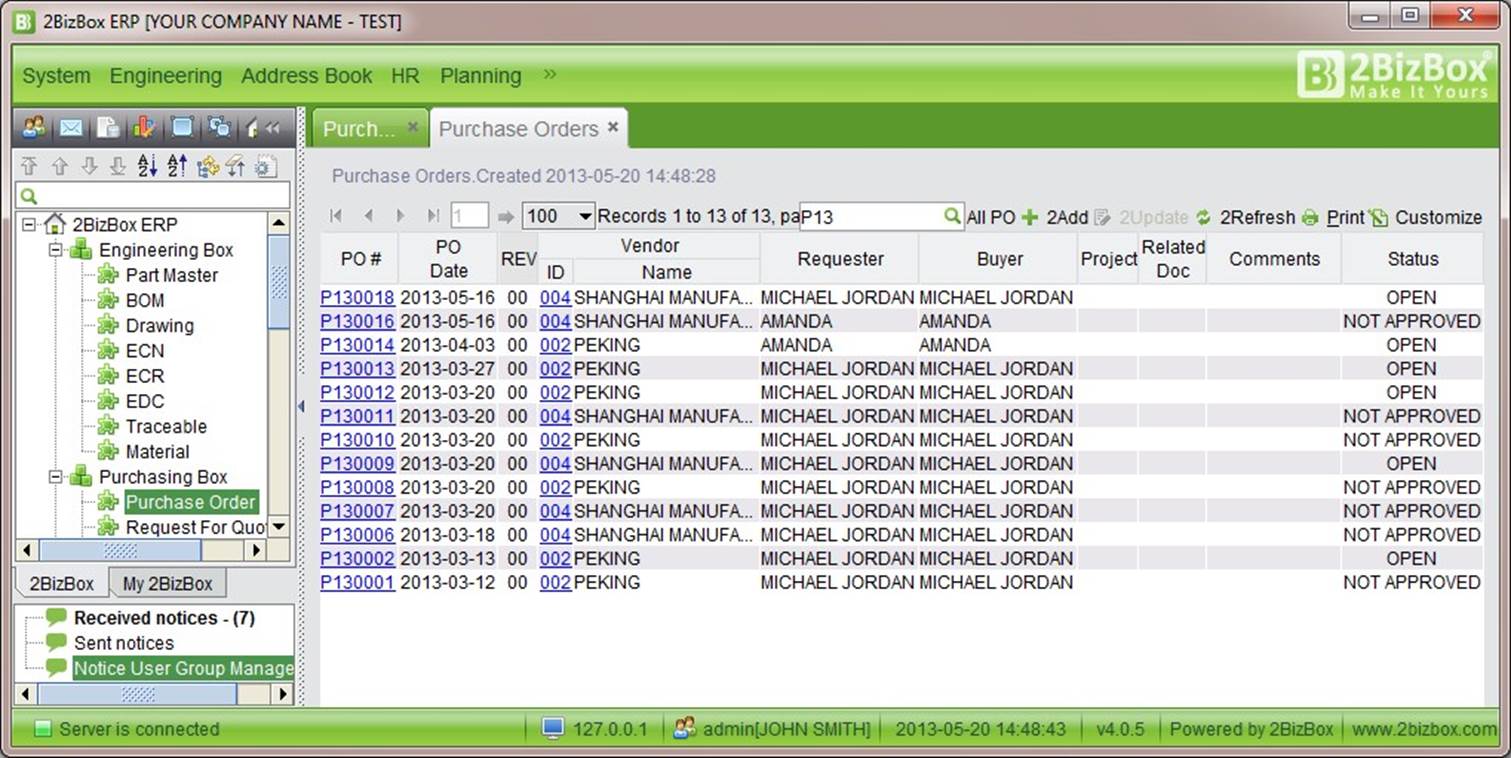 |
The list interface includes:
Head tag: Shows what kind of data the page shows. Generally it also shows the exact time the order is generated.
Page turning: As most list interfaces cannot load too much data in one page, 2BizBox provides the page turning function which allows the data to be shown on different pages. Commands such as Previous, Next, Go-to and how much data is to be shown on one page can be set in the list interface.
Data operation: Located to right of the page turning function, data operation can be used to add, update, refresh, print, or delete data.
Data Cell: The table cell shows exact data. Table headers are either light or dark. Headings with light colors can be sorted, while dark colors cannot. For example:
Note: If you click the order sort, the interface will request the server to sort order. It also supports sort order for multi-head (press Ctrl, click each table head).
Move your cursor to a cell, if the cell background changes to deep green, you can click to see further details.
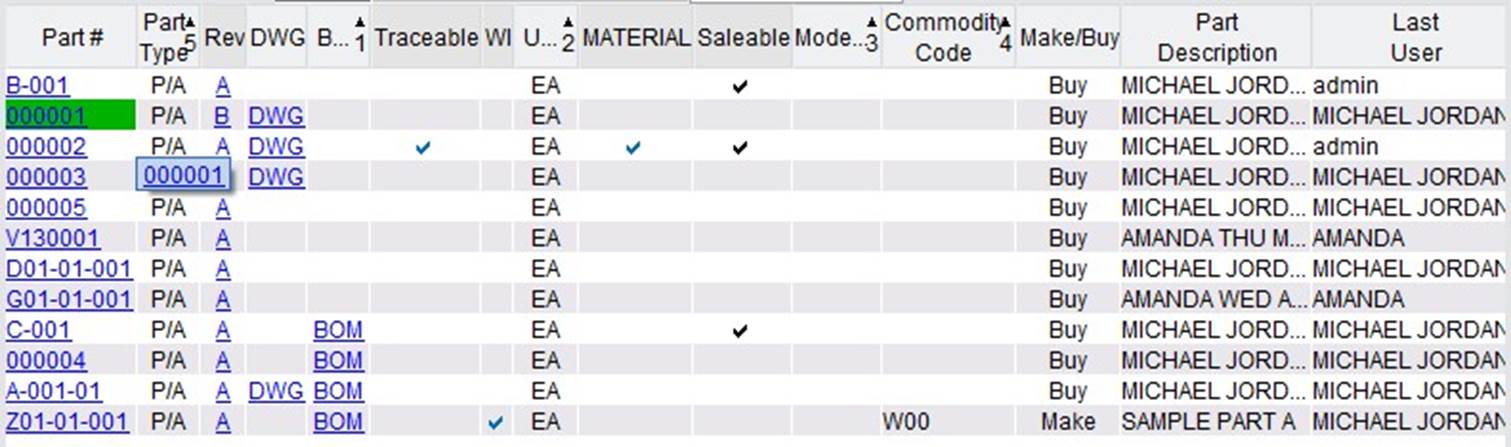 |
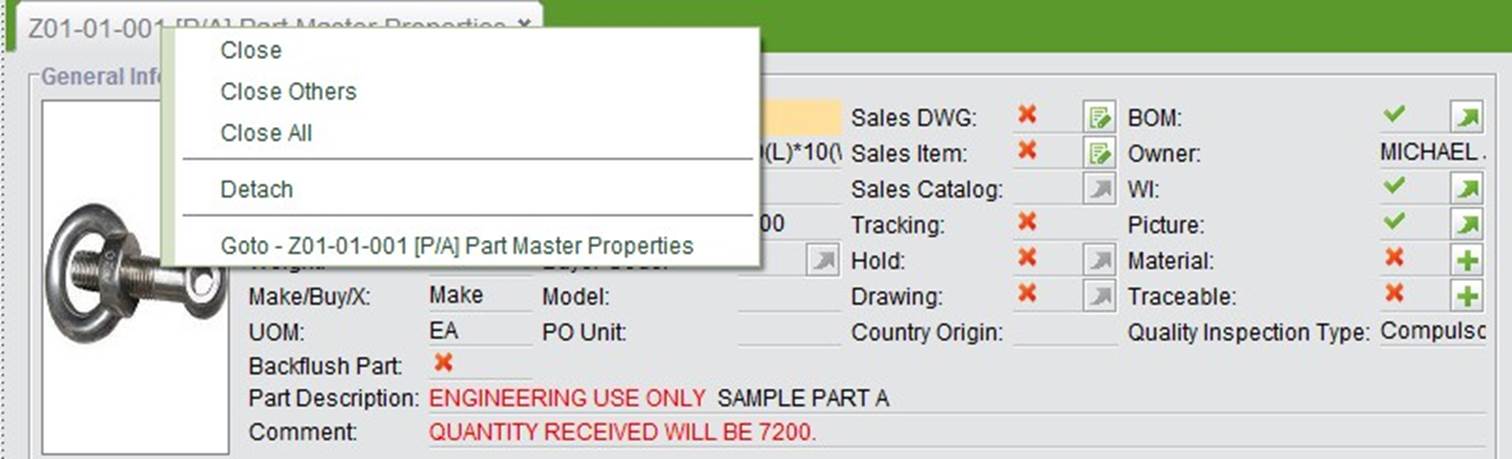
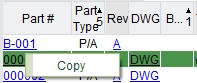
In this instance, click the part numbered “000001” to check the detailed information. Choose any table cell and right-click to access the “Copy” feature.
 |
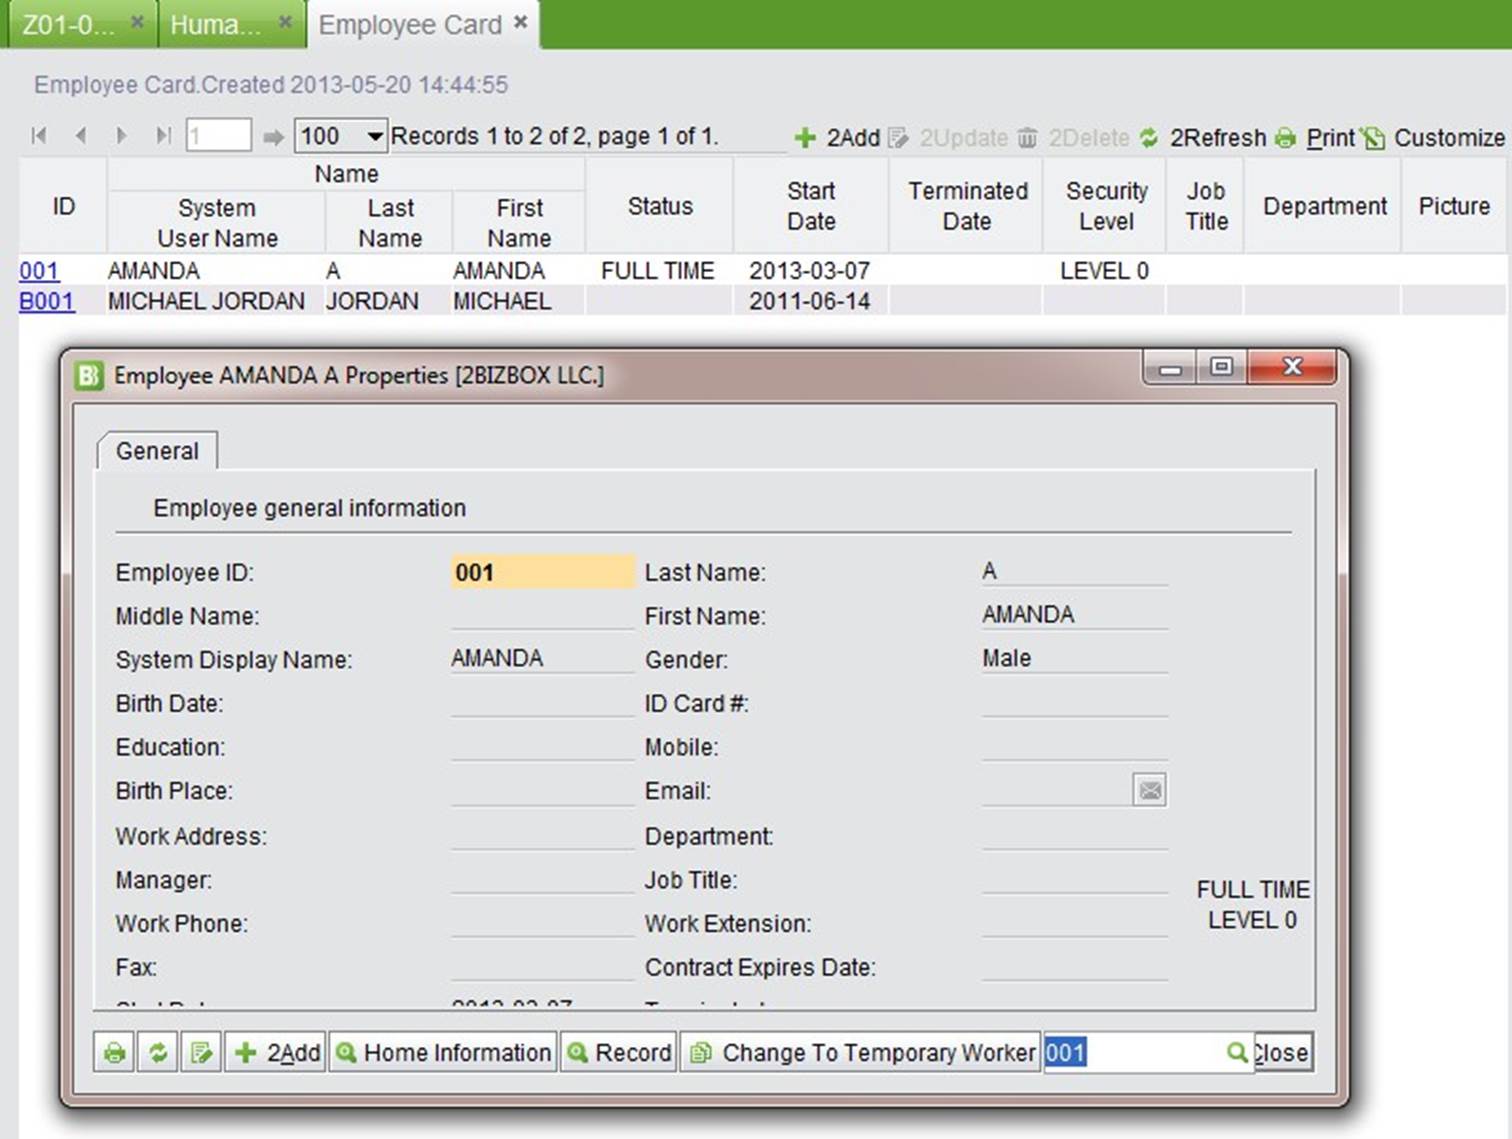
In the 2BizBox system, all detailed information for orders or data will be displayed on a separate screen, called the detailed information interface. For example, the picture below shows an employee’s detailed information.
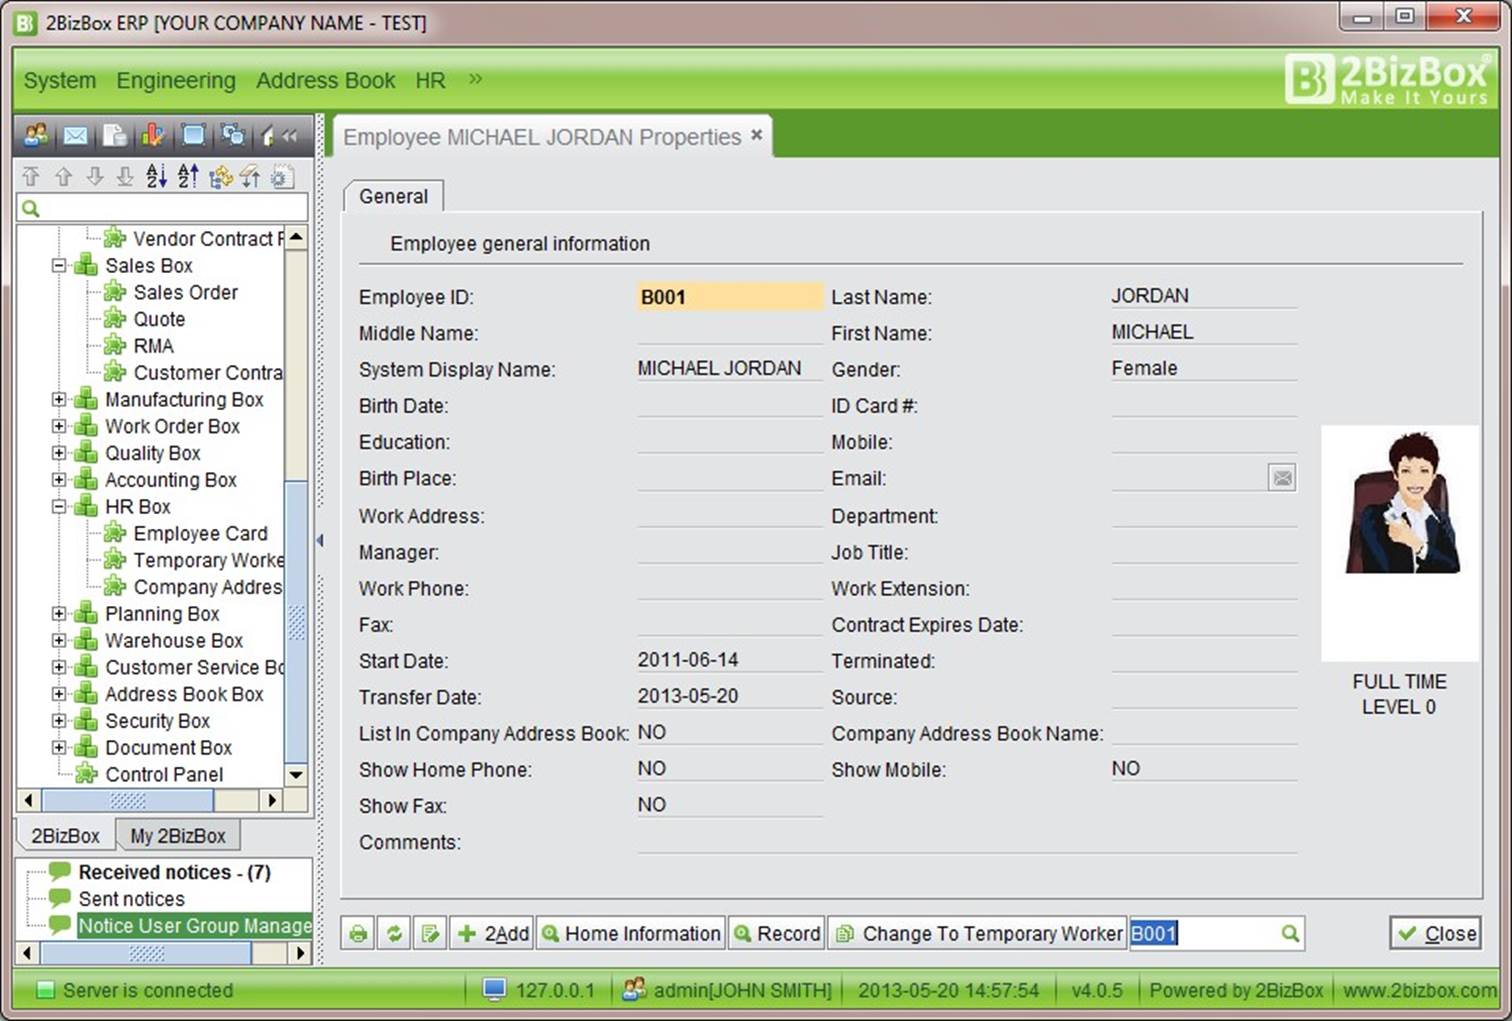 |
At the bottom of the page, there are function buttons:
The above operations appear on the module homepage and the list interface page. The multi-entrance to access the data module is to simplify the user’s experience, and to decrease the number of pages to switch between. It also exemplifies 2BizBox’s easy-to-use characteristics and user-friendly design.
All screens used for adding can be called an “Add interface.” The “Add” option can be found on the module homepage, or on the list interface detail information page for convenient use.
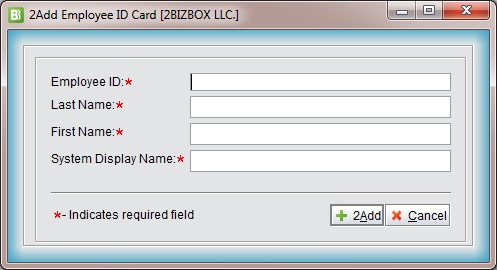 |
Note:
In the 2BizBox system, the screen where you can edit or update data is called the update interface. Click the edit button to update (the edit button can be found in the list interface and the detailed information interface). Update interfaces may vary with different data, but in general will appear as below:
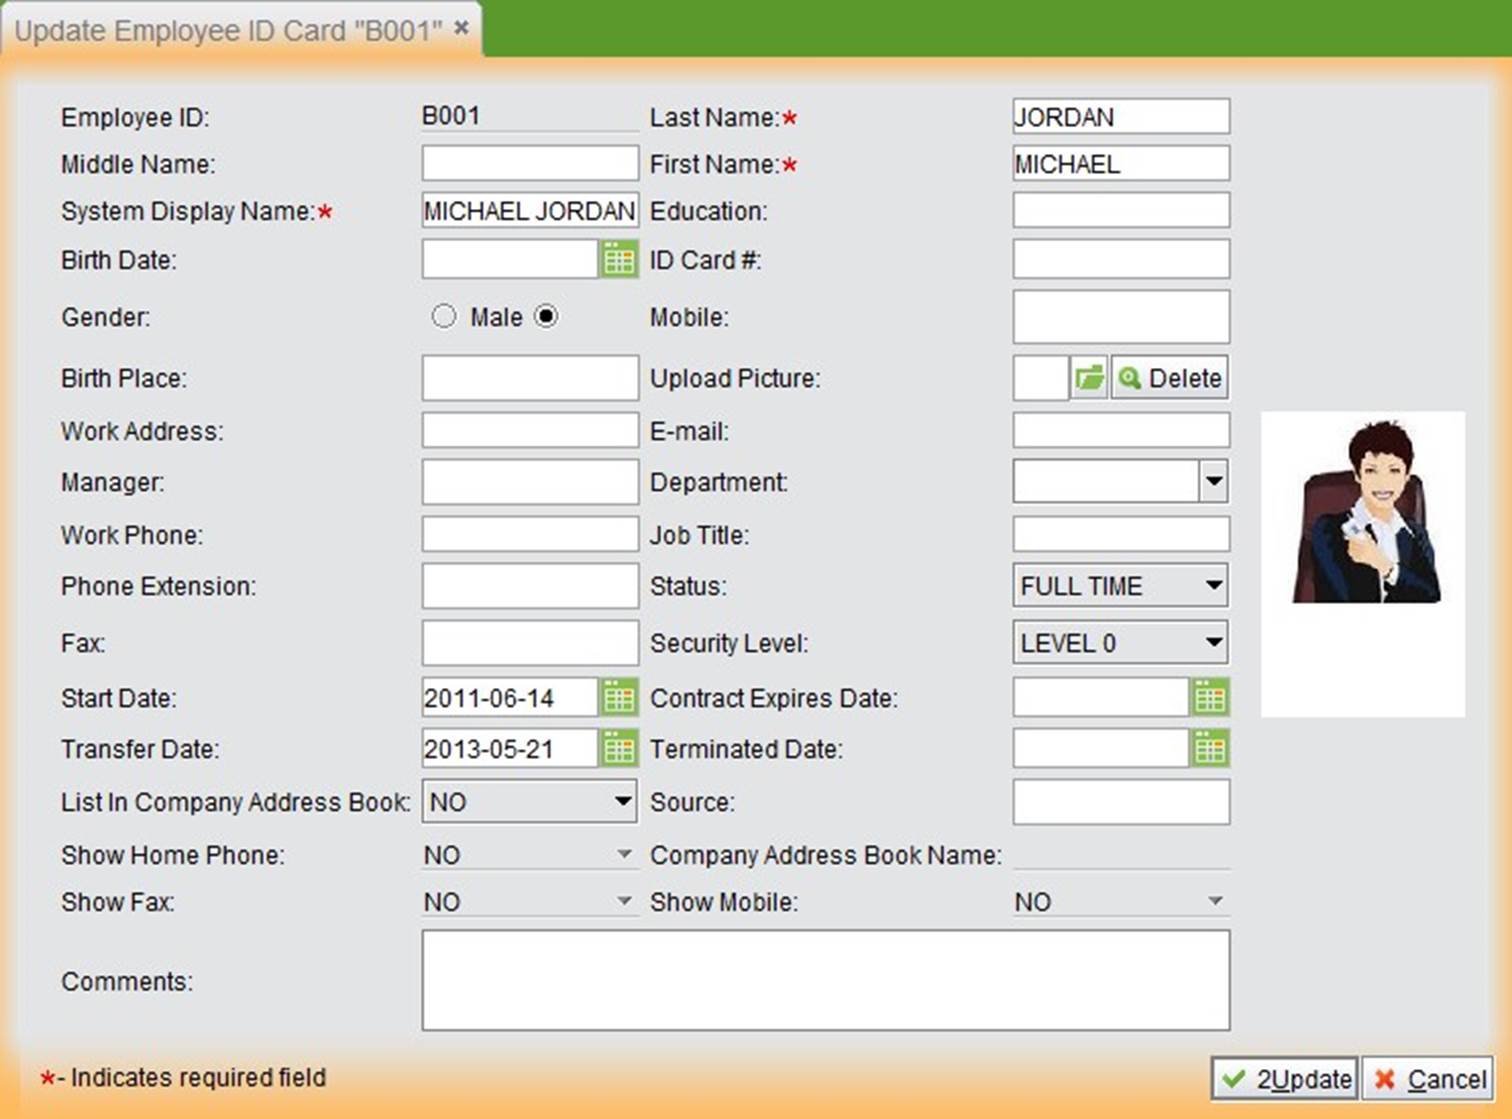 |
Note:
Special note:
While user A is updating an order, another user B has already updated and confirmed the same order. User A’s update will fail, and a window will appear to notify user A of the failure. User A will have to abandon the current editing, reopen the update screen, edit and update again.
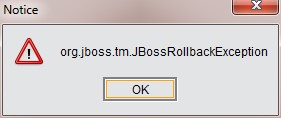 |
Therefore, it is suggested to minimize updating time to avoid such conflicts.
2BizBox print, unlike the traditional print method, does not directly send the system to the printer, but generates data in PDF or spreadsheet format to print, or directly uses Doc to exchange data.
At present, 2BizBox supports PDF document format and Microsoft Excel format. Users can choose the desired format based on the company’s requirements.
2BizBox print includes data list interface print and data detailed information print.
At any list interface, click the print button at the top right to open the print settings window, as shown below:
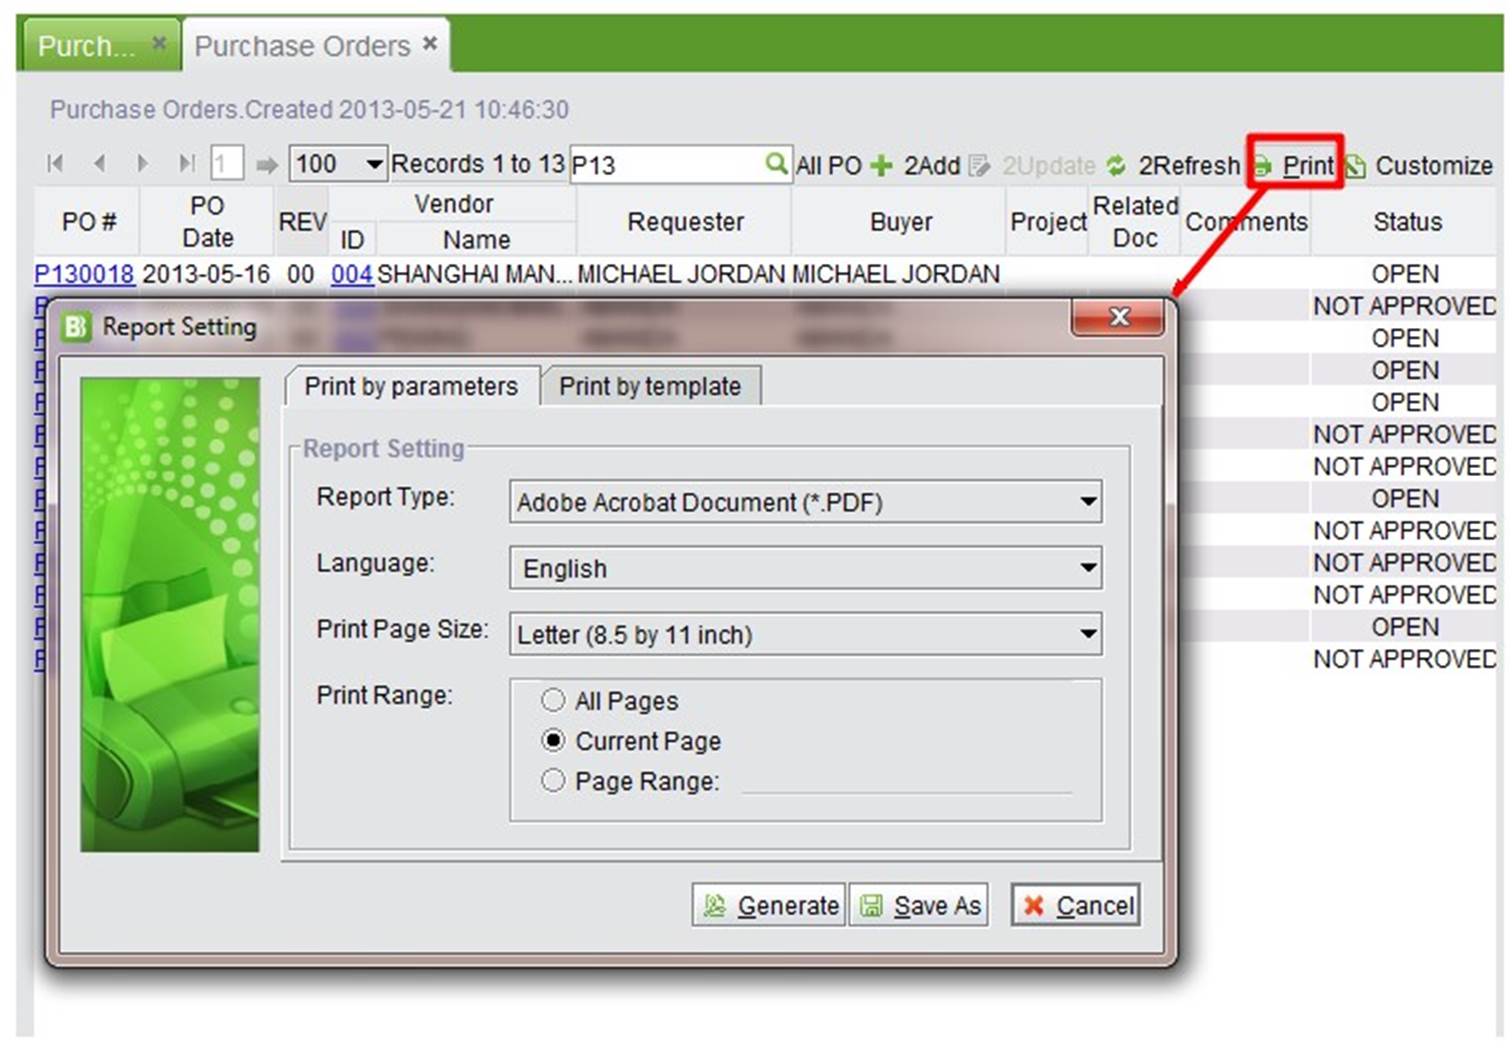 |
At the print setting window, you may specify:
Click the print button to generate a print preview.
On the generated document, the company logo, contact information and print date will appear. The logo can be set up in the Control Panel.
For most data, 2BizBox supports printing. Click the print button in the detailed information interface to go to the print setting interface:
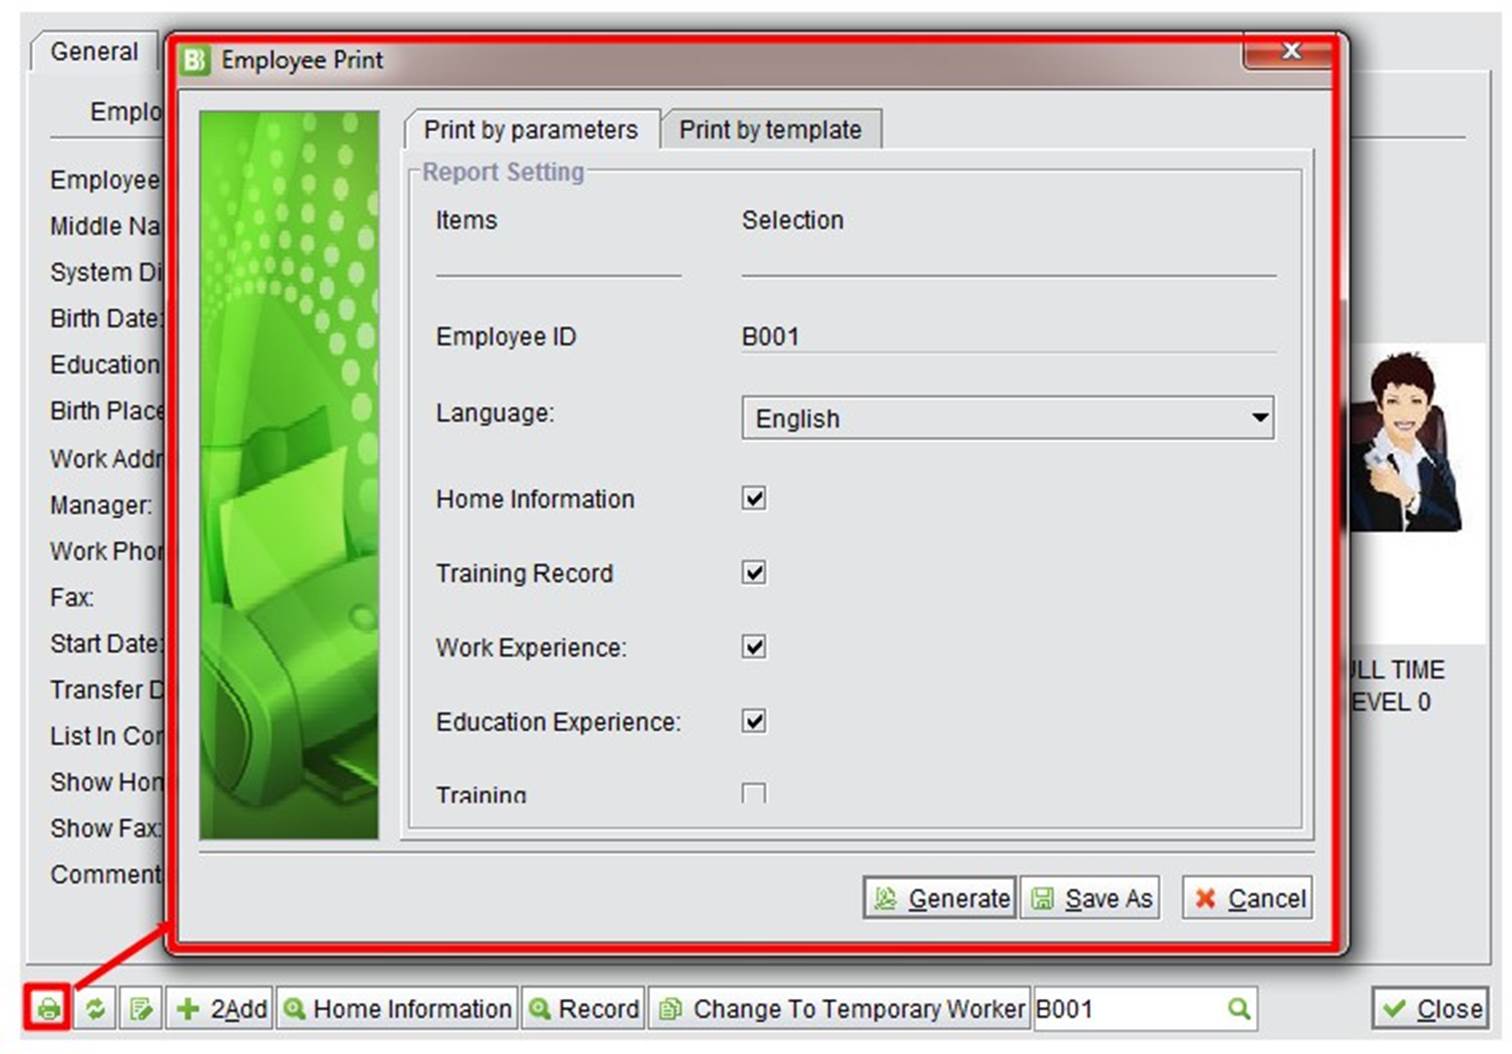 |
Click the print button to generate a print preview.
 |
For different data interfaces, the print settings may differ. The above example includes language, family information, training, print size, etc. For some very complicated data, print settings are more complicated. For instance, the sales order print setting screen contains additional parameters.
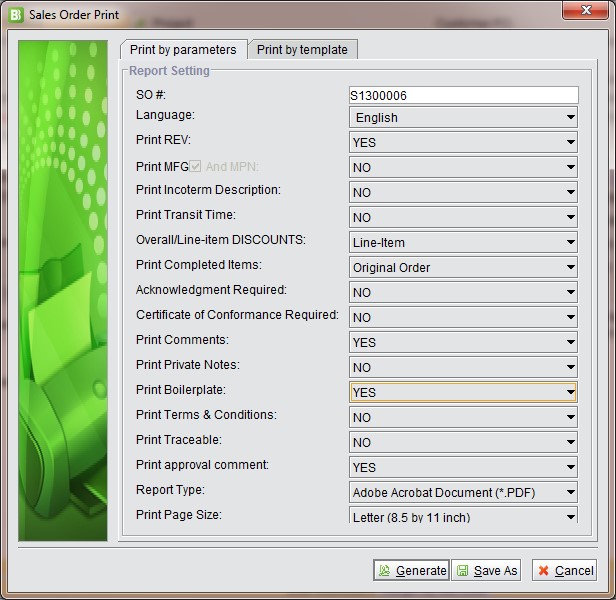 |
Through these introductions, users can learn and master different interface functions and methods in the 2BizBox system, which can help them to use module functions more efficiently.